| Overview of Import Options |
|---|
List Bulk Import provides users with multiple methods to import data to SharePoint 2007, SharePoint 2010, SharePoint 2013, or SharePoint Online (Office 365/SharePoint Online).
Before importing to a SharePoint site, you must connect to it. We call this site the target site. The initial connection is made when the application launches. Follow these steps to connect then.
| Step | Action | Result |
| 1. | Open List Bulk Import by double-clicking the desktop icon or navigating to the program from the Windows Start Menu (Start Menu > All Programs > Bamboo Bulk Import). |
|
| 2. |
Clear the URL History list by clicking the Clear Site URL History icon (
|
|
| 3. |
Select the radio button that corresponds to the SharePoint target site release (2007, 2010, 2013 or SharePoint Online).
|
|
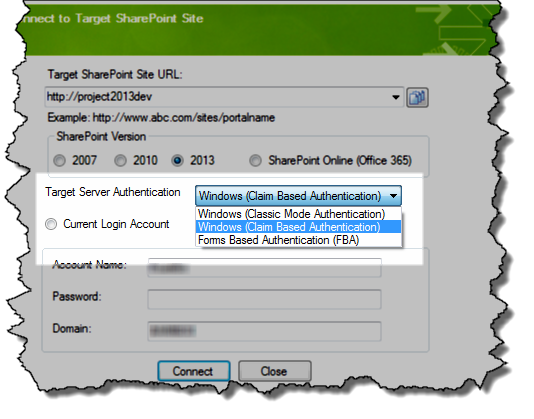
| 4. | Choose the Target Server Authentication from the drop-down menu. List Bulk Import supports the following authentication options: |
SharePoint 2007
SharePoint 2010
SharePoint 2013
|
| 5. | Select the radio button for Current Login Account to use your current Windows Login or select Custom Login Account to enter a different Account Name, Password, and Domain. | |
| 6. | When ready, click Connect. Otherwise, click Close to exit the application. | A wait message is displayed while the application attempts to connect. When successful, the main page of the List Bulk Import is shown.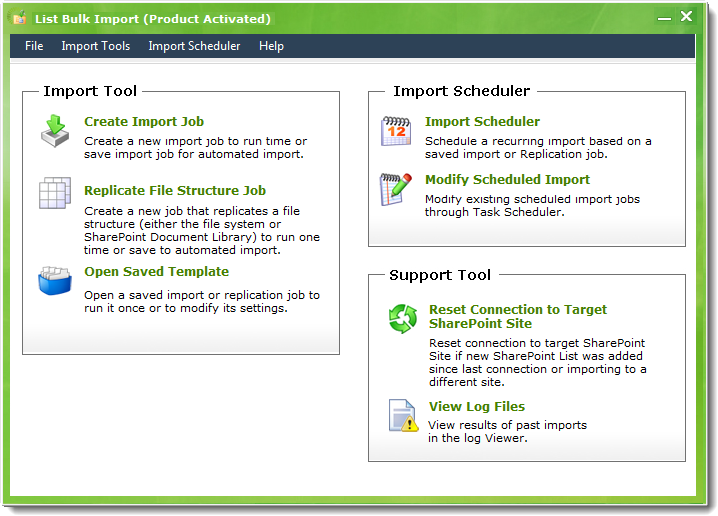 |
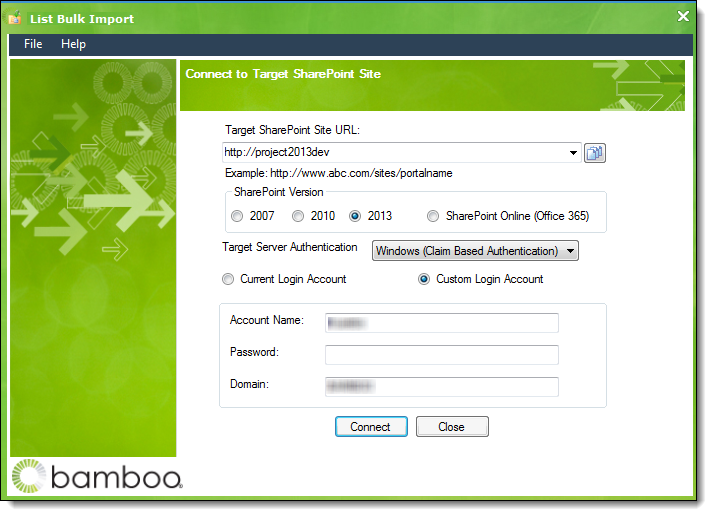 Enter the SharePoint Site URL where the target list is stored. Previously entered URLs are accessible by clicking the arrow which activates a drop-down menu showing the URL History List.
 ).
).