For more information using the Cleanup Application, see How to Cleanup and Schedule Cleanup.
When List Bulk Import runs an update on a list that contains attachments, it must replace all of the attachments for each item whether the attachment has been updated or not as List Bulk Import has no way of knowing if the attachment has been updated or not.
For those users using Bulk Import as a data syncing tool, this causes the primary recycle bin to fill up quickly and inflate the database size. The List Bulk Import has a configuration parameter to log when attached files are removed during the import process. The resulting log file includes information about attachments were deleted/replaced. This Attachment Cleanup Application reads the log file and moves those deleted items from the primary recycle bin to the secondary recycle bin which is managed by the Site Collection Administrator.
Like List Bulk Import, the Attachment Cleanup Application can be scheduled using Windows Task Scheduler or run manually from the application itself.
IMPORTANT:
In order to leverage this utility, you must run the import with the Use Bamboo Recycle Bin Cleanup program on the server to clean up deleted list attachments configuration (see screen shot). Otherwise, the attachment log file isn’t created and this utility won’t have the information it needs to run.
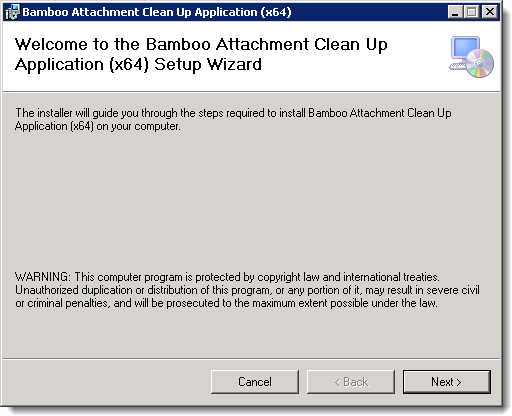
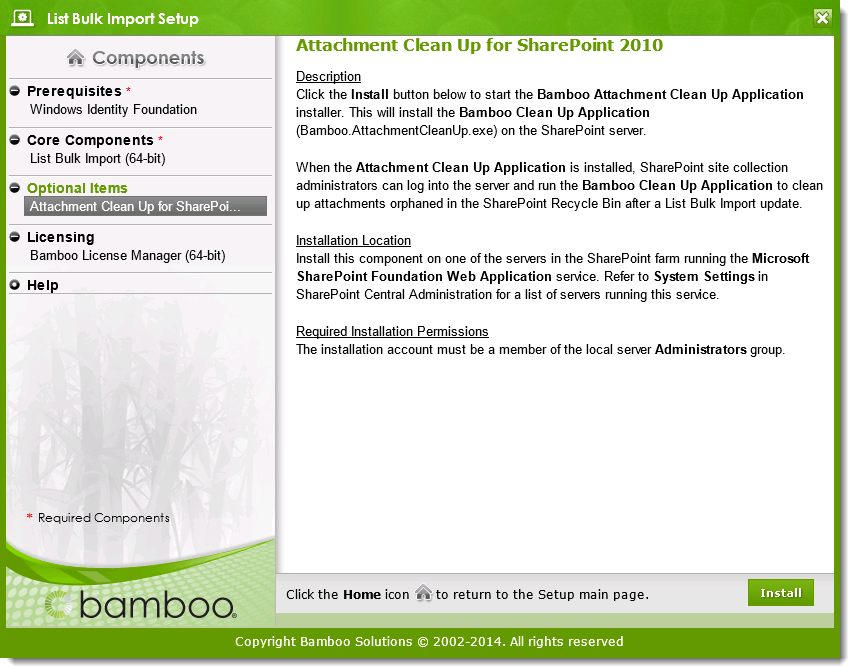 The application is installed from the List Bulk Import Setup program, shown here.
NOTE: This component can only be installed on a SharePoint server under an administrator account. If you run the List Bulk Import Setup on a PC rather than a SharePoint WFE Server, this Optional Item will NOT appear in the Components list.
To install, follow these steps:
| Step | Action |
|---|---|
| 1. |
Click Install. |
| 2. | 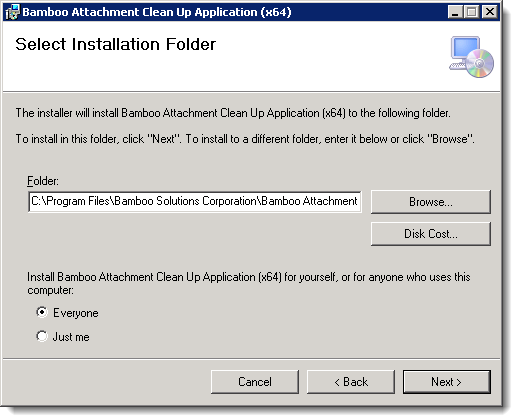 Identify the folder to install to and click Next >. Identify the folder to install to and click Next >. |
| 3. | 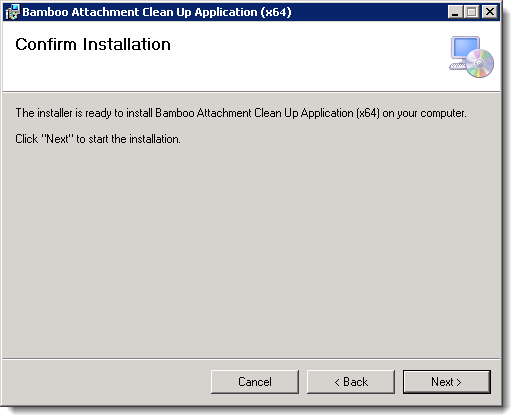 Confirm the location and click Next >. The installation will progress. Confirm the location and click Next >. The installation will progress. |
| 4. | 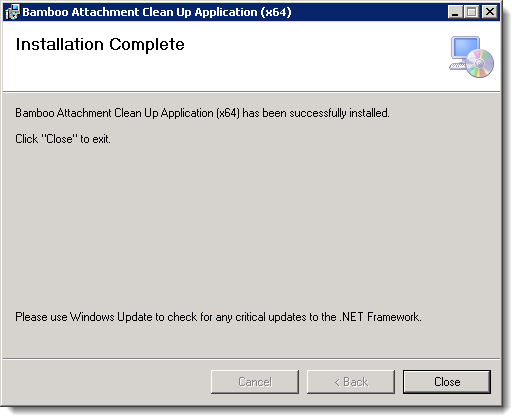 When the installation is complete, click Close to close the installation application. When the installation is complete, click Close to close the installation application.
|
 Highlight the Attachment Clean-up for SharePoint item in the Components list of the List Bulk Import Setup.
 You should see an icon for the application on your Desktop when the installation completes.