| Overview of Import Options |
|---|
List Bulk Import can copy files on a local drive or a shared network file directory to a document library on a SharePoint server. To copy the files, use the following procedure.
NOTE: If you don’t want to replicate the entire document library, but rather import part of it, see Import Data from One SharePoint Environment to Another.
| Step | Action |
| 1. | If you aren’t already connected to the SharePoint site you want to import to, see Reset the Connection to the Target SharePoint Site. |
| 2. | 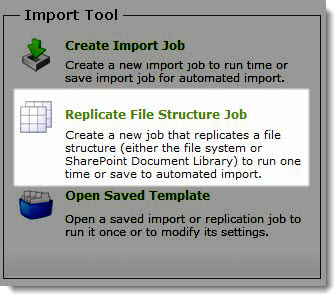 In the Import Tool section of the dashboard, click Replicate File Structure Job. |
| 3. |
For more information about replicating files from a SharePoint Server, click Here. Otherwise, select Replicate files from local or network file directory and then click Next. |
| 4. | Type the file path in the Choose files from local or network directory box, or click Browse… to navigate to the location.
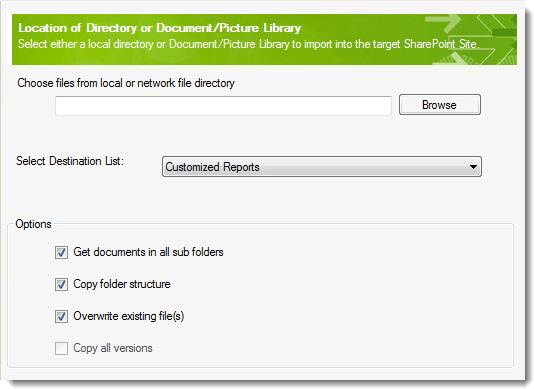 |
| 5. | Select the Destination List from the drop-down menu. All libraries in the target site that you have access to should be listed. |
| 6. |
Click the checkboxes to toggle the Import Options:
|
| 7. | Click Next. |
| 8. |
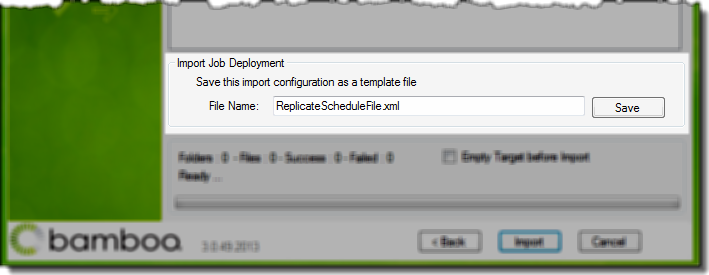
Import Job Deployment. If desired, save the configuration file to use again. Enter a File Name and click Save or use the default name and click Save.
 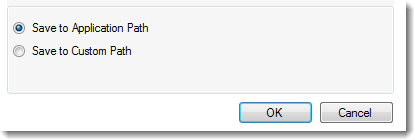 Next, choose if you want to save the import configuration file to the Application Path or a Custom Path. The Application path is the folder where the List Bulk Import application resides. Next, choose if you want to save the import configuration file to the Application Path or a Custom Path. The Application path is the folder where the List Bulk Import application resides.
When ready, click OK. |
| 9. | If desired, choose to delete the existing files in the target library before starting the import. Select the option Empty Target before Import.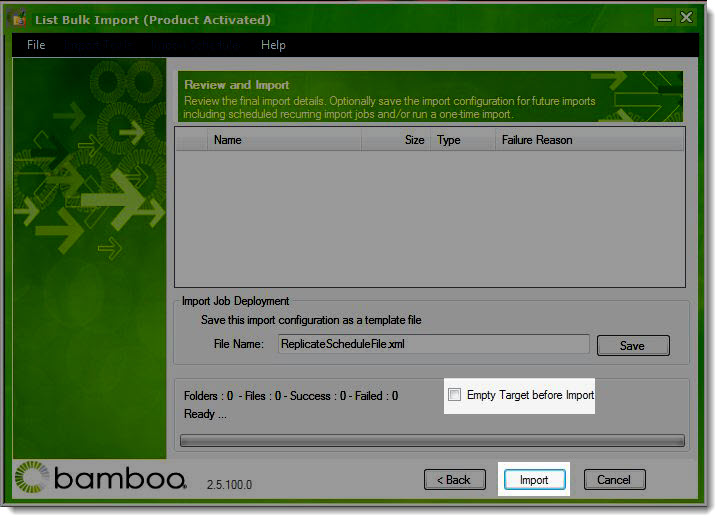 When ready, click Import to start the import. The import will proceed and report progress as shown below. 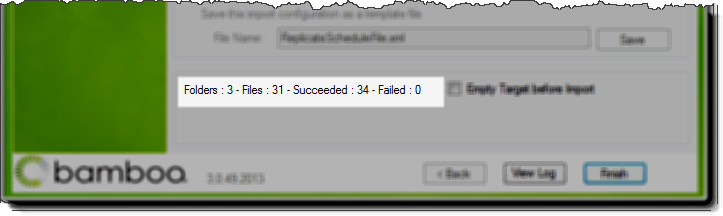 |
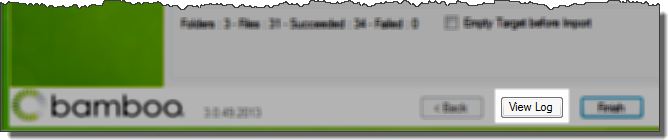
| 10. | When the import completes, click View Log to open the log file information page and review the details about the import. See How to Review Import Results Using the Log Viewer for more information.
 Otherwise, click Finish to return to the main List Bulk Import screen. |
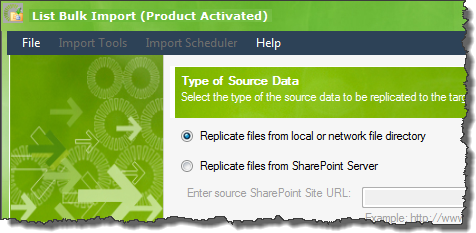 Choose to Replicate files from local or network file directory or Replicate file from SharePoint Server.
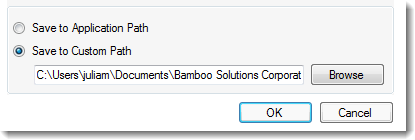 If you choose Save to Custom Path, enter or browse for the desired location.