Alert Plus Overview

Alert Plus Components
The Bamboo Alert Plus system contains four major components. They are:
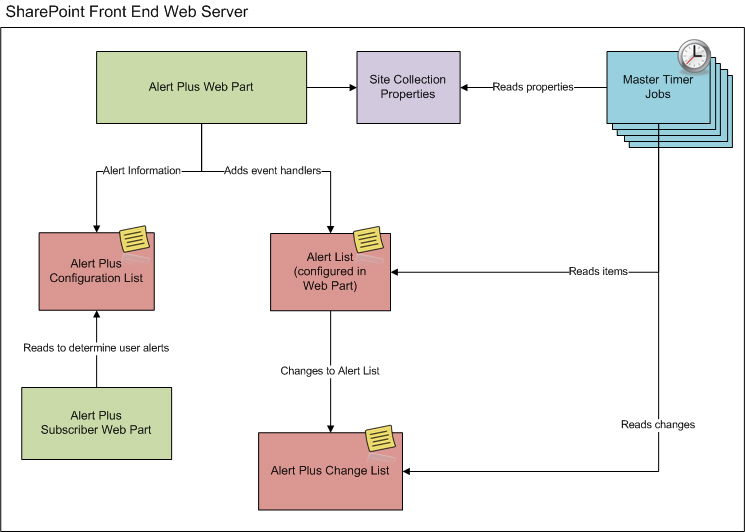
This diagram shows how each of these components fit together as part of the solution.
Top
Alert Plus Web Part
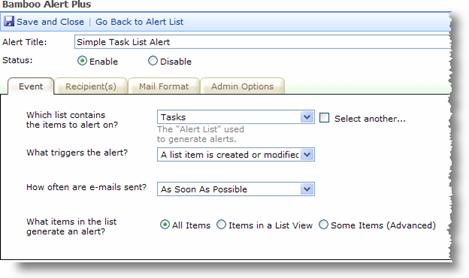
The purpose of the Alert Plus Web Part is to provide a way to set up alerts with specific messages to notify users when things happen (or don’t happen) in SharePoint. You don’t need to rely on your end users subscribing to alerts themselves. You also can get creative with the email subject and body; all alerts don’t have to look the same!
The Alert Plus Web Part is targeted for use by a power user or sophisticated SharePoint. Once the Web Part is installed, deployed to a web application, and activated on a site collection, it can be added to pages as needed at the site level. Typically, there is one Alert Plus Web Part per site or even per site collection, since you can manage alerts for multiple sites from one web part. Using the web part, create alerts that send specific email messages, to specific people, under specific conditions.
Top
Alert Plus Lists
When you add an Alert Plus Web Part to a page on a SharePoint site, two lists are automatically created on that site. They are:
-
Alert+ Configuration List
The Alert+ Configuration List stores configuration information for each alert instance configured in the web part. As you create or modify an alert through the Alert Plus Web Part interface, the changes are stored in this SharePoint list.
-
Alert+ AlertChangeList
This list is used only for alerts that trigger when: an item is deleted or a specific column in the list changes. These type of alerts add event handlers to the alert list (the list where the items that trigger the alert reside) so information can be added to the Alert+ AlertChangeList when items are deleted or changed. When the alerts process, the entries in this list are removed.
Top
Alert Plus Master Timer Jobs
Bamboo Alerts are processed using SharePoint timer jobs. Timer jobs can run on any SharePoint WFE server. There are four default timer jobs that are installed when you install Alert Plus. They are:
- As Soon As Possible Timer Job
- Every Day Timer Job
- Every Hours Timer Job
- Every Week Timer Job
 They correspond with the first four selections available in the How often are e-mails sent? selection on the Event tab of the alert configuration.
If you create an alert with a Custom Schedule, an additional timer job will be created to process that specific alert. The screen shot below from SharePoint Central Administration > Job Definitions shows the four default timer jobs and one custom timer job.

The Alert Plus timer jobs read information from the Site Collection Properties to know what sites have alerts to process.
Top
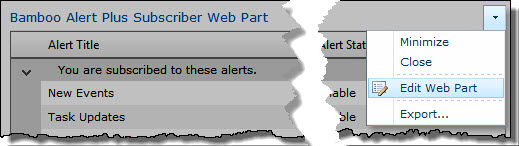
Alert Plus Subscriber Web Part
This Web Part displays all the Bamboo alerts the logged in user is subscribed to. It references the Alert+ Configuration List to determine which alerts to display.
NOTE: This web part does NOT display SharePoint alerts the logged in user may be subscribed to, just Bamboo alerts.
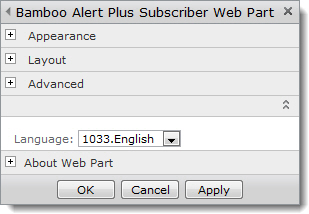
The Alert Plus Subscriber Web Part is an optional web part. It is not required for Bamboo alerts to process; install it only if you want end users to know what Bamboo Alerts they are subscribed to.
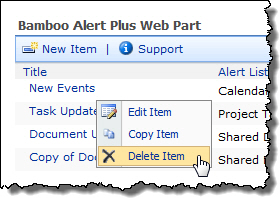
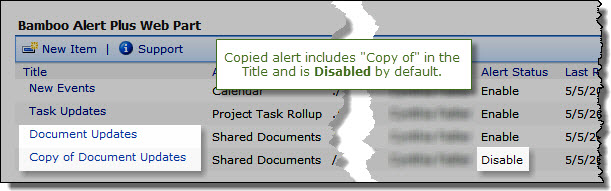
Disable you alert before deleting it. This will ensure that any custom timer jobs and event handlers are removed before the alert is deleted.
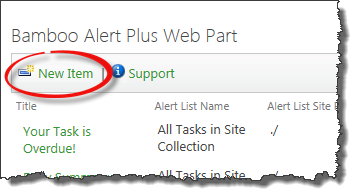 From the Alert Plus toolbar, click New Item.
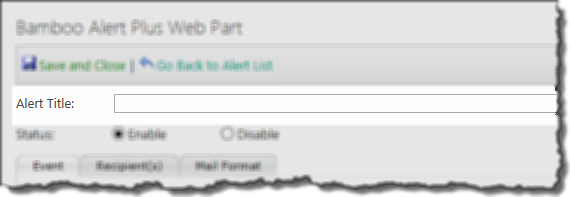
 You will find many of our products complement each other quite nicely saving you the time and trouble to write custom code. With Bamboo at the heart of your SharePoint investment, you gain access to a huge catalog of enhancements, components, and accessories that add the critical functionality your business requires.

 On the Event Tab, specify the frequency of the alert.
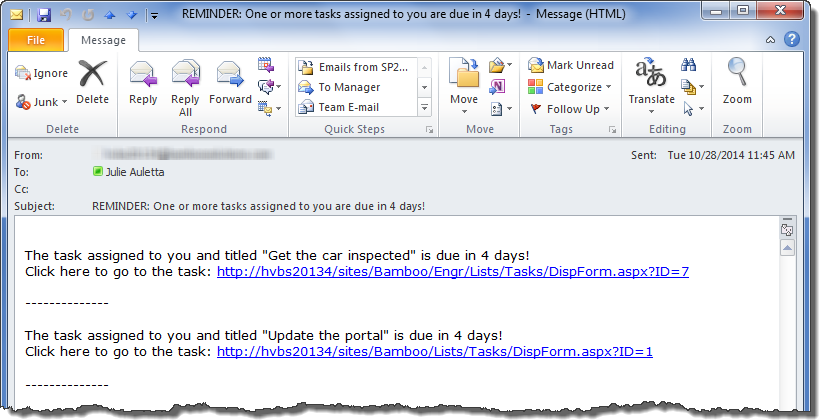
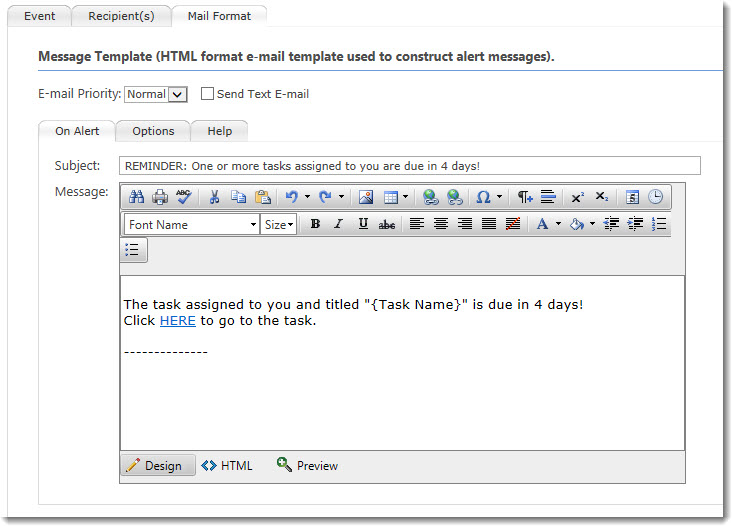 1. This format…
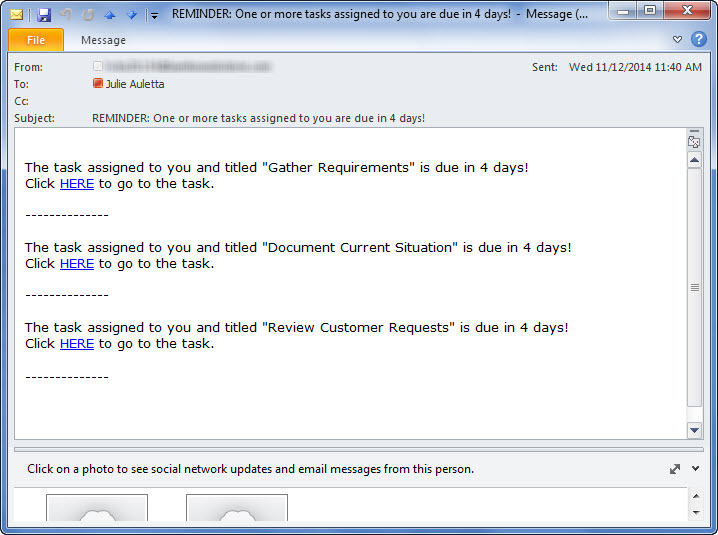 Generates an email that looks like this.
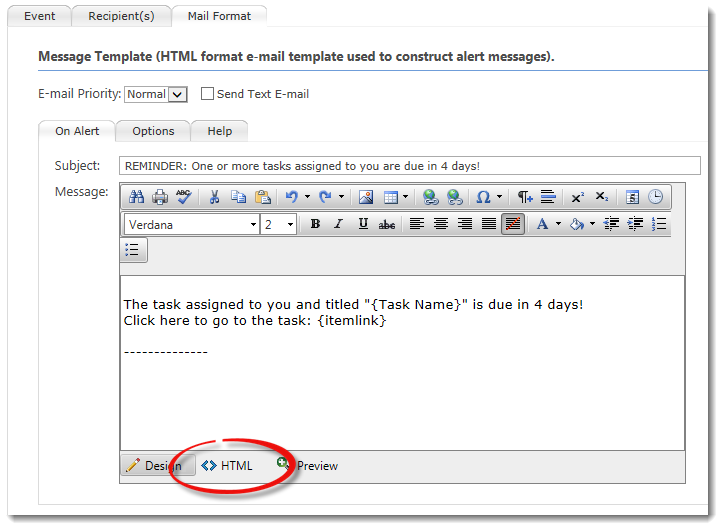
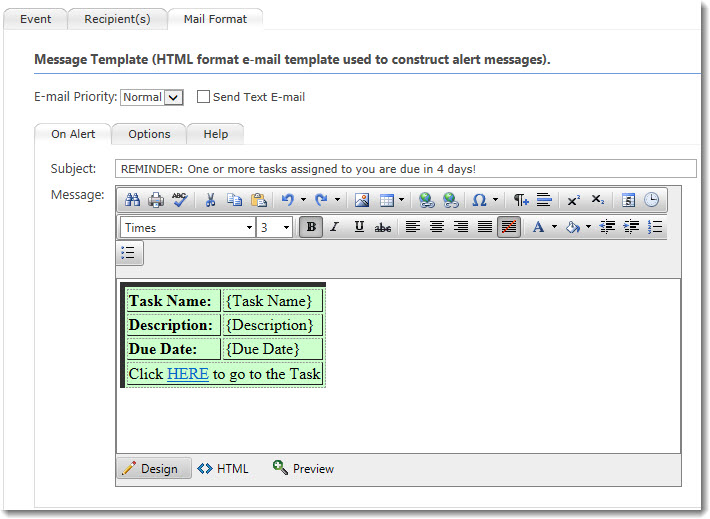 2. This format…
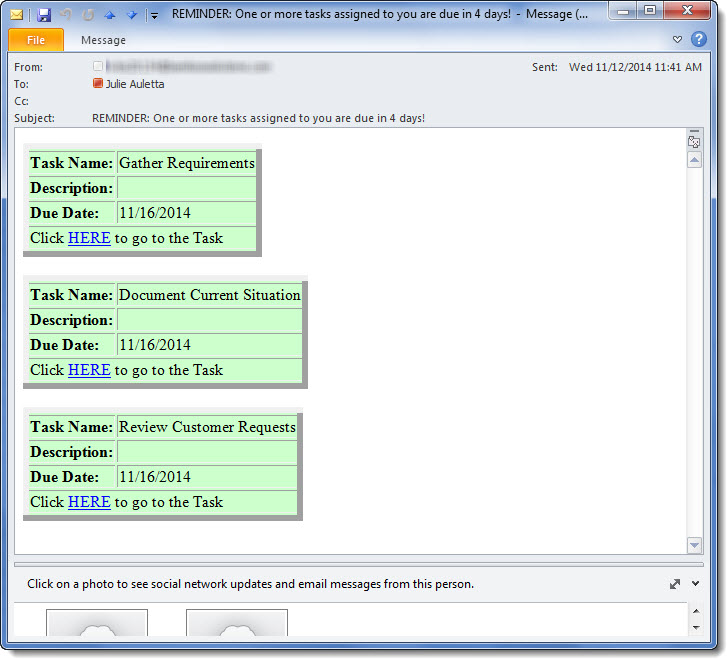 …generates an email message like this:


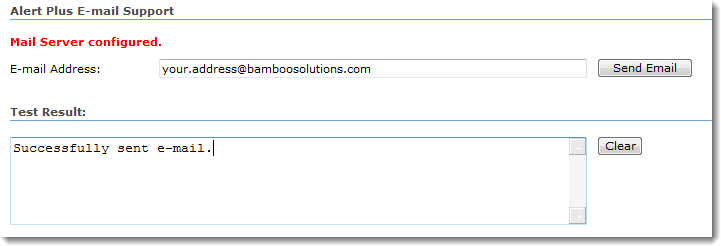 Alert Plus uses the e-mail configuration for the SharePoint server. If Emails are not sent when Alert Plus events are fired, and Bamboo logs (c:windowstempbamboosolutions) show this error:
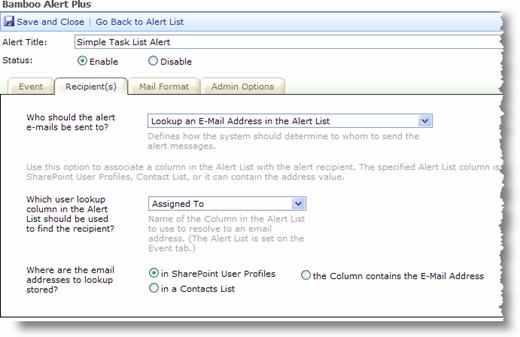
 Alerts in SharePoint are frequently underused. One of the main reasons is that users are often inundated with an unnecessary amount of alerts whenever a list is touched – diminishing their significance. Alert Plus provides the ability to specifically configure alerts so unnecessary alerts are minimized. With Alert Plus, it is also possible to configure the specific subject line and message body for each alert, so end users quickly understand why they are receiving the alert.
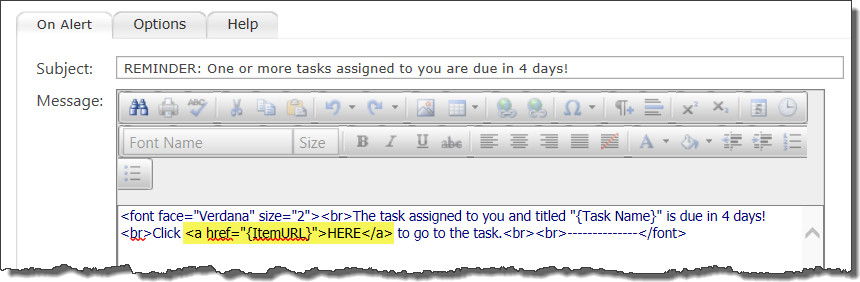
 When you use the {itemlink} token in the body of your email message, the URL to the item that triggered the alert is displayed in the message, as shown here.


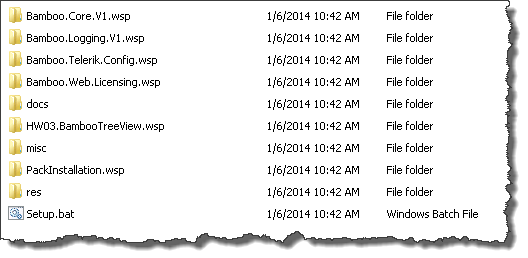 When you extract the product EXE to a location on your SharePoint server, several folders are created that contain installation files and Setup program configuration files. The root level of the extracted file system includes the file Setup.bat, which launches the Setup program. The list below shows the installation files for the Tree View Web Part, as an example.
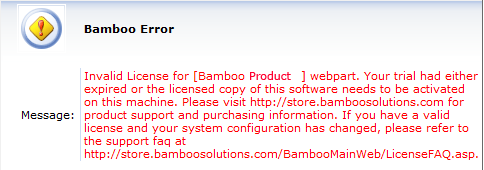
 As you look at each product’s documentation page, you will see there is a link to the Release Notes for that product at the top of the page.