| Overview of the localization process for Bamboo Products |
|---|

Applies to:
- All Bamboo Web Part components
- Windows SharePoint Services 3.0 and Microsoft Office SharePoint Server 2007
- SharePoint Foundation 2010 and SharePoint Server 2010
- SharePoint Foundation 2013 and SharePoint Server 2013
Bamboo products can be configured to display product menus, user interface text, and settings in your local language. You can also customize the default text provided with the product. To change the language or text a product displays, perform the steps described in this page. Click a link below for detailed information about each step.
About the Language Files
There are four language files included with Bamboo products. Their name and location may differ by product.
| Setting | Older Products | Newer Products |
|---|---|---|
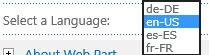
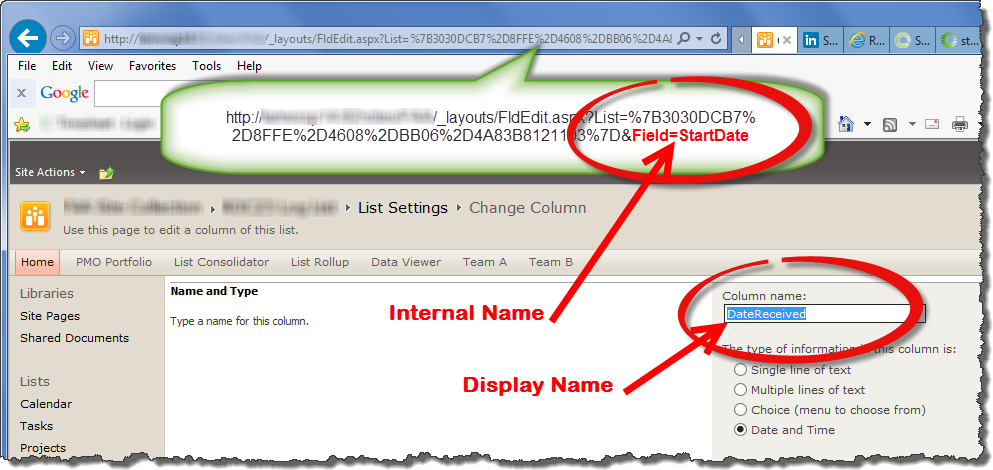
| Web Part Language Settings | 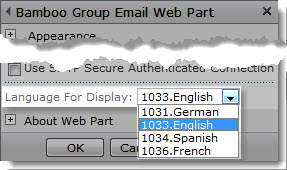 |
Newer products will show the language choices in the Web Part settings using the abbreviated [language]-[COUNTRY] format (e.g. “en-US”)
|
| Language File Names |
|
|
| Language File Location |
These files are located in the wpresources folder. This folder and its associated language files may be located under one of the following paths on each SharePoint server:
|
Depending on your version of SharePoint, your localization files may be found in the following locations.
|
The German, Spanish and French files have not yet been translated; although the file name suggests otherwise, their content is English. Edit these files to provide your own text or translation of the product user interface and settings.
IMPORTANT: If you do not rename the files you modify, your customizations will be overwritten when you upgrade to a new Bamboo product release.
To make sure that your customizations do not get overwritten when you upgrade the product, follow these steps:
| Step | Action |
|---|---|
| 1. |
Copy the default file for the appropriate language and rename the copy. For example, you might save a localized French language file as CompanyName.1036.French.xml or Copy.Bamboo.ProductName.fr-FR.resx.
To create language files for languages other than German, English, Spanish, or French, copy one of the existing language files and rename it. Then edit the file to provide your own translation. |
| 2. |
When you upgrade your Bamboo product, the installation/setup application will not remove or overwrite language files you created if you saved them with a name other than the default. However, product upgrades may require that you merge new resource strings for the new product release.
Copy these new resource string IDs from a default language file to your custom file and make any desired translations. |
Editing Text in Language Files
To change text in a language file, follow these steps:
| Step | Action |
|---|---|
| 1. | Open the language file in a text editor and locate the text you want to change. |
| 2. |
Edit the text between the <resource></resource> tags but do not edit the tags.
If you want to remove text completely, delete only the text; do not delete the <resource> entry from the file, or the product interface will display an error message. In the example below, the text you can modify is highlighted in gray.
|
| 3. | When you are finished with your changes, save the file and copy it to the appropriate resources folder on all Web front-end servers in your SharePoint farm. |
| 4. | Follow the instructions below to select your new language file in the product settings. |

Selecting a New Language File for a Product
The instructions below for changing language file settings apply to Bamboo products with settings configured in the Web Part tool pane or Web Part Settings pop-up page. If you have multiple instances of a product in your portal, you must make the same change for each instance that requires the change.
Change the Language Settings in the Web Part Tool Pane:
| Step | Action |
|---|---|
| 1. | 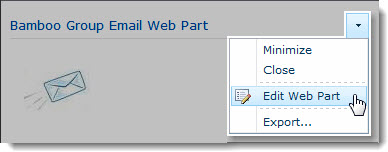 Click the edit drop-down menu on the Web Part title bar and select Edit Web Part (or Modify Shared Web Part if you are using SharePoint 2007). See the example from the Group Email Web Part. Click the edit drop-down menu on the Web Part title bar and select Edit Web Part (or Modify Shared Web Part if you are using SharePoint 2007). See the example from the Group Email Web Part. |
| 2. | In the Language Settings section of the Web Part tool pane, select the language file you want to use. See the example from the Group Email Web Part. If you have created a new file (i.e., Copy.Bamboo.ProductName.fr-FR.resx), it should appear in the list as a valid selection. |
| 3. | Click Apply and then OK in the Web Part tool pane to apply your changes. |
Change the Language Settings in the Web Part Settings Pop-up Page:
| Step | Action |
|---|---|
| 1. | 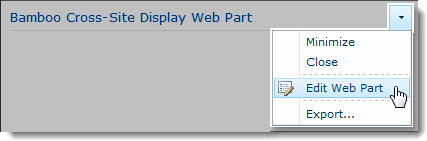 Click the edit drop-down menu on the Web Part title bar and select Edit Web Part (or Modify Shared Web Part if you are using SharePoint 2007). Click the edit drop-down menu on the Web Part title bar and select Edit Web Part (or Modify Shared Web Part if you are using SharePoint 2007). |
| 2. | 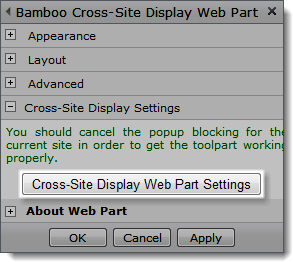 Click the [Product] Settings button in the Web Part tool pane. Click the [Product] Settings button in the Web Part tool pane. |
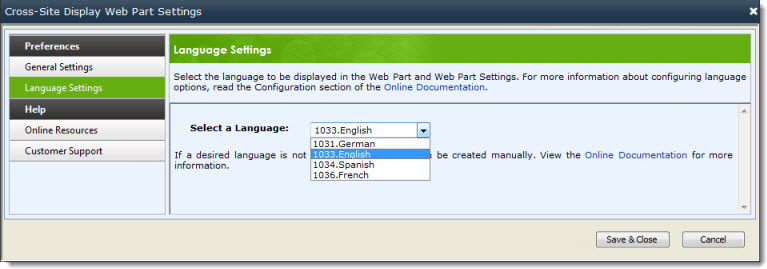
| 3. | Click Language Settings in the Web Part Settings page and select the language file you want to use. If your product does not have a Language Settings section, look for the Select a Language drop-down list in General Settings instead.
If you have created a new language file (i.e., Copy.Bamboo.ProductName.fr-FR.resx), it should appear in the list as a valid selection. |
| 4. | Click the Save & Close button to save the Web Part settings. |
| 5. | Click Apply and then OK in the Web Part tool pane to apply your changes. |


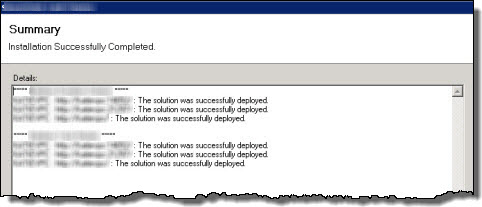
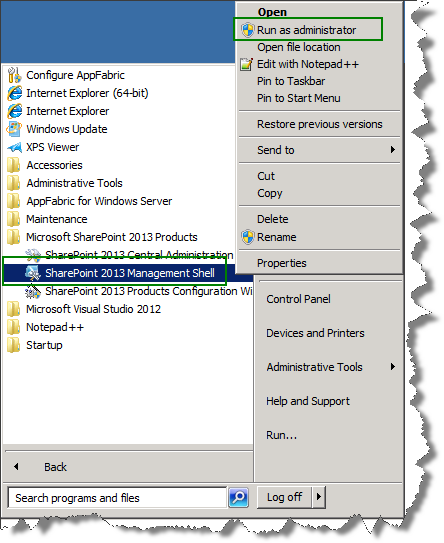
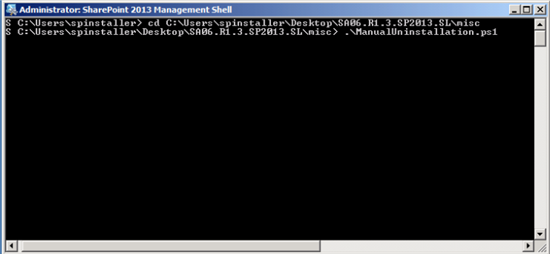
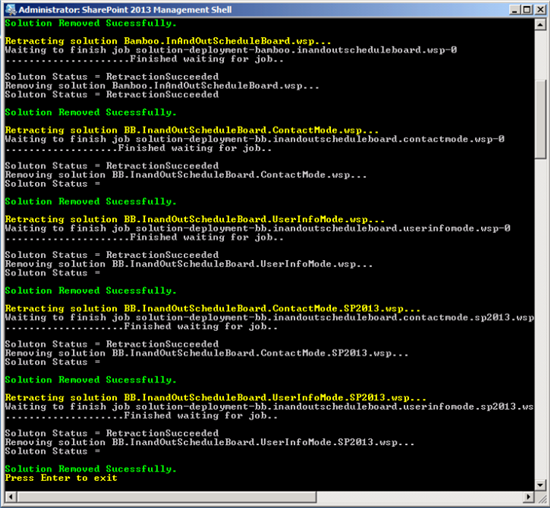
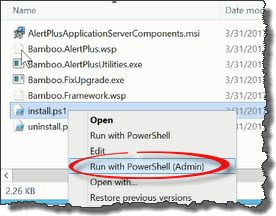 Run the Install.ps1 from a WFE server in PowerShell as an admin.
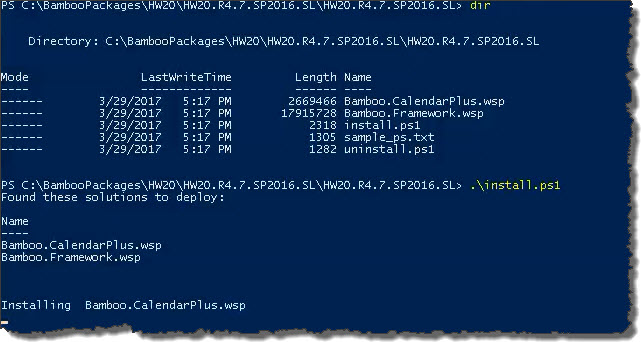 The script will look for WSPs in the install folder and list those found. It will install them in alpha order.


 Double-click the product EXE file to extract the contents of the product download.
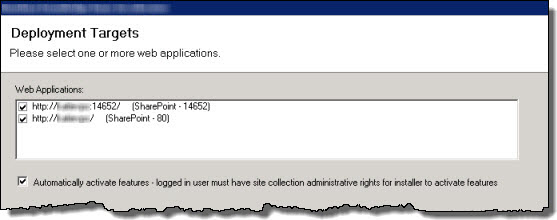

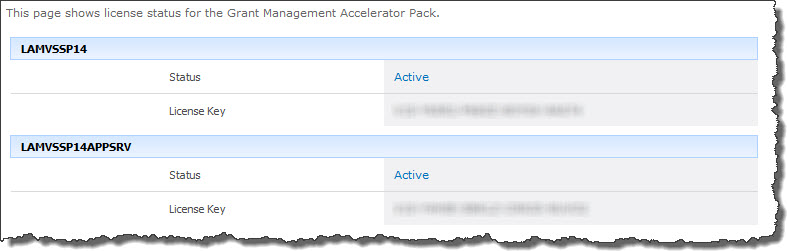


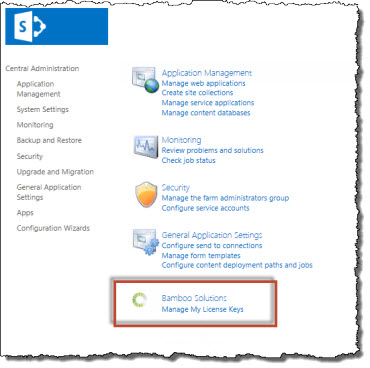
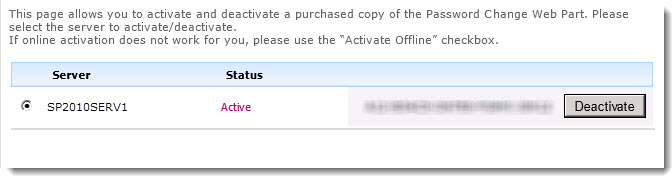
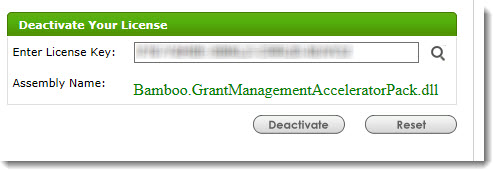
 ). The Assembly Name licensed with this key will be displayed. Ensure it is the product you expect and then click Deactivate.
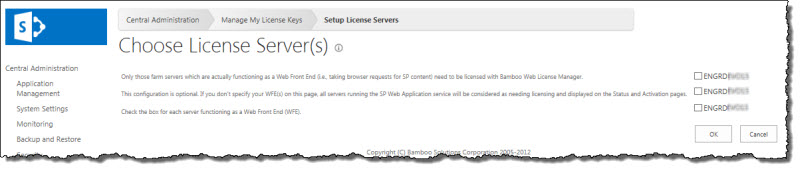
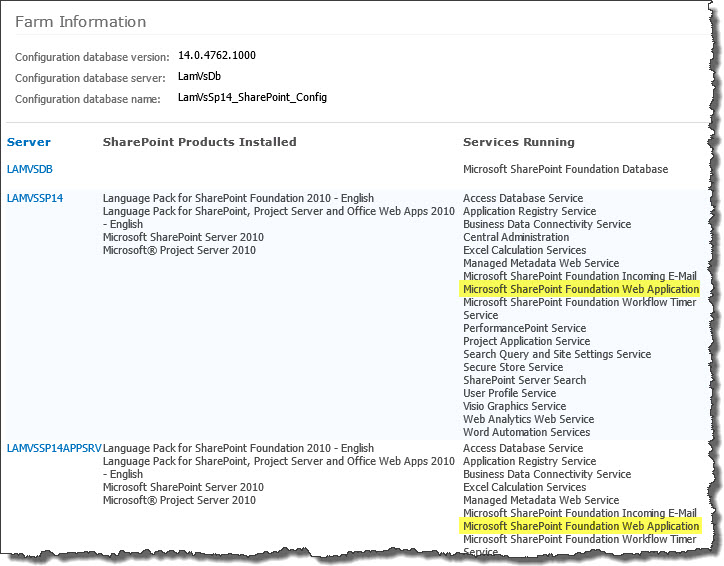 To determine which servers on the farm run these services, go to Central Administration > System Settings > and then Manage servers in this farm. If you are using WSSv3/MOSS, this page is accessed in Central Administration through Operations > Servers in Farm. In this example, there are two WFE servers on the farm.


 Automatically collect, filter, group, sort and export items from multiple SharePoint lists all across your portal in real time.
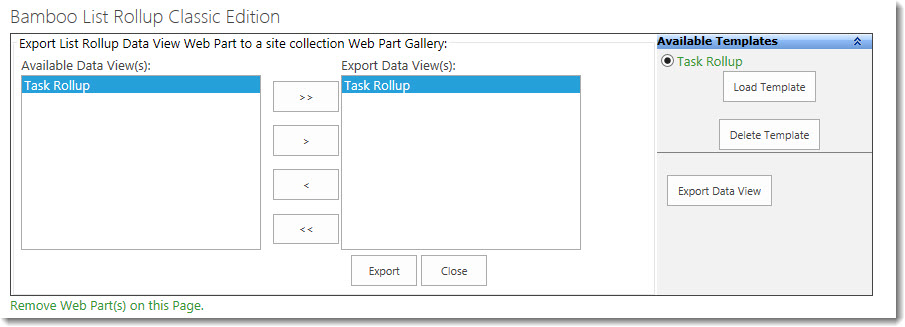
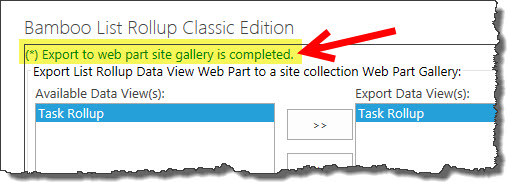 A wait cursor will appear during the export. When the export is complete, the message Export to web part site gallery is completed will appear at the top of the display.
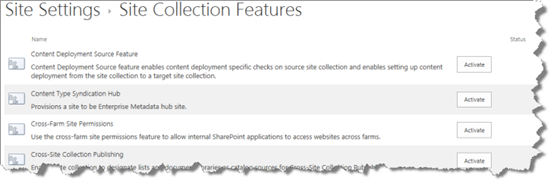
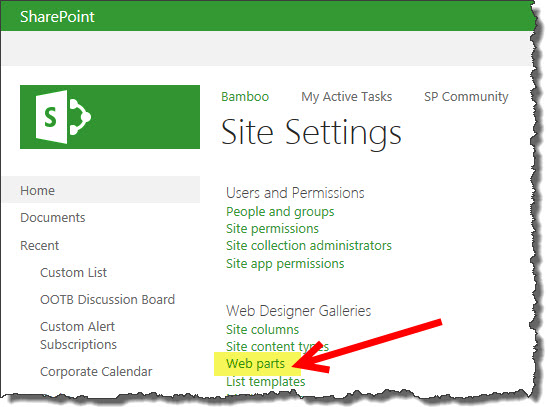 Access the sites Web Part Gallery in Site Settings under Web Designer Galleries > Web Parts.
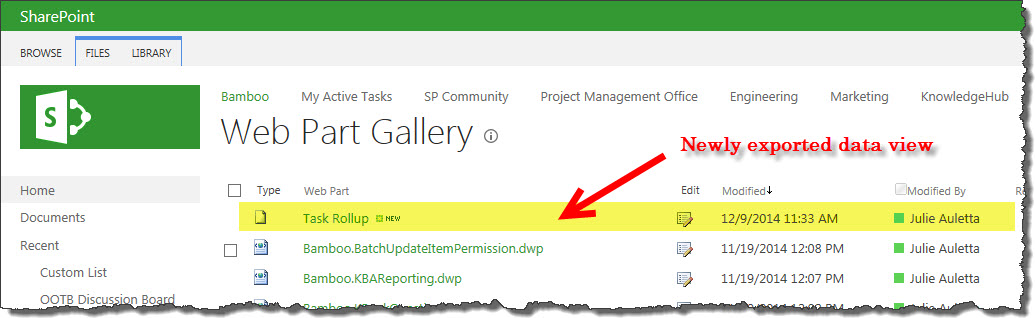

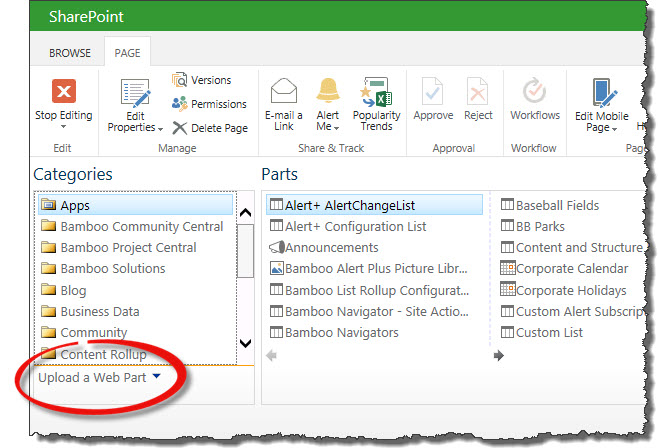 Go to the page where you want to import the saved web part and choose to insert a web part. When the web part gallery appears, click Upload a Web Part beneath the Categories list.
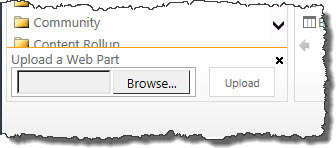 Click the Browse… button to browse for the file you exported in Step 5 above. Then click Upload to upload it. The web part gallery will close.
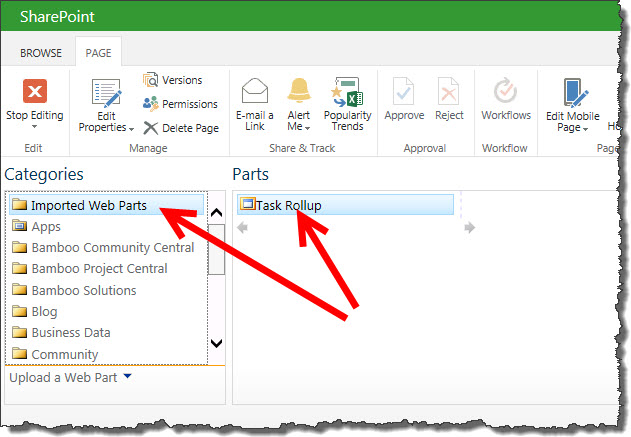 Click to insert/add a web part to the page. This time, a Category called Imported Web Parts will appear. Select it and your uploaded web part will appear in the Parts list. Insert it as you would any other web part.
 SharePoint 2013:
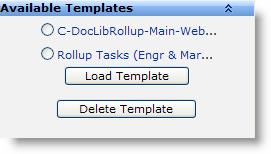 From the List Rollup Classic Edition Web Part, select the template you want to modify and click Load Template.
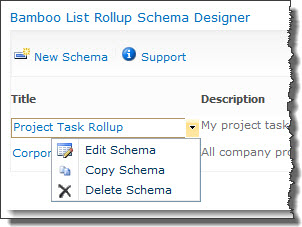 To edit an existing schema, click on the schema name in the Title column or choose Edit Schema from the item edit menu.
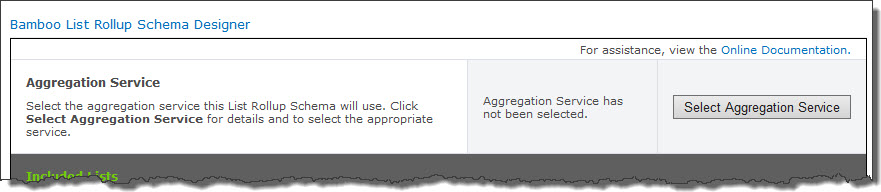
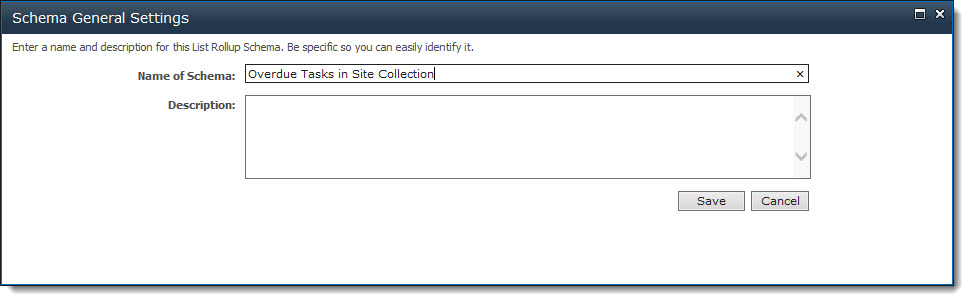
 In the List Rollup Schema Name section:
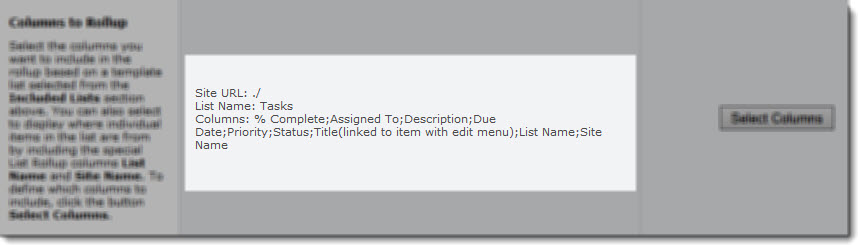
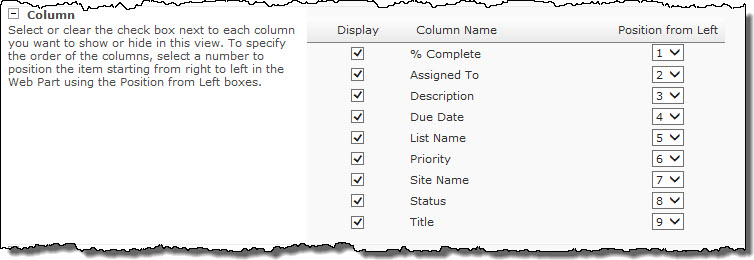 In the Column section, choose the columns you want to display and the order they will appear.
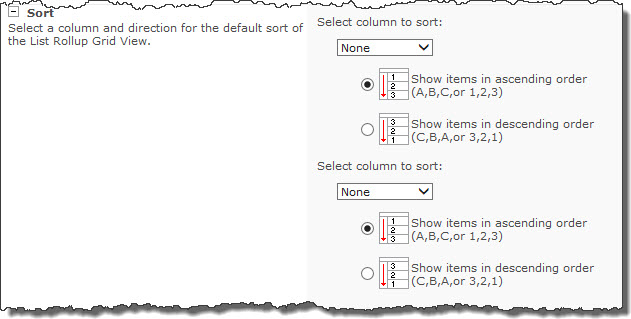 In the Sort section, configure the default sort for the data to be displayed. You can sort by up to two columns.
 If you want to return all items defined in the schema by default, leave the default selection of Show all items in this view in the Filter section.
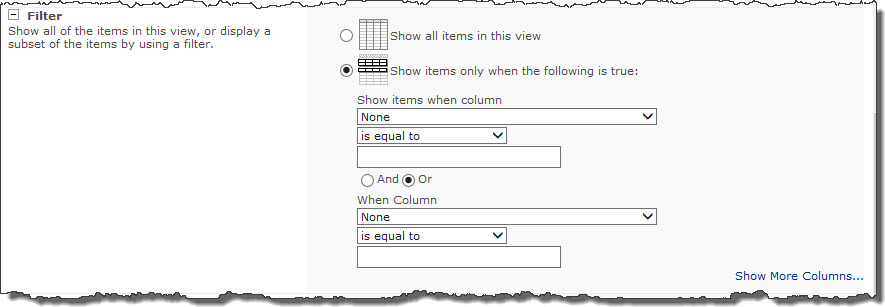 Alternatively, click the Show items only when the following is true and then configure the filter criteria. If it takes more than two columns to define your filter criteria, click Show more columns… to add more.
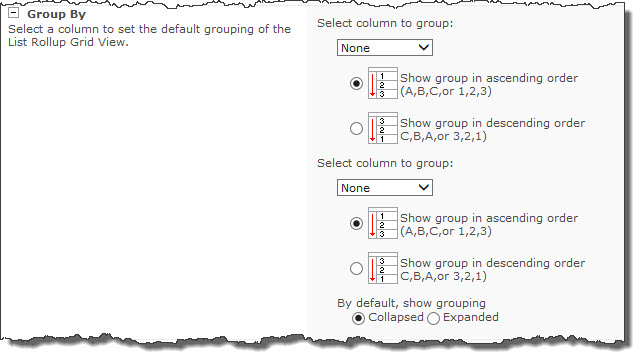 In the Group section, configure the default grouping if needed. It is possible to group by a maximum of two columns. Don’t forget to choose how to display the default grouping – collapsed or expanded.
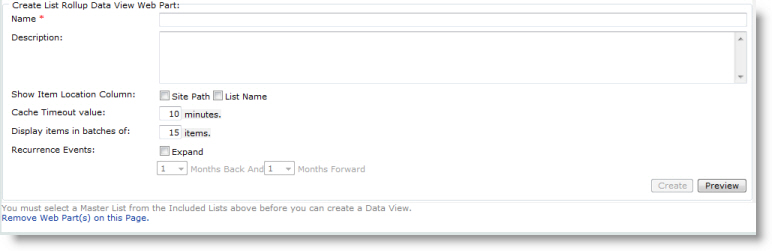
 In the Item Limit section, configure the number of items to display per page and also the total number of items to return. The more items per page, the slower the page load.
 In the Grid View General Settings section configure what end users can do from their browser. You can allow them to Filter, Sort, Group, or Export the data displayed.


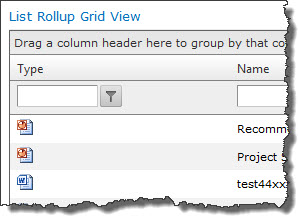
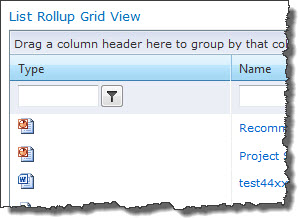
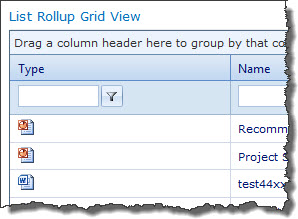
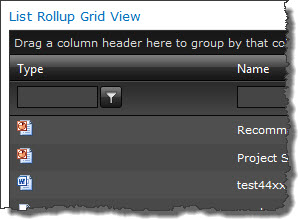
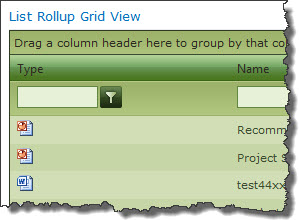
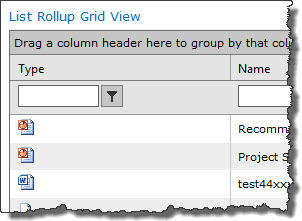
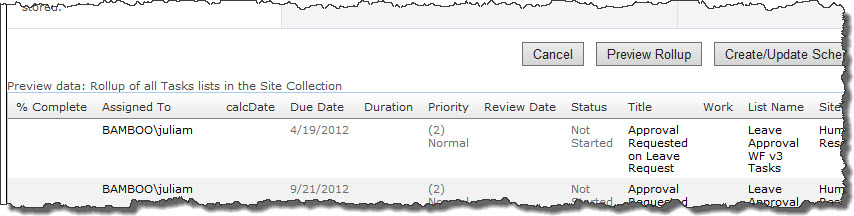
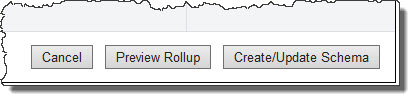 If desired, preview your rollup by clicking the Preview Rollup button. The first 15 items in the rollup will be displayed at the bottom of the page (you may need to scroll down to see it). See an example below.


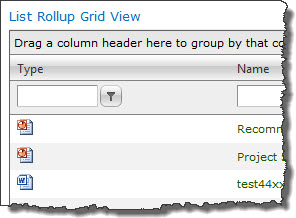
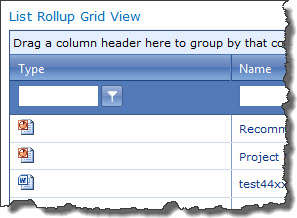
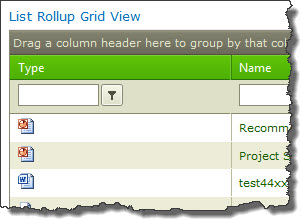
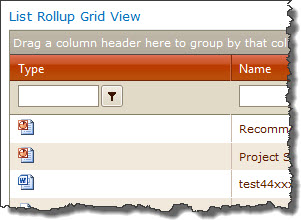
 If desired, preview your rollup by clicking the Preview Rollup button. The first 15 items in the rollup will be displayed at the bottom of the page (you may need to scroll down to see it). See an example below.


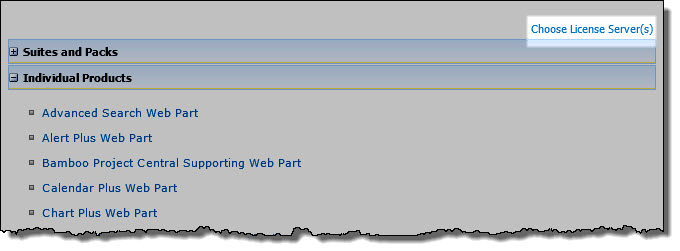
 You will find many of our products complement each other quite nicely saving you the time and trouble to write custom code. With Bamboo at the heart of your SharePoint investment, you gain access to a huge catalog of enhancements, components, and accessories that add the critical functionality your business requires.


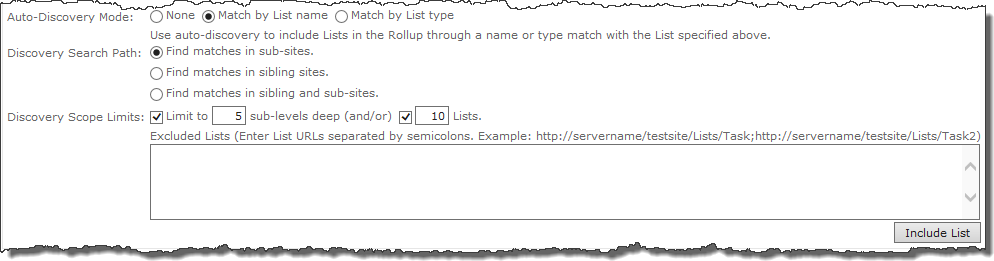

 Discovery Search Path. Select the desired Discovery Search Path option to indicate which sub-sites are to be searched during the automatic discovery of lists.
 Discovery Scope Limits. You can limit the scope of the automatic discovery process by specifying a limit to the number of sub-sites or number of lists that the discovery process will traverse. Setting these limits is important for obvious performance reasons. Note that there is no way to guarantee that a particular set of lists is included when the limit is applied. Lists will be selected for inclusion in the order they are returned from SharePoint.