When to Activate
After you purchase, you receive License Keys to use to activate the product license on each WFE server on your farm. License Keys never expire. See How many License Keys do I need for my SharePoint farm for more information. You can use a license key on only one server at a time. Servers in non-production (i.e., Staging, Test, Dev) farms require licenses too, just like servers in your production farm.
Activating a Standard Product License
For most Bamboo products, license keys are required for each WFE server in the SharePoint Farm. For certain products, such as Alert Plus or List Rollup, additional license keys may be required for application servers as well to use certain features. See Activating Your Bamboo Product License
Suites, Packs, Libraries, and Toolkits
For Bamboo Suites, Packs, Libraries and Toolkits, a single license activates all the products in the suite or pack for a specific WFE server. See Overview of Suite or Pack Licensing.
Keyless Licensing
On very large farms with several Bamboo products installed, it is often difficult to manage so many license keys. Bamboo offers keyless licensing for these scenarios. Please contact your Sales Manager for more information about keyless licensing.
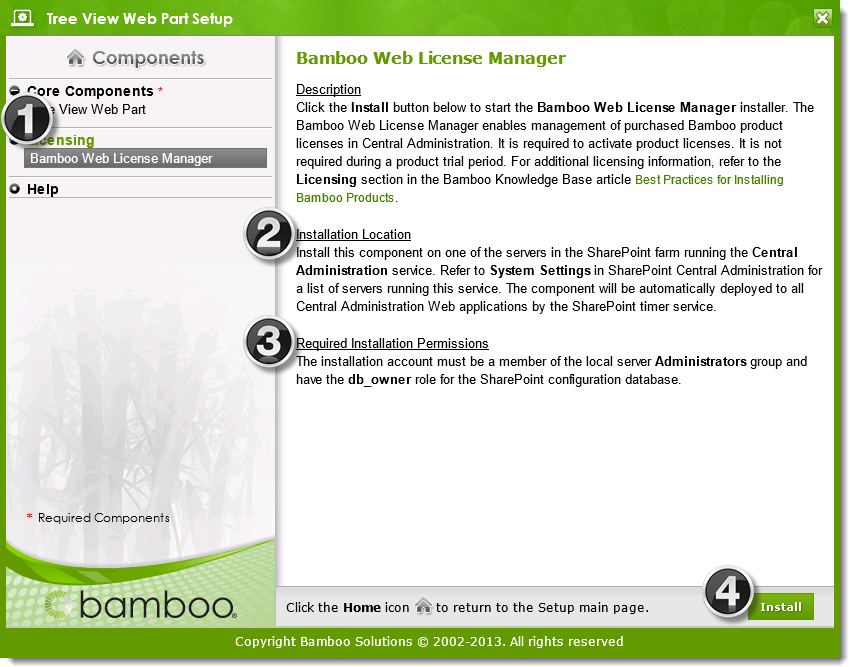
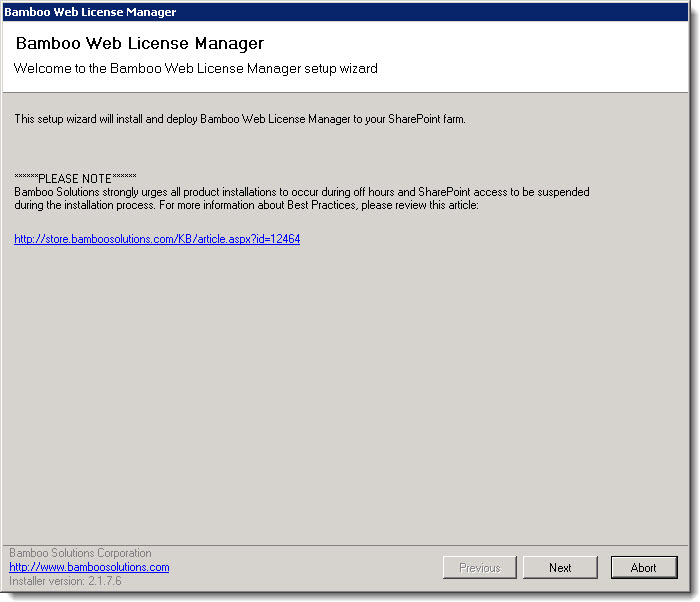
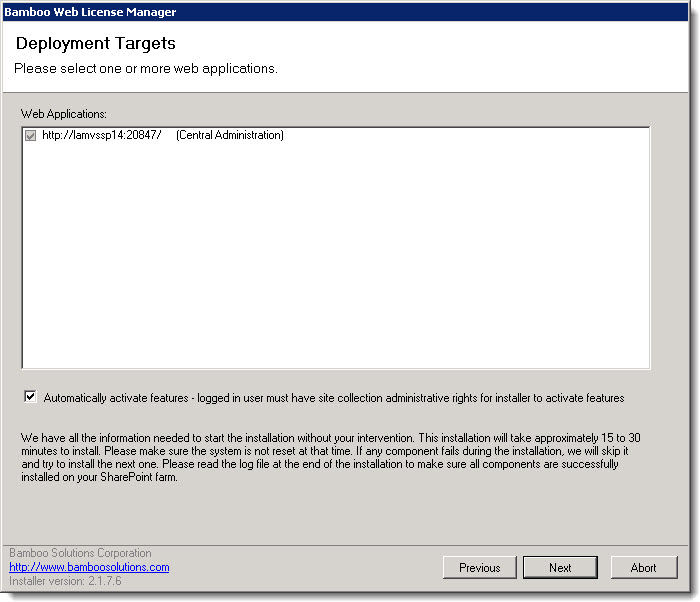
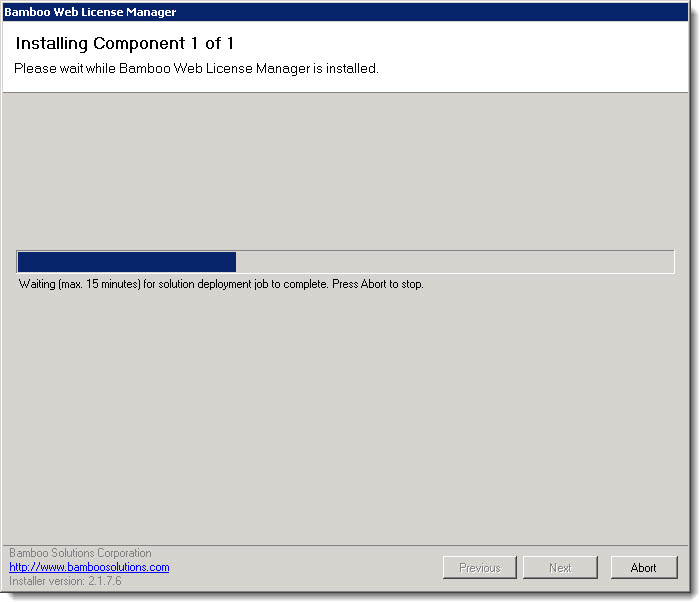
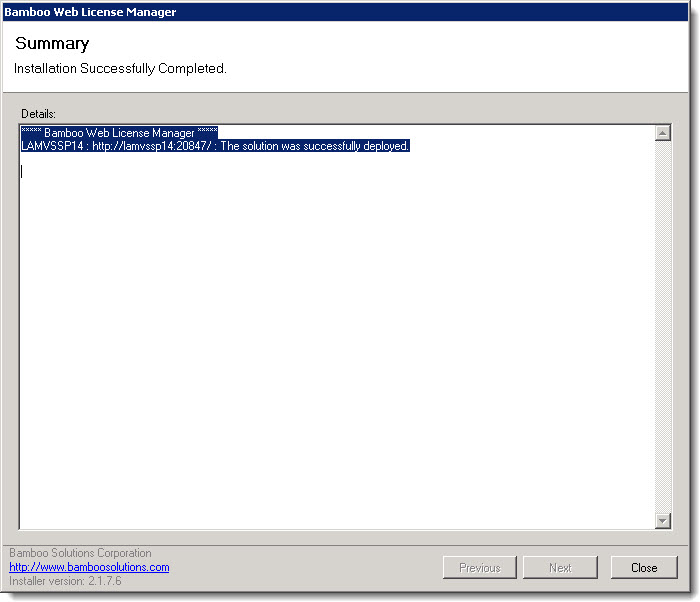
Use the Bamboo Web License Manager to activate Bamboo products install on the SharePoint farm. For additional details, please see
- Installing the Bamboo Web License Manager
- Activating Your Bamboo Product License
- Activating My Bamboo Product License Offline if your server doesn’t have access to the Internet.
Desktop Applications
Some Bamboo products are not installed on the SharePoint farm, but on a PC or server somewhere on your network. To activate the license for these products, please see Activating a Bamboo Desktop Product Using the License Manager.
Moving or Migrating your farm
If you are moving your SharePoint farm to new servers, please see Migrating my Bamboo Product License to a New Server. Licenses are activated to a particular hardware profile of the server. If the profile changes (i.e., you add a hard drive), the license will require migration.
If you have migrated your environment to a new SharePoint version (i.e., from SharePoint 201 to SharePoint 2013), see Migrate your Bamboo Product License Key From one SharePoint version to another. License keys for products running in different SharePoint versions are different. On-Prem Bamboo products on active support are eligible for no-cost upgrades to a newer SharePoint version (2016/2019/2022) as long as the two farms are not running concurrently for more than 60 days. Migrations to Microsoft 365 will require the purchase of new licenses. However, we do offer a discount for customers on current support for an on-premise product that has a Microsoft 365 equivalent
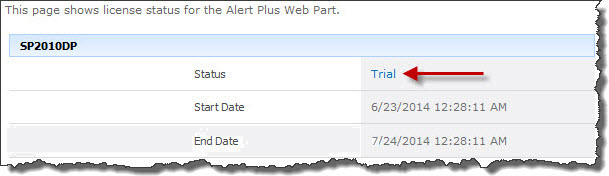
Trials
For product trials, no license is required. If you are wondering about the status of your trial or when it will expire, please see
- Overview of Bamboo Product Trials
- How long do trial versions of Bamboo software last and when do they start?
- How to check the status of your trial license
- Can trials be extended

 button for the item.
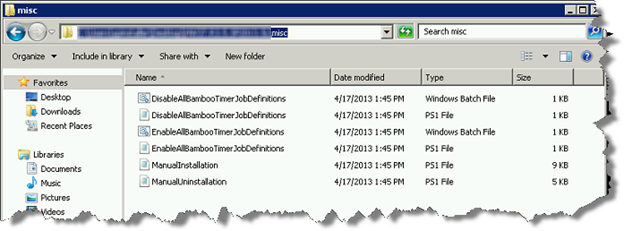
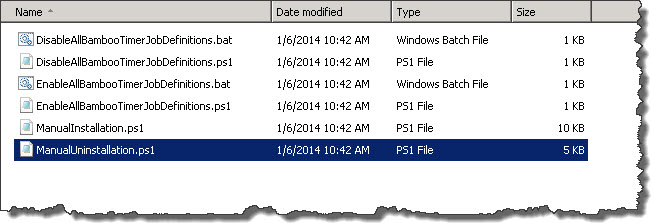
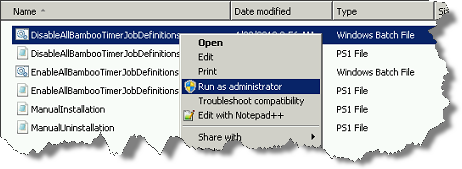 Right-click on the file DisableAllBambooTimerJobDefinitions.bat and choose Run as administrator. This script stops the timer job services for all Bamboo products installed on the farm, helping to put the farm in a quiescent state for the install.
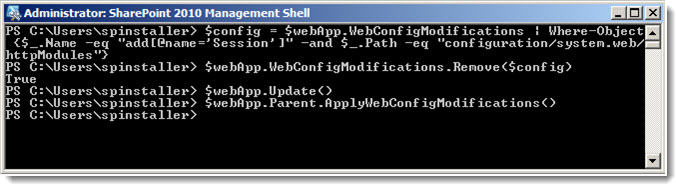
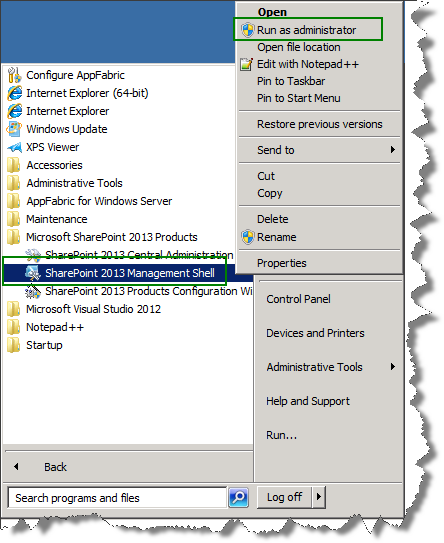
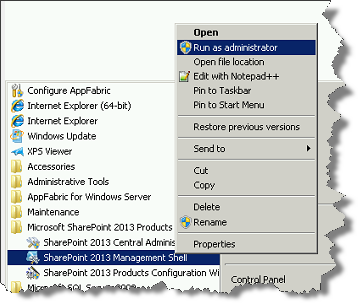 On the WFE where you extracted the product folders, right-click on the PowerShell application in the Start menu and choose Run as administrator. You can use Windows PowerShell or SharePoint 2013 Management Shell.
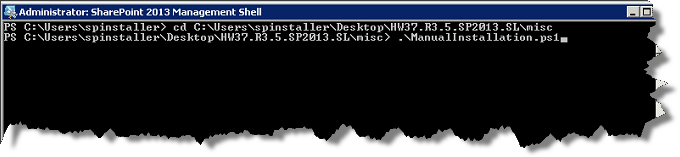

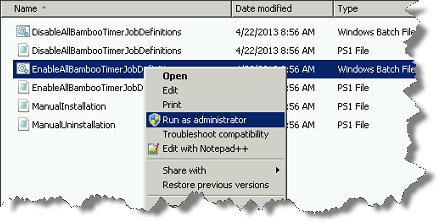 Return to the misc folder. Right-click on EnableAllBambooTimerJobDefinitions.bat and choose Run as administrator. This enables all Bamboo timer job services.
 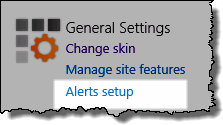 Access the alerts page from the Alerts Setup link in the
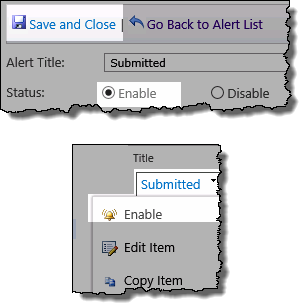 To enable an alert either:
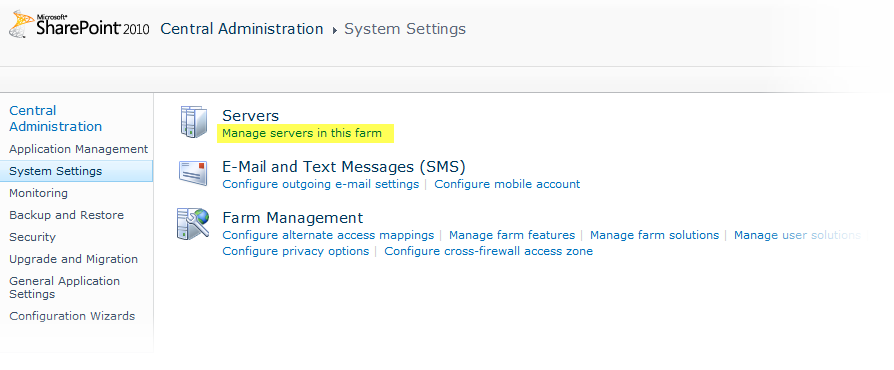


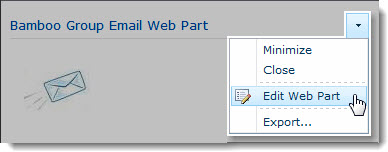 Click the edit drop-down menu on the Web Part title bar and select Edit Web Part (or Modify Shared Web Part if you are using SharePoint 2007). See the example from the Group Email Web Part.
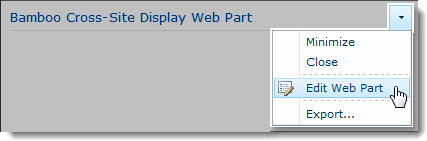 Click the edit drop-down menu on the Web Part title bar and select Edit Web Part (or Modify Shared Web Part if you are using SharePoint 2007).
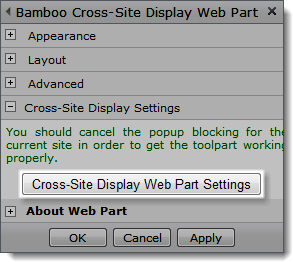 Click the [Product] Settings button in the Web Part tool pane.
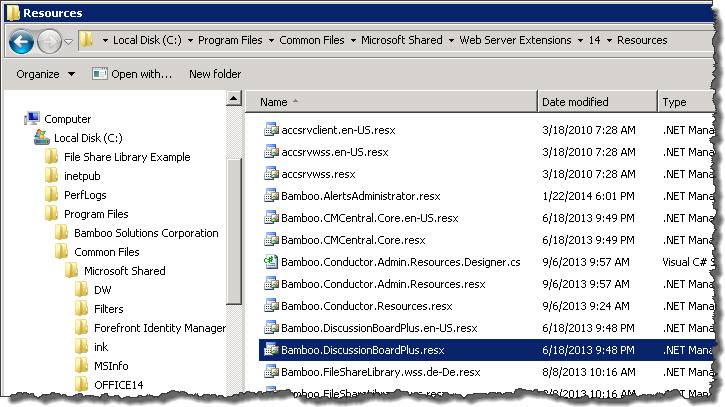
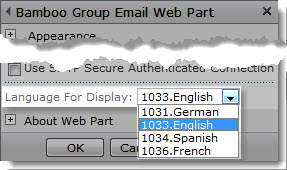
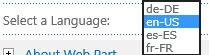
 This one includes text used in application pages, custom site menu actions, navigation elements, and other runtime resources. Any changes you make will apply to new and existing product instances only.

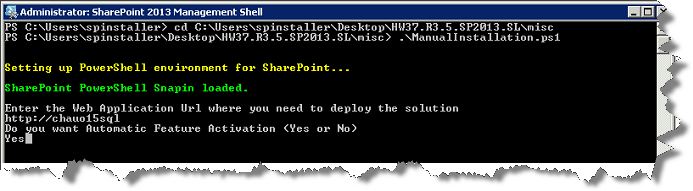
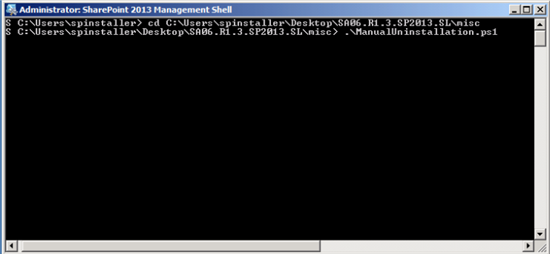
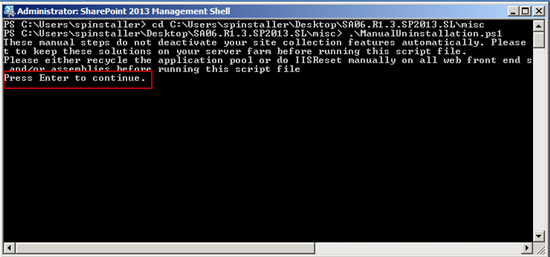
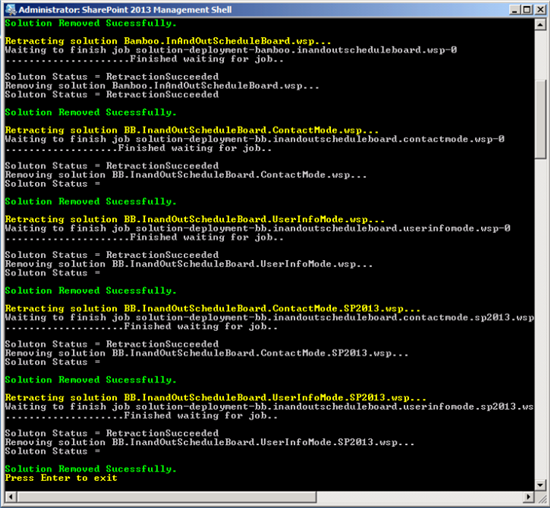
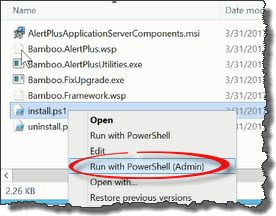 Run the Install.ps1 from a WFE server in PowerShell as an admin.
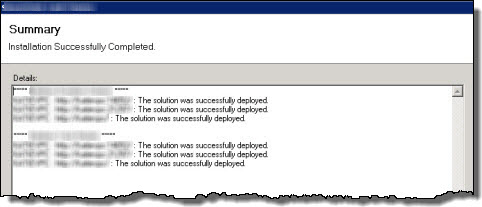
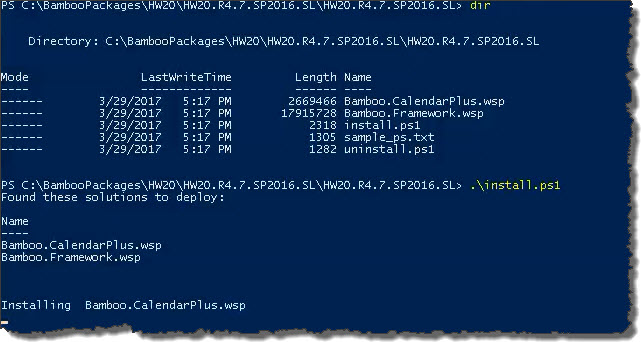 The script will look for WSPs in the install folder and list those found. It will install them in alpha order.

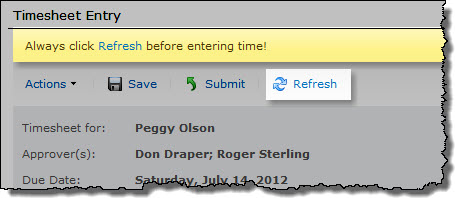
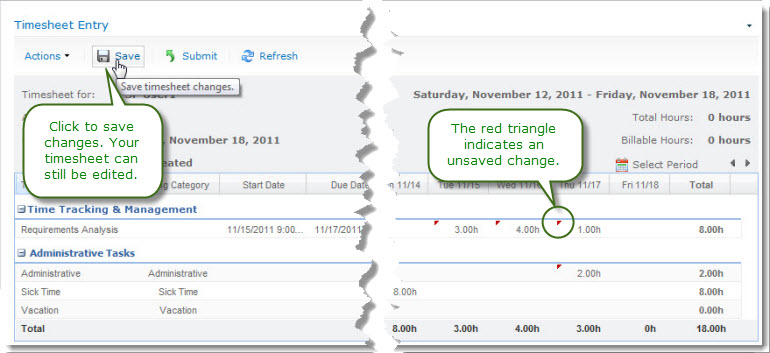
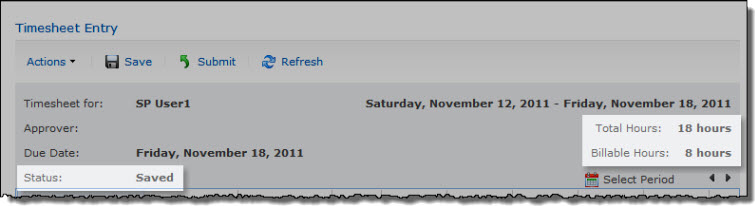
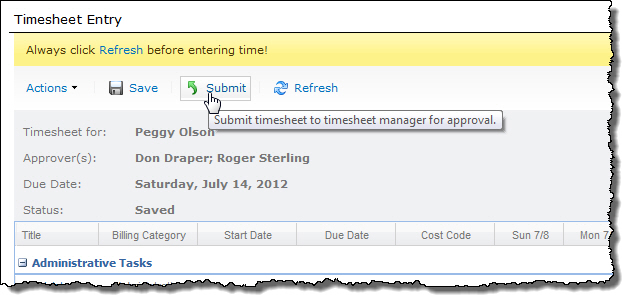 When you are ready to submit your time for approval, click the Submit button at the top of the timesheet. You will be prompted to enter comments for this timesheet period (optional).
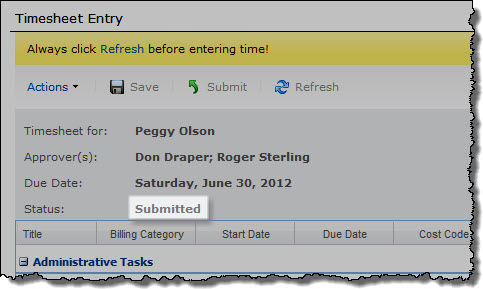
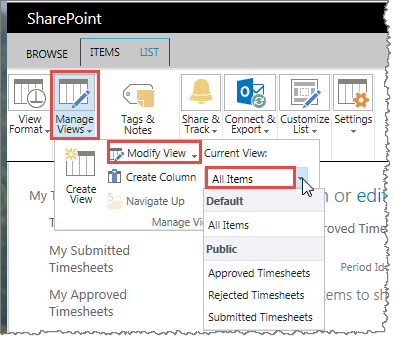
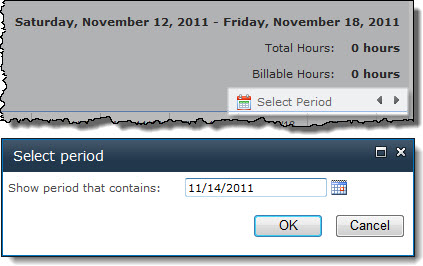
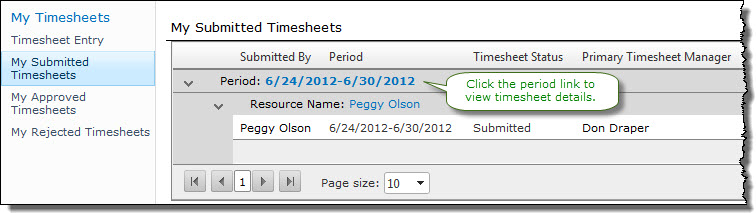 You can also view submitted timesheets that are waiting for approval by clicking the My Submitted Timesheets link in the Quick Launch menu. This view displays a summary for each timesheet that was submitted. To view timesheet details, click the Period link at the top of the timesheet.
 Double-click the product EXE file to extract the contents of the product download.
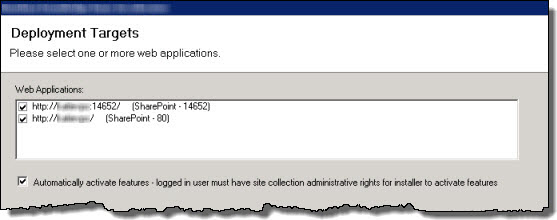

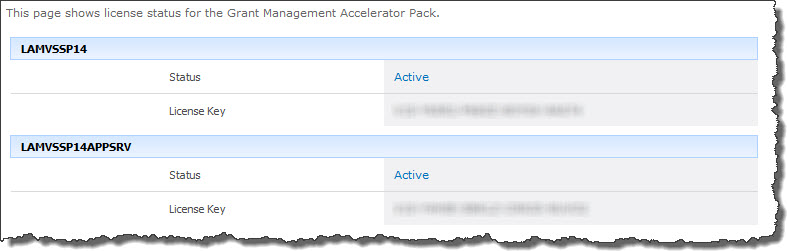


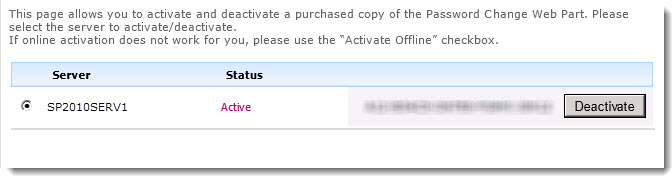
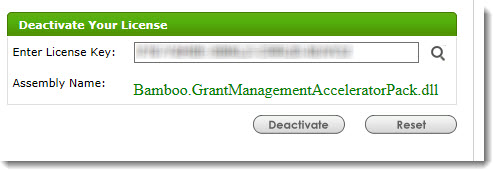
 ). The Assembly Name licensed with this key will be displayed. Ensure it is the product you expect and then click Deactivate.
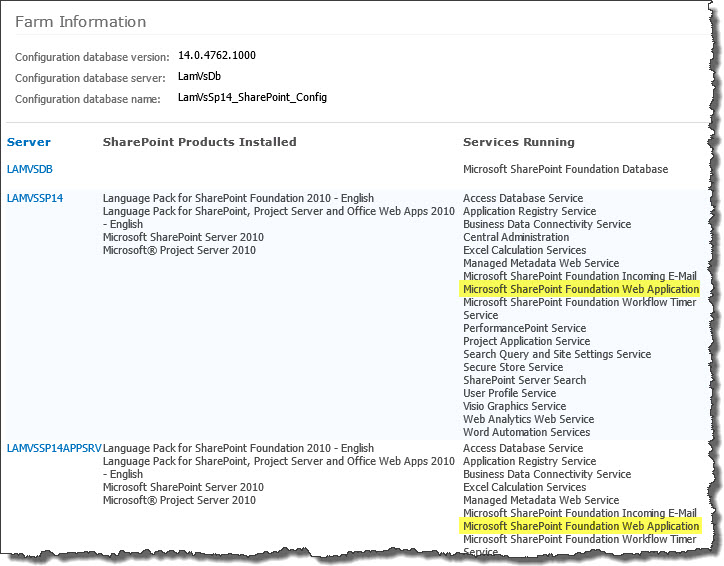 To determine which servers on the farm run these services, go to Central Administration > System Settings > and then Manage servers in this farm. If you are using WSSv3/MOSS, this page is accessed in Central Administration through Operations > Servers in Farm. In this example, there are two WFE servers on the farm.


 SharePoint 2013:
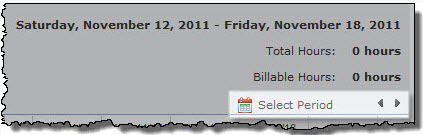
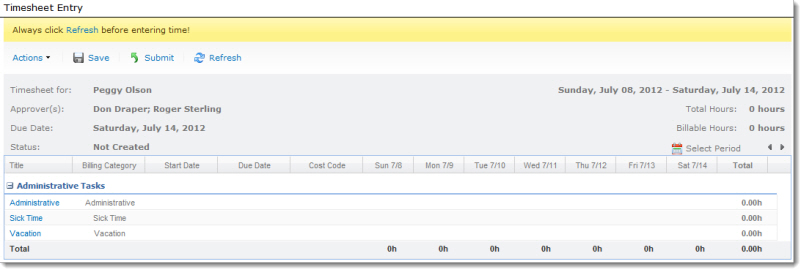
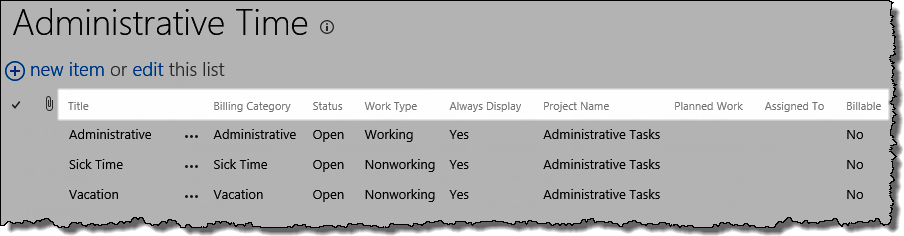
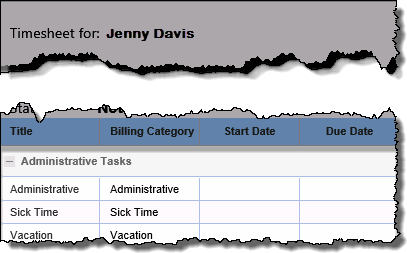 The Timesheet Entry Web Part is configured by default to reference the Administrative Time list that is created with the TTM site. This list contains the following default items:
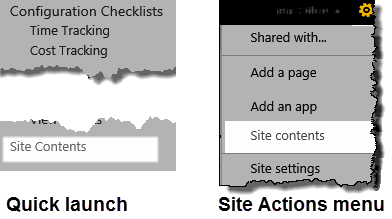
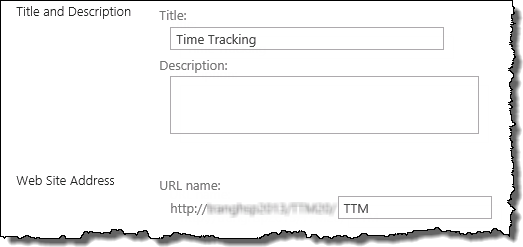
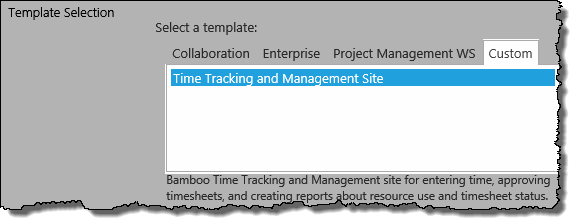
 The first step to using Time Tracking and Management (TTM) is to create a TTM site using the provided site template.
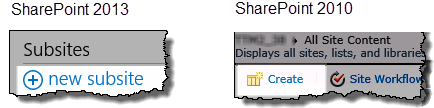

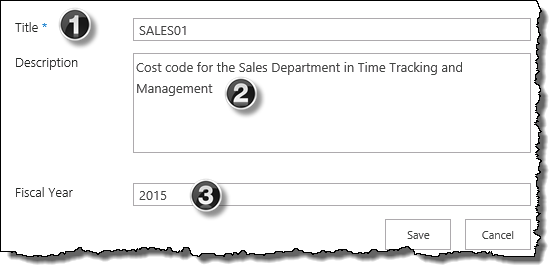
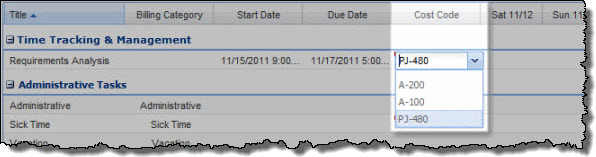
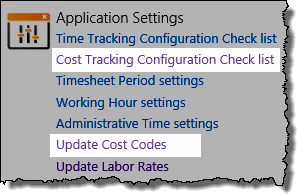 Access the Cost Codes list from the link in the Cost Tracking configuration checklist,