| Overview of Licensing and and Product Activation |
|---|
Licenses for Bamboo products that are installed on SharePoint servers are activated in SharePoint Central Administration using the Bamboo Web License Manager. Follow these instructions to activate a Bamboo product license.
NOTE: Licenses for desktop/server applications such as List Bulk Import, User Profile Sync, and List Bulk Export are activated using a standalone version of the licensing application, called Bamboo License Manager. See Activating a Bamboo Desktop Product Using the License Manager for more information.
Before performing the steps listed below, be sure you have installed the Bamboo Web License Manager on your SharePoint farm. See Installing the Bamboo Web License Manager for more information.
| Step | Action |
|---|---|
| 1. |
From SharePoint Central Administration, click Manage My License Keys under Bamboo Solutions.
|
| 2. |
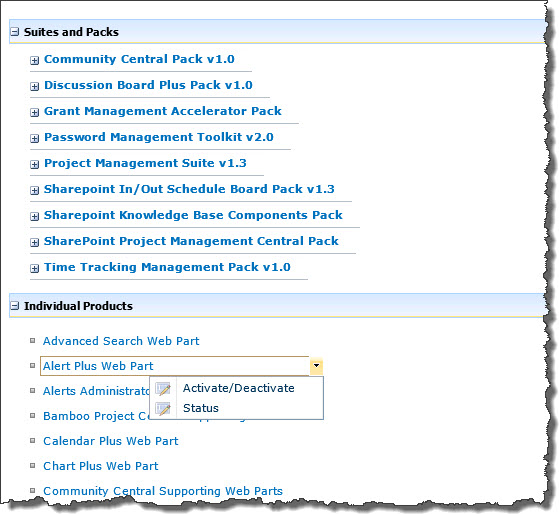
You may see two groupings on the page, Suites and Packs or Individual Products. When activating a Web Part or Application, expand the Individual Products section. Locate the product you need to activate. Hover over a product name to see a drop-down menu associated with the product. Select Activate/Deactivate from the menu.
|
| 3. |
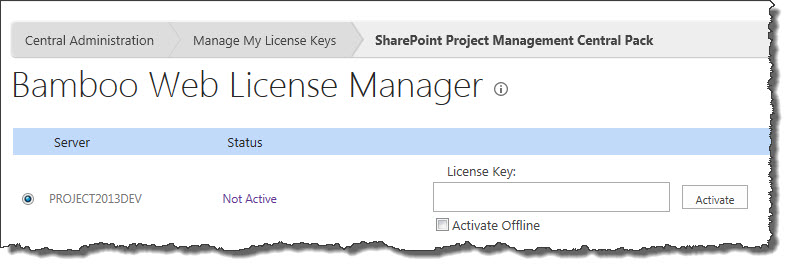
On the displayed page, the available servers in your SharePoint farm will be listed. You will need an individual License Key for each Web Front End server. Certain products, such as Alert Plus and List Rollup include features that can be run on application servers as well. In these cases, separate licenses may also be required for one or more application servers.
To activate a license for a server, type or copy and paste the License Key into the field provided and click Activate.
|
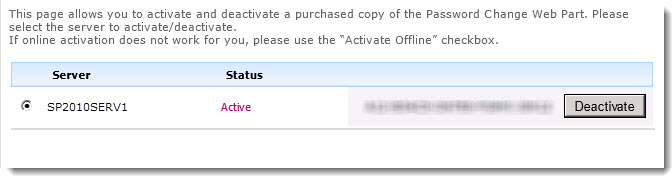
| 4. | Your Bamboo product is now Active and is ready for use, as shown by the Status column.
|
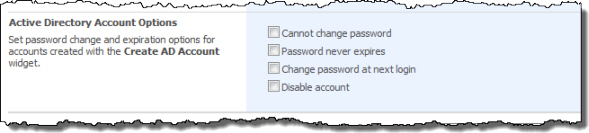
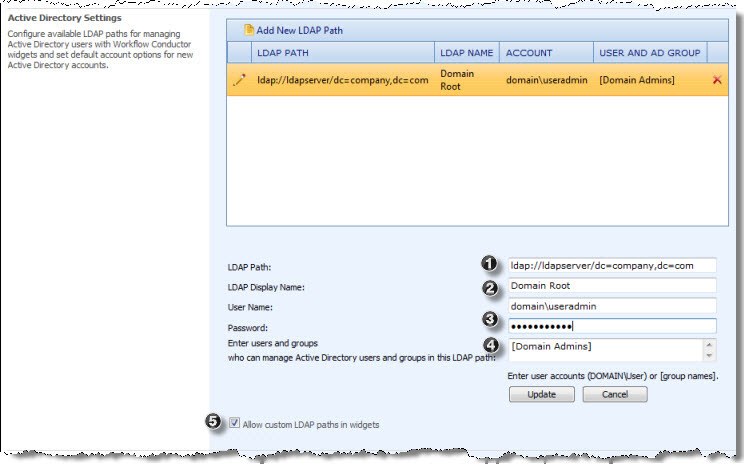 Configure available LDAP paths for managing Active Directory users with Workflow Conductor widgets and set default account options for new Active Directory accounts.
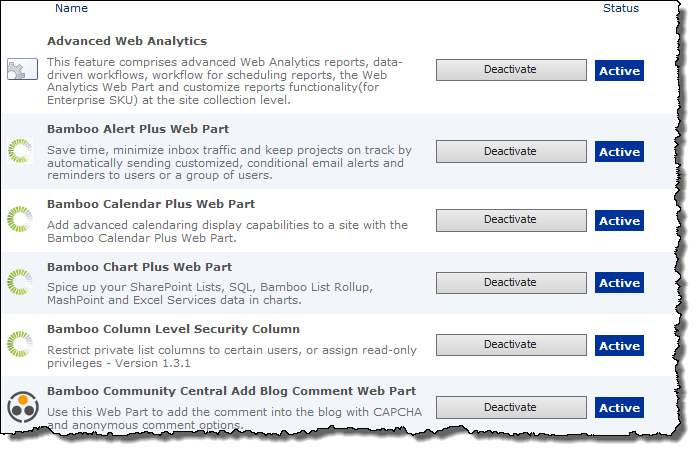

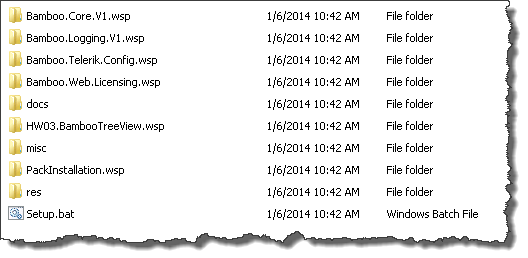 When you extract the product EXE to a location on your SharePoint server, several folders are created that contain installation files and Setup program configuration files. The root level of the extracted file system includes the file Setup.bat, which launches the Setup program. The list below shows the installation files for the Tree View Web Part, as an example.
 As you look at each product’s documentation page, you will see there is a link to the Release Notes for that product at the top of the page.