Schedule an Export to Run Unattended
After successfully configuring a List Bulk Export session and saving the settings to a configuration template file, you can schedule an export job to be run unattended through Windows NT scheduler.
Follow these steps to schedule an Export Job:
| Step |
Action |
| 1. |
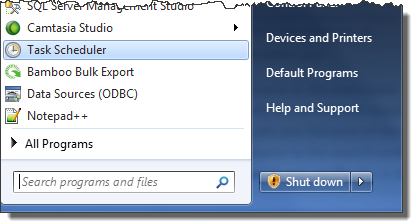 Create a new scheduled task in the NT Scheduler on the machine where the List Bulk Export application is licensed. Create a new scheduled task in the NT Scheduler on the machine where the List Bulk Export application is licensed.
On Windows PCs, this is typically done by selecting Task Scheduler from the Start menu.
|
| 2. |
Configure the scheduled task to run the following command line:
 "[Path and Filename of the Export Executable]" /s /t "[Path and Filename of
 the configuration template file]"
Where:
- /s tells the program to run without displaying the user interface
- /t precedes the path and filename of the export configuration template
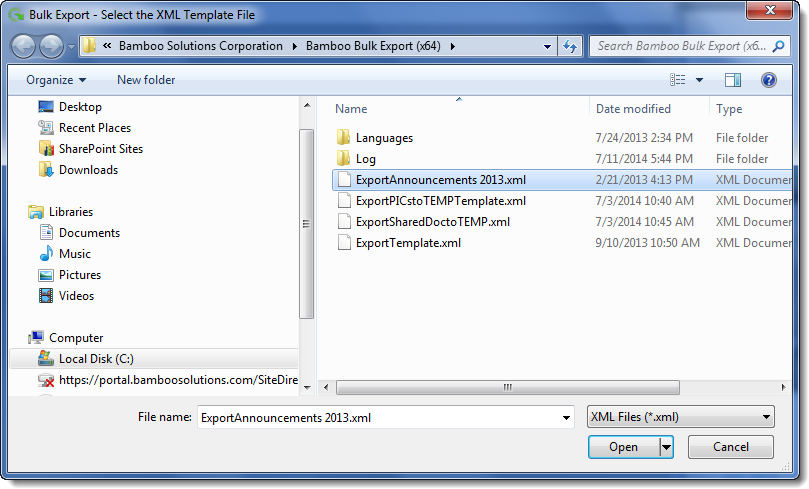
In addition to the *.xml configuration template file, the export process also references a file called Bamboo.BulkExport.exe.config file in the same directory as the executable file. The Bamboo.BulkExport.exe.config file tells the export process:
- whether it should run as the interactive user (which would be the user the scheduled task is configured to run as) or as a custom account,
- the credentials to use if running as a custom account; and,
- the name of the configuration file (i.e., ExportTemplate.xml) to use, if not passed on the command line
An example of a valid command line:
 "C:Program FilesBamboo Solutions CorporationBamboo Bulk
 ExportBamboo.BulkExport.exe" /s /t "C:Program FilesBamboo
 Solutions CorporationBamboo Bulk ExportExportTemplate.xml"
 IMPORTANT: The scheduled task will run as the user who created the scheduled task or as someone you specify when configuring the scheduled task. Make sure this user has the appropriate SharePoint permission levels to access the items you need to export. IMPORTANT: The scheduled task will run as the user who created the scheduled task or as someone you specify when configuring the scheduled task. Make sure this user has the appropriate SharePoint permission levels to access the items you need to export.
|
|
How to Reset the Connection to the Source SharePoint Site from within the application
When you launch the List Bulk Export application initially, you connect to a SharePoint environment. Once you run an export, you may need to export additional data from another SharePoint environment. There is no need to close the application and re-launch it.
Follow these steps to connect to a different environment from within the application.
| Step |
Action |
| 1. |
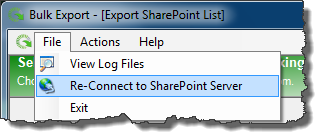
Select File and then Re-Connect to SharePoint Server from the main menu. |
| 2. |
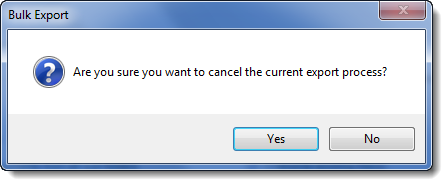 You will be asked to confirm that you want to cancel the current export process. When you click Yes, the Re-Connect dialog appears. You will be asked to confirm that you want to cancel the current export process. When you click Yes, the Re-Connect dialog appears.
Otherwise, click No to close the confirmation dialog without disconnecting from the current SharePoint environment.
|
| 3. |
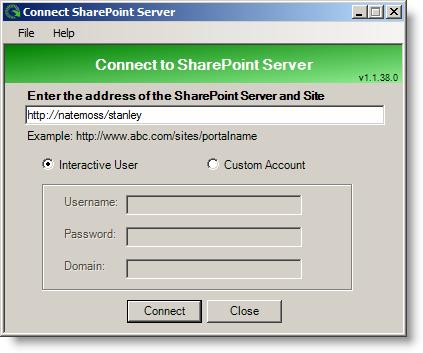
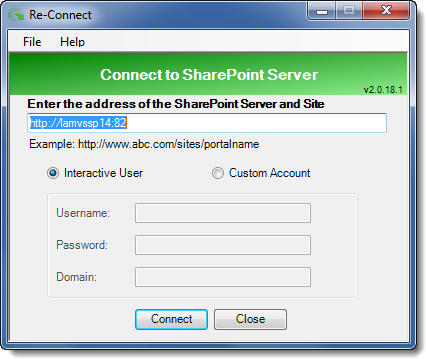 Enter a new SharePoint Server Site address and choose to connect as the currently logged in user (Interactive User) or choose Custom Account and enter Username, Password, and Doman. Enter a new SharePoint Server Site address and choose to connect as the currently logged in user (Interactive User) or choose Custom Account and enter Username, Password, and Doman.
When ready, click Connect. The List Bulk Export Application window will appear.
Otherwise, click Close to close the application. You will see the same confirmation dialog that is shown in Step 2 above.
|
How to recreate the folder structure of the Document Library
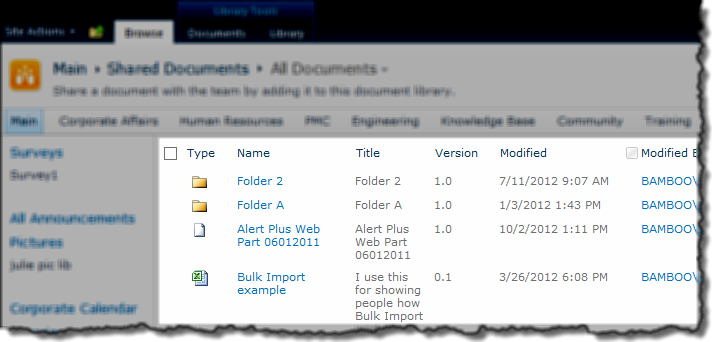
You may have a SharePoint Document Library with folders (like the one shown below) and you need to export the files and the folders to your network file system.
To export the files and the folders using the List Bulk Export, follow these steps:
| Step |
Action |
| 1. |
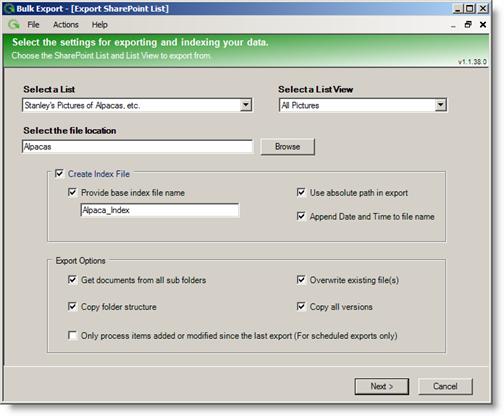
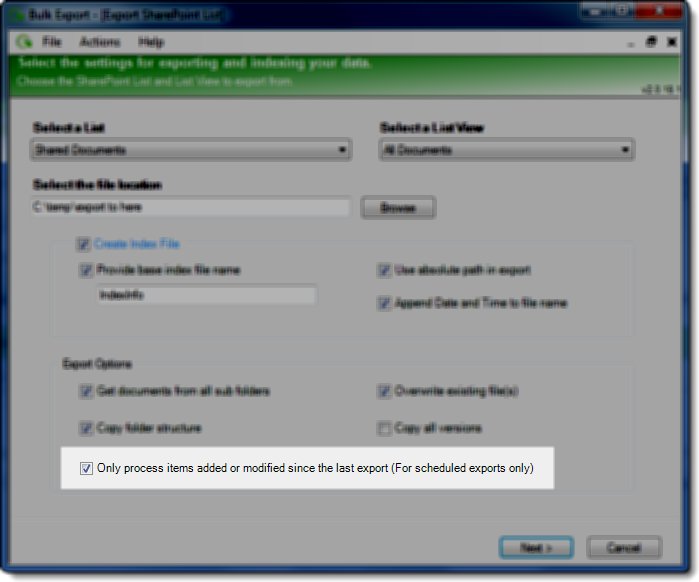
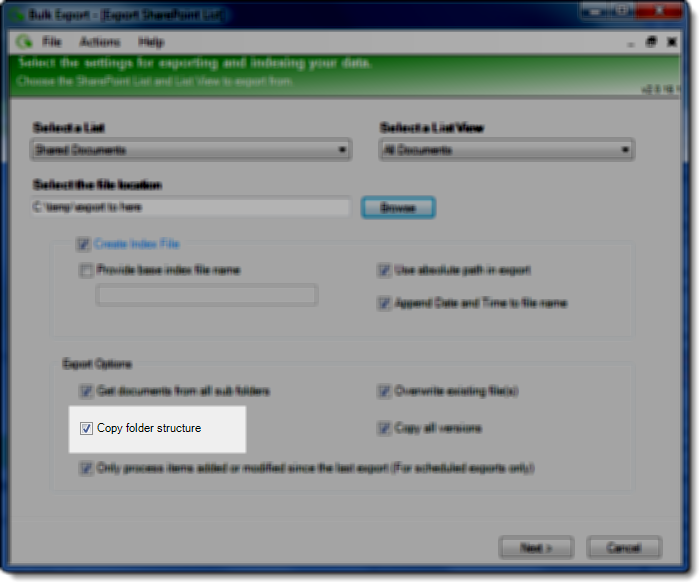
When configuring the export, be sure to check the Copy folder structure box.
 |
| 2. |
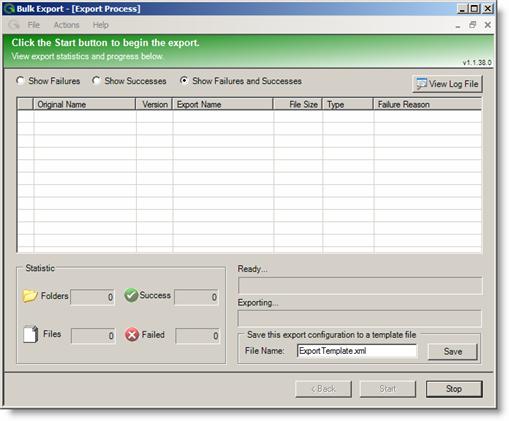
When the export completes, all the files and folders will appear in the export area. Exporting the Shared Document library shown at the top of this page, the export will look like when it completes.
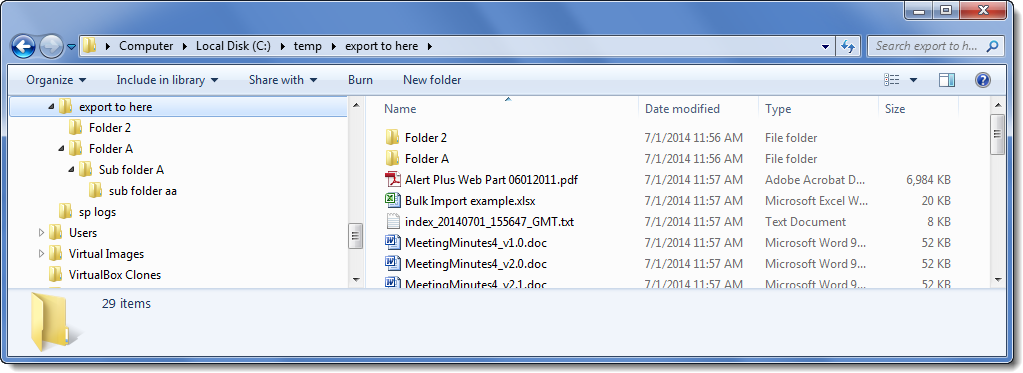
If you chose to have an index file created during the export, it will reside at the top level of the exported file structure.
|
|
How to determine the version of the Bulk Export you have installed
To determine the release number of the List Bulk Export you have installed, follow these steps:
| Step |
Action |
| 1. |
Run the application. |
| 2. |
 Select Help > About Bulk Export from the Main Menu. Select Help > About Bulk Export from the Main Menu. |
| 3. |
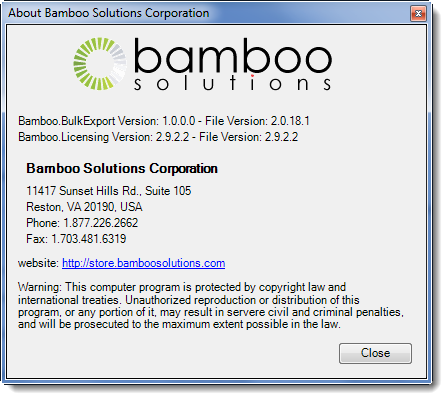 The About dialog appears showing information about the version/release that you are using. The About dialog appears showing information about the version/release that you are using. |
How to Connect to the Source Site Initially
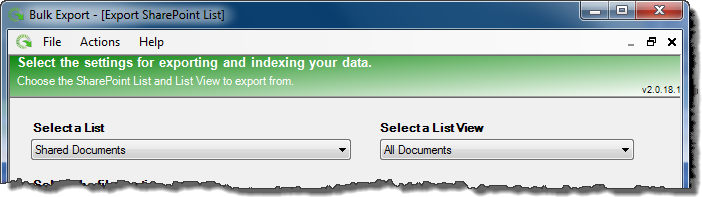
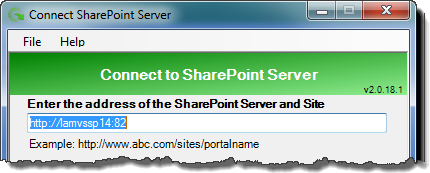
When you launch the List Bulk Export application, you will be asked for information about the SharePoint environment you want to export from.
| Step |
Action |
| 1. |
Enter the URL for the site that contains the data to be exported.
 |
| 2. |
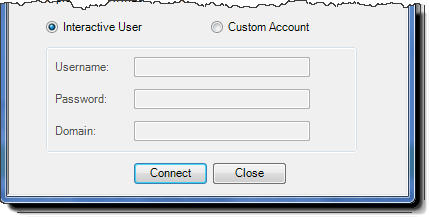
Choose how to connect to the server. Choose Interactive User to use the user you are logged into the network with. Choose Custom Account to enter a different user and the appropriate credentials.
NOTE: Once you are connected to the SharePoint environment, you can switch to a different one. Please see How to Reset the Connection to the Source SharePoint Site from within the application for more information.
|
How to copy versions of Document Library items
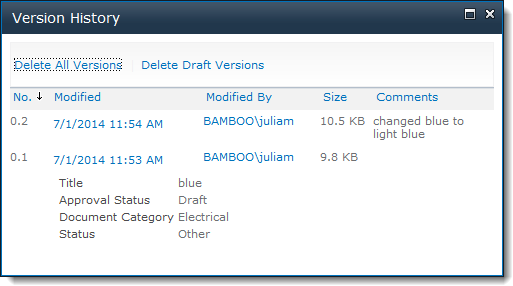
You may have versioning enabled in your SharePoint document library and some files may have been modified. In the example here, the Version History dialog shows a file called blue.jpg as Version 0.1 and a change to the file is shown under Version 0.2.
To export all versions of files in a document library, follow these steps:
| Step |
Action |
| 1. |
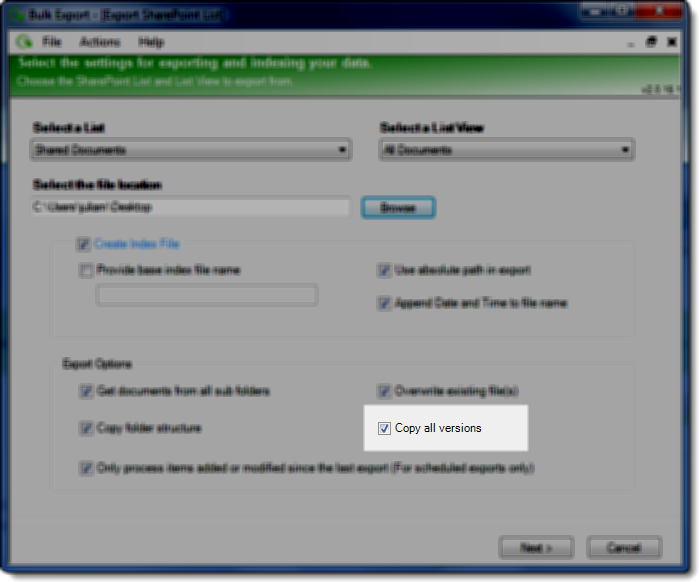
When configuring the export, be sure to check the Copy all versions box.
IMPORTANT: Be sure that the user account that is running the export has access to the versions or your export will fail!
 |
| 2. |
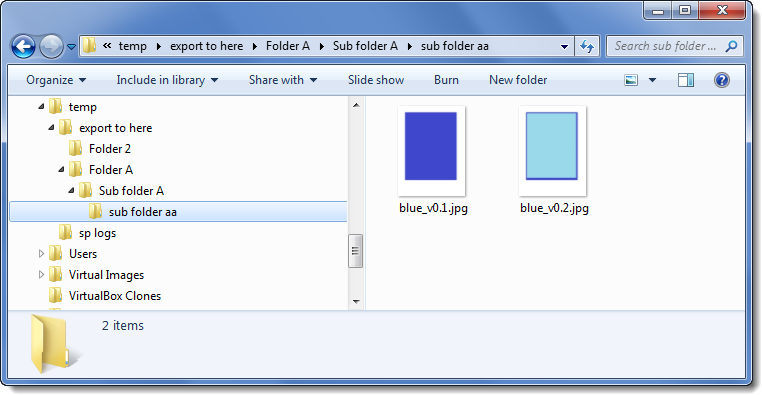
When the export completes, a file for each version will appear in the export area. The name of the version will be appended to the filename.
In the example below, the filename of the file in sub folder aa was blue.jpg and two versions existed (see screen shot at top of page), version number 0.1 and version number 0.2. Two files were exported, blue_v01.jpg and blue_v02.jpg
The index file created during the export has meta data information for each version as well.
|
|