Configure Poll Admin Web Part
When you get ready to set up a Poll, the first thing you have to do is add the two web parts to a page or add each one to a different page. By putting the two web parts on individual pages, you can control permissions for who can manage the poll and who can use the poll for voting through page permissions.
This topic covers the steps necessary to add the Admin web part to a page in order to use the web part to create a Poll.
| Step |
Action |
Result |
| 1. |
Add the web part to a page. |
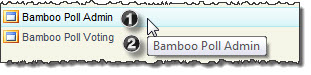
Notice there are 2 web parts in the gallery when Poll is installed. For this exercise, select the first web part labeled Bamboo Poll Admin.
Nothing has been configured; the web part has just been added to the page. |
| 2. |
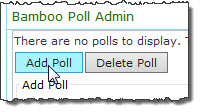
Click the “Add Poll” button at the top of the web part. |
 |
| 3. |
There are two items on the tool pane that you will want to look at for configuration. |
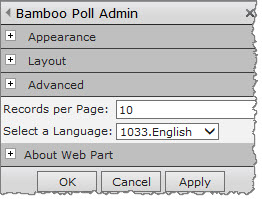
- Records per Page – Enter the number of poll records to be displayed in the web part. The Next and Previous buttons can be used in the user interface to browse through all the records.
- Select a Language – From the drop-down list, pick a language to translate the web part user interface and tool pane settings. You can also create your own translation or modify the default files available in the drop-down list. For more information, see Localizing the Language Setting.
NOTE: The translation options for Spanish and French are currently all still in English. You must customize the files directly to translate the Web Part user interface to the language you require.
|
| 4. |
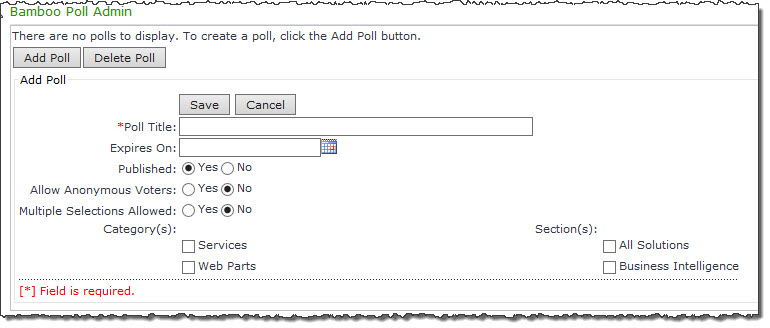
On the web part itself, the only column that is required is the Poll Title. |
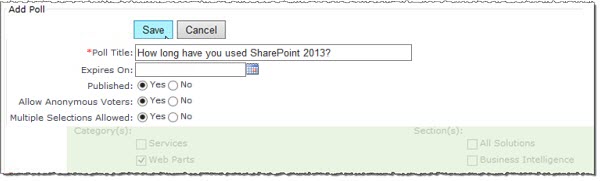
- Poll Title – This column is required.
- Expires On – This is a date when the Poll can no longer be used for voting.
- Published – Click Yes to publish the Poll or No to publish later.
- Allow Anonymous Voters – If you select Yes, anonymous users can vote on the poll. If you select No, only authenticated SharePoint users can vote.
- Multiple Selections Allowed – Click Yes to allow voters to respond to the poll multiple times.
NOTE: Once users vote on a poll, the poll results are automatically displayed and the user is prevented from voting again unless you click Yes to allow multiple votes. Once these users close their browser, open a new browser and navigate back to the voting page, they will be able to submit another vote.
In this screenshot, the Category(s) section is greyed out. This area is reserved for future features. Currently these check boxes do not affect any functionality in this Web Part.
|
| 5. |
Click the Save button above the Poll Title to save this poll. |
 |
Now that you have configured the Admin side of the Poll, you will want to Configure the Poll Voting Web Part next.