The steps below will walk you through the migration process. Click on the links in each step for additional configuration details.
If you are using a trial version of this product, please note the 15-item trial limit, which will automatically be enforced during the migration.
| Step | ||
| 1. |
Select & Connect to an import source Click on the source links below for additional details on configuring each data source. Sharepoint: any library or list Local: xls, xlsx, csv, txt, NFS, folders or directories SQL : SQL database through an ODBC connection to Sharepoint |
 |
| 2. |
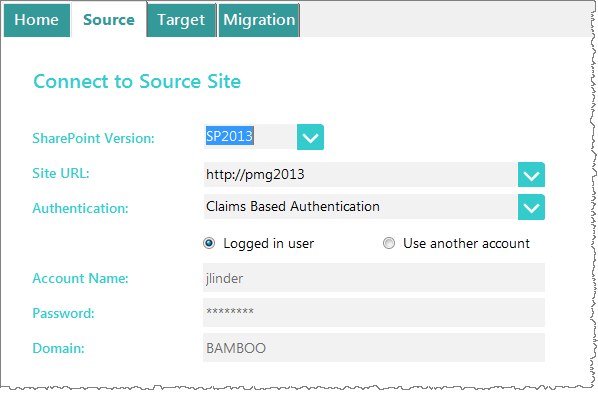
Connect to a Target Site Enter your Sharepoint version, site URL, authentication, and login credentials. |
 |
| 3. |
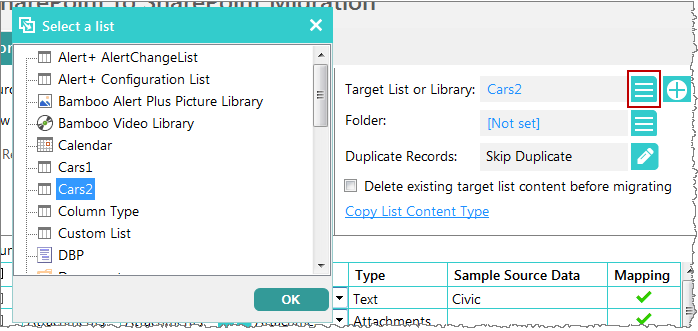
Click on Migrate Tab & Select Target List or Library NOTE: If you choose to delete existing target list content, it will delete the items in the default view of the target list. If the default view is filtered, not all items will be deleted. |
 |
| 4. |
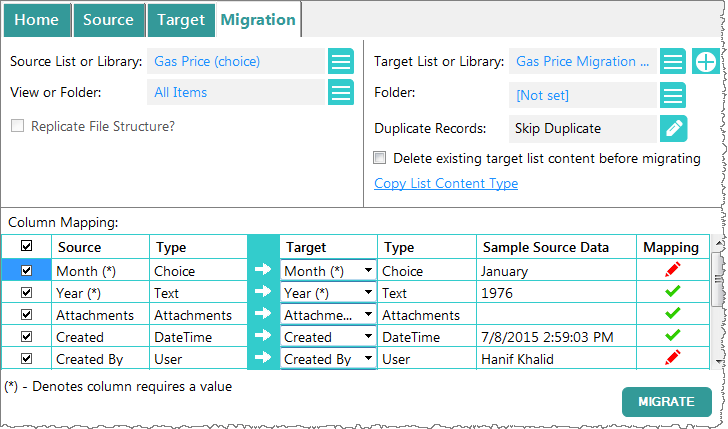
Map Source to Target |
 |
| 5. |
Migration Configuration Options |
|
| 6. |
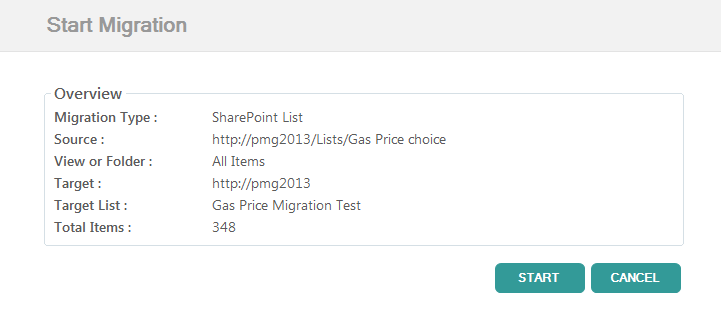
Pre-Migration Check Confirm Migration details. |
 |
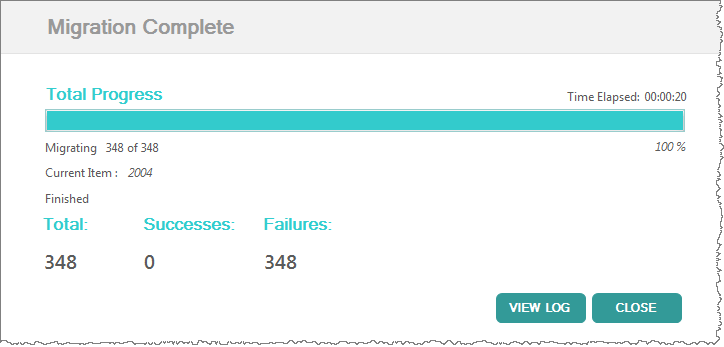
| 7. | Complete the Migration & View Log View a summary of the migration & log details. |
 |
| 8. | Advanced Features |