 From the Site Contents, select Calendar Plus or from the Settings icon
 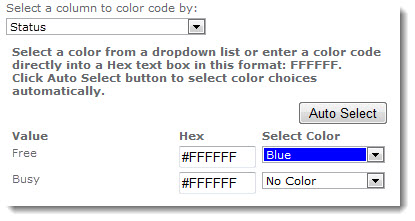 , select Calendar Plus Settings.
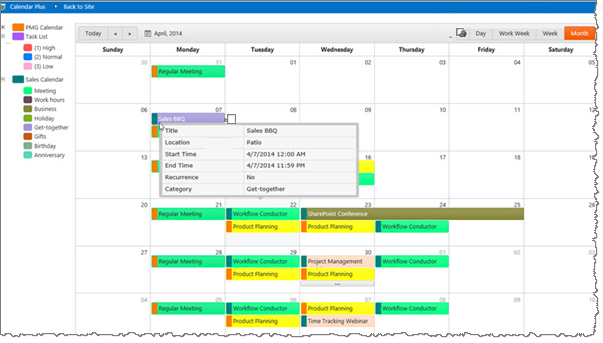
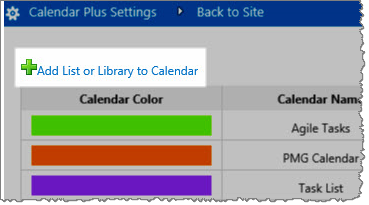
From the Calendar Plus Settings, select the list(s) that you want to display in the calendar from Add List or Library to Calendar option.
When you select the Add List or Library option, a new window is displayed that contains the settings to configure the list or library. There are two sections: Required Steps and Optional Steps. Required Steps are the minimum settings you must configure in order to include the list or library in the Calendar Plus App.
Required Steps:
| Step | Action | Result |
| 1. | Select a SharePoint List or Library |  |
| 2. | Included SharePoint List or Library General Description |
This section defines which lists or libraries will be included in the Calendar Plus App.
|
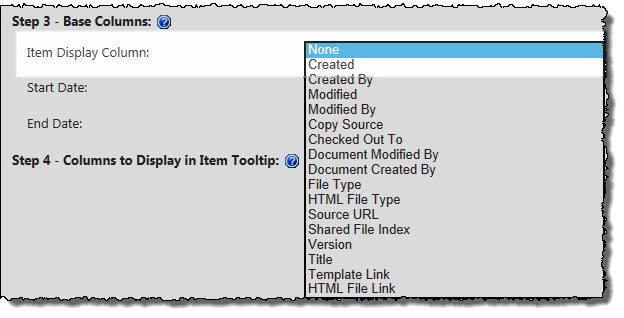
| 3. | Base Columns |
|


Optional Steps:
| Step | Action | Result |
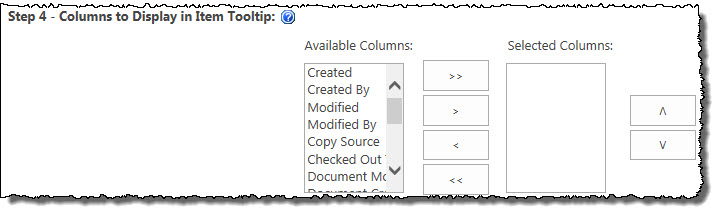
| 4. | Columns to Display in Item Tooltip |
Use this option to display specific columns in a tooltip that is displayed when users mouse over an item in the calendar.
|
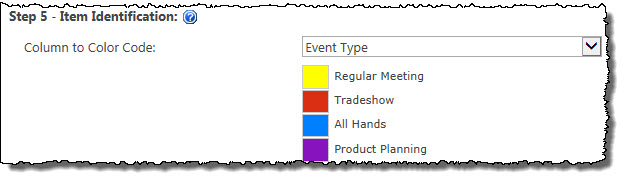
| 5. | Item Identification |
Choose a column to color code; then choose whether you want the colors to be Gradient or Solid.
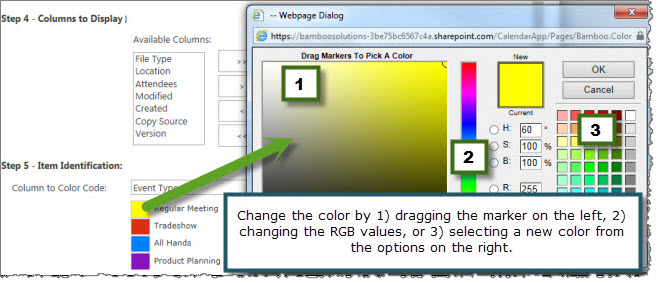
The column values are displayed under Column Values. To change the color for a value, simply click the color. The Bamboo Color Picker opens in a new window.
Change the color by doing one of the following:
|
Click Save to save and apply your settings.
Then click Apply in the settings to apply the settings.