Use these instructions to add the Bamboo Navigator Menu Web Part to a master page in SharePoint. The steps are the same for all supported versions of SharePoint, although the master pages themselves vary from version to version. If you don’t have SharePoint Designer, you can download the master page from the SharePoint Master Page Gallery, edit it in a text editor, and upload it back to the Master Page Gallery. Sample master pages are included in the Navigator installation package from version 18.1 on.
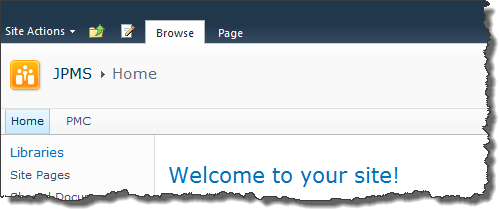 Specifically, the out-of-the-box Team Site v4.master looks like this before making any changes:
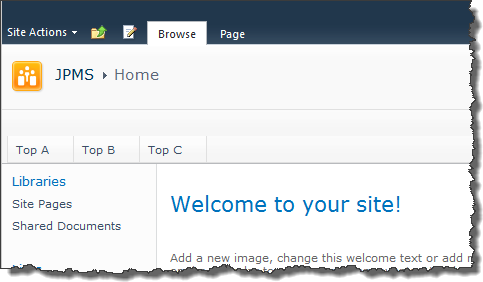 After adding the Bamboo Navigator Menu, it will look like this:
NOTE: Always make a backup of your master page before making any changes to it. If you rename your working copy of v4.master, be sure to change the site settings to reflect the new name of your master page.
| Step | Action |
|---|---|
| 1. | 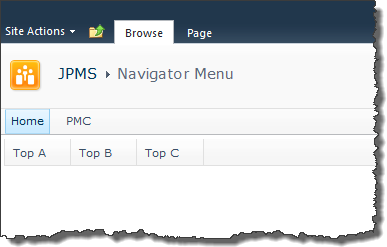 Go to the top site of the site collection where you want the master page changed and add a Bamboo Navigator Menu web part to a page on that site. Go to the top site of the site collection where you want the master page changed and add a Bamboo Navigator Menu web part to a page on that site.
Add values to the Bamboo Navigators list so the menu shows some options. The screenshot shows the Bamboo Navigator Menu web part with three options: Top A, Top B, and Top C. Home and PMC are links on the Top Link bar in the master page.
|
| 2. | 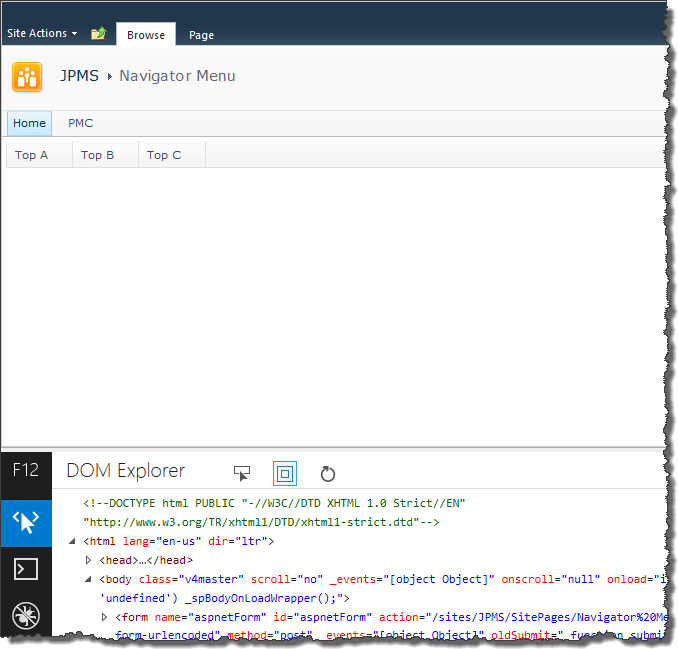 While viewing the web part page with the navigator web part in Internet Explorer, press F12 or click Tools > F12 Developer Tools to open the IE Developer window. It opens at the bottom of the page. Make sure the DOM Explorer window is displayed. While viewing the web part page with the navigator web part in Internet Explorer, press F12 or click Tools > F12 Developer Tools to open the IE Developer window. It opens at the bottom of the page. Make sure the DOM Explorer window is displayed. |
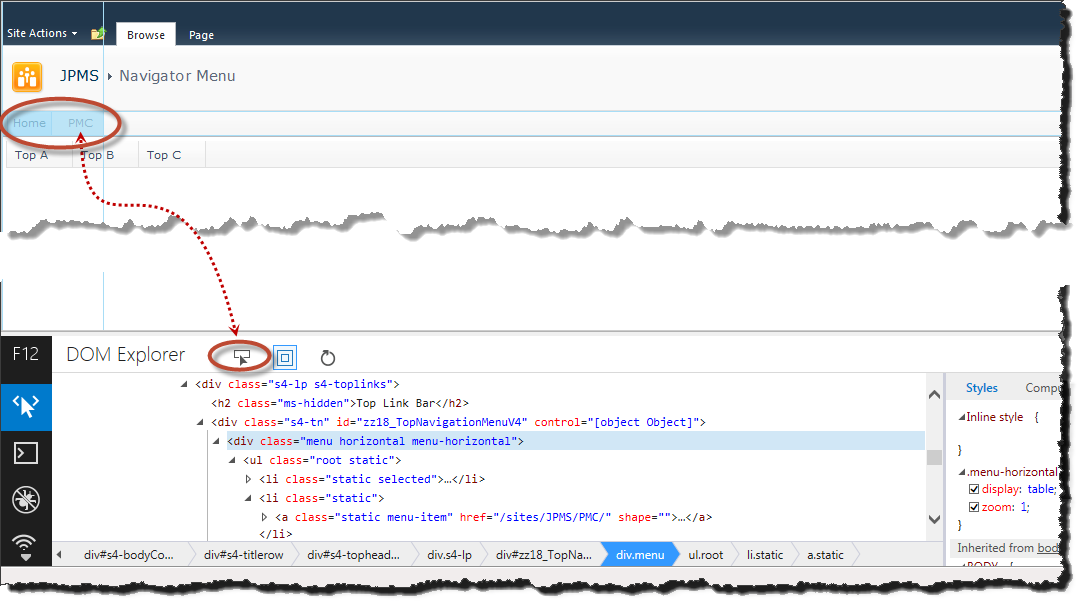
| 3. | Using the Select Element feature of the IE Developer tool, make a note of the tag above or below which you want to insert the navigator.
 |
| 4. | 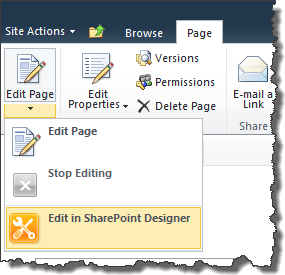 Edit the web part page where you put the Bamboo Navigator Menu Web Part in SharePoint Designer. From the Page ribbon, expand the menu beneath Edit Page and click Edit in SharePoint Designer. The page (and the site) will open in the SharePoint Designer. Edit the web part page where you put the Bamboo Navigator Menu Web Part in SharePoint Designer. From the Page ribbon, expand the menu beneath Edit Page and click Edit in SharePoint Designer. The page (and the site) will open in the SharePoint Designer. |
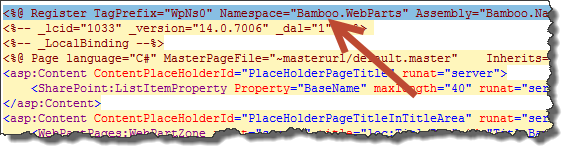
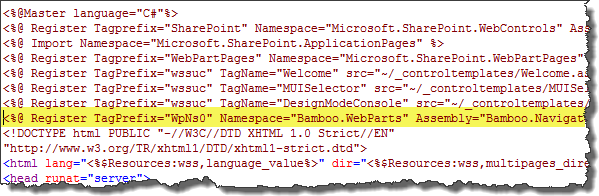
| 5. | At the top of the web part page code, locate the register tag for the Bamboo Navigator Menu Web Part. Copy the whole tag to your clipboard so you will be able to paste it into the v4.master file.
 |
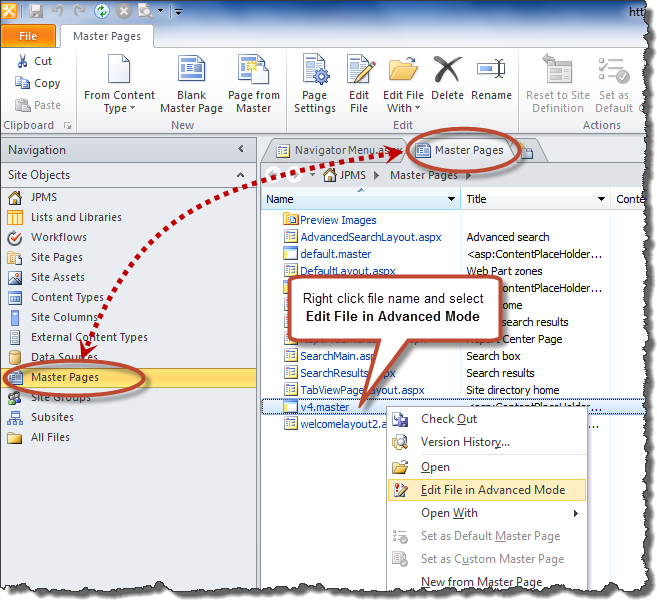
| 6. | In SharePoint Designer, edit the v4.master page in Advanced Mode.
 |
| 7. | Paste the register tag you copied to your clipboard in Step 5 above to the top section of the v4.master file with the other Register tags.
 |
| 8. | Go back to the web part page code and locate the Bamboo Navigator tag by searching for WpNs0. Copy the whole tag to your clipboard so you will be able to paste it into the v4.master file.
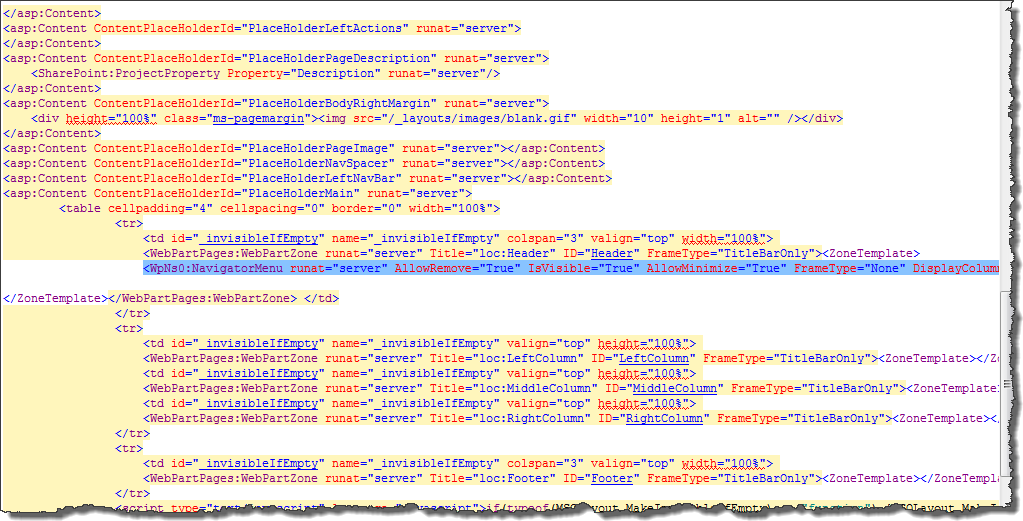 |
| 9. | Create a new DIV tag in the v4.master file at the location where you want the Bamboo Navigator Menu Web Part to appear.
When ready, paste the tag you copied in Step 8 into the new DIV tag. 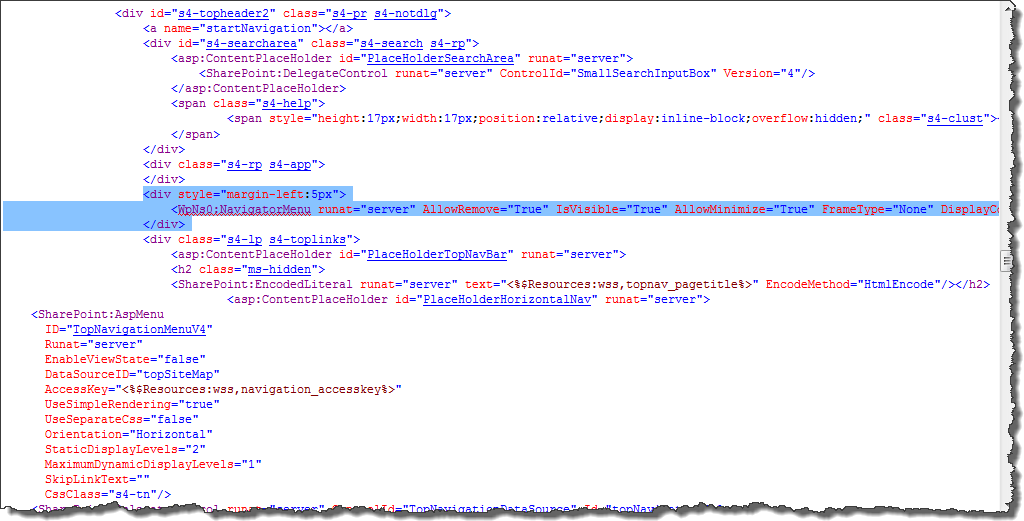 |
| 10. | Save the changes to the v4.master and view your SharePoint site. You should see the navigator on all pages that use the v4.master. |