Before building a workflow, make sure you are familiar with the Conductor Studio interface by reading Getting Started with Conductor Studio. All of the actions referenced in the list below are described in that section. Once you understand how Conductor Studio works, the rest is easy:
| Step | Action | Result |
| 1. | Start with the end in mind. It may be helpful to draw it out on paper or a whiteboard so that you can make sure to capture all the steps in your business process so that you know what you want to accomplish throughout the workflow. | |
| 2. | In the list or library where you want the workflow to run, start Conductor Studio by clicking on the Create button in the List or Library tab of the Tools ribbon. If you want to build a site workflow, you can start Conductor Studio from any list in the site. |
|
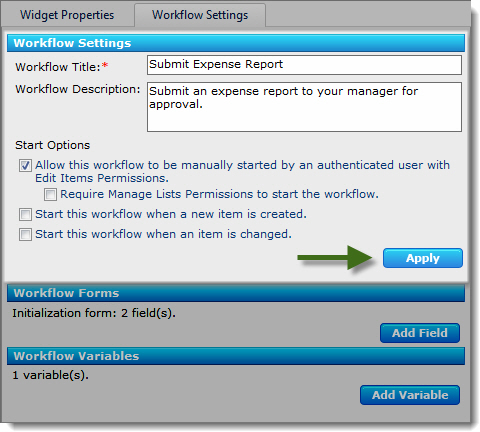
| 3. | On the Workflow Settings tab in the settings pane, give your workflow a Title and Description. Select the desired workflow Start Option (does not apply to site workflows).
Make sure to click Apply to save the workflow settings. |
 |
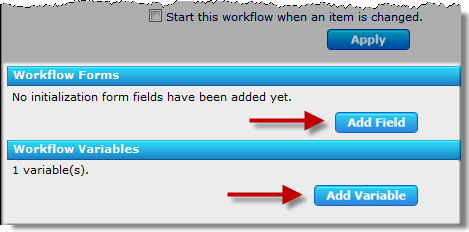
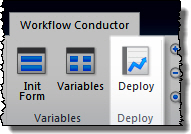
| 4. | Configure any workflow variables and workflow initialization form fields required for your workflow. |
 |
| 5. | Drag widgets from the widget pane and arrange them in the workflow diagram pane according to your workflow requirements. For a description of available widgets, see About Workflow Widgets. | 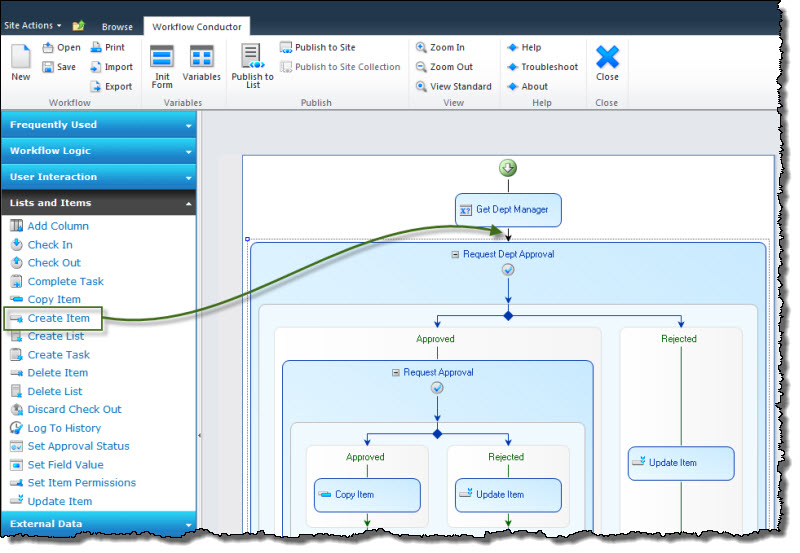 |
| 6. | Set the required properties for each widget in the workflow on the Widget Properties tab in the settings pane. Make sure to click Apply after configuring the properties for each widget. | 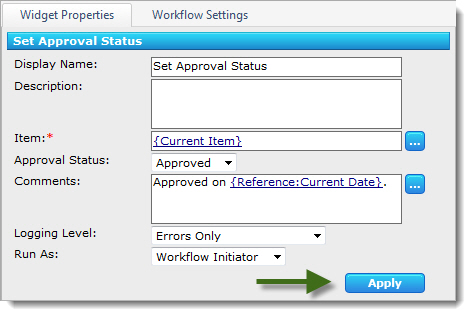 |
| 7. | When you are finished, click Save in the Conductor Studio ribbon to save the workflow. See Workflow Conductor Templates for more information about saving workflow templates. |  |
| 8. | In the Conductor Studio ribbon, click the publishing option that applies to your workflow. Publishing a workflow automatically associates it to the list, library, or site. |
For more information about deployment methods and workflow scopes, see About Workflow Deployment. |
| 9. | Your workflow is now available in the list or library where you started Conductor Studio. | 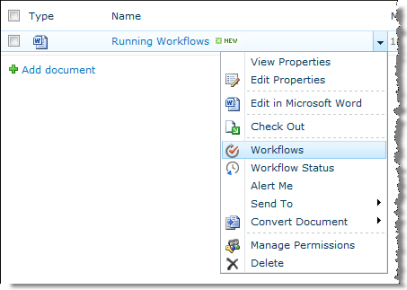 Depending on the Start Option you selected for the workflow, it can be started manually using the Workflows option for an item (as shown here), or will start automatically when an item is created, changed, or published. Depending on the Start Option you selected for the workflow, it can be started manually using the Workflows option for an item (as shown here), or will start automatically when an item is created, changed, or published.
You can also start workflows manually from the Tools ribbon or from the item properties: 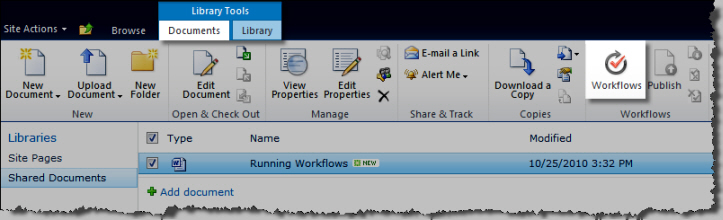 Site workflows are started from the All Site Content page. Automatic start options do not apply to site workflows. 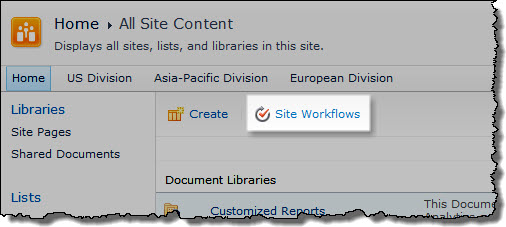 |


Now that you have successfully built and deployed a workflow, learn How to Manage Workflows in Your Farm.