Normally, you can collect data for a workflow only on an initialization form when the workflow starts. However, the are many instances when you might need to collect some information later in the workflow. You can use the Collect Data From User widget to do that. Here is an example.
Scenario
The scenario for this example is to create a site workflow that can be started by someone in the HR department when they need to request travel preference information from an employee.
Creating the Workflow
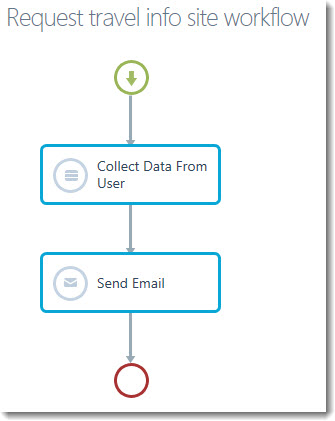 The workflow will look like that shown. In addition to the Collect Data From User and the Send Email widgets, it also has an Initialization Form.
Open the Workflow Conductor Studio from any list and follow these steps to build this workflow:
| Step | Action |
|---|---|
| 1. | 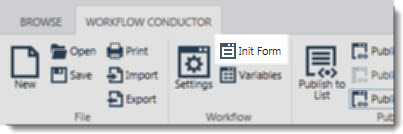 Click the Init Form link in the main menu to open the Initialization Form editor. Click the Init Form link in the main menu to open the Initialization Form editor. |
| 2. | Add one parameter to the Initialization form. Call it Employee and make it a Single line of text.
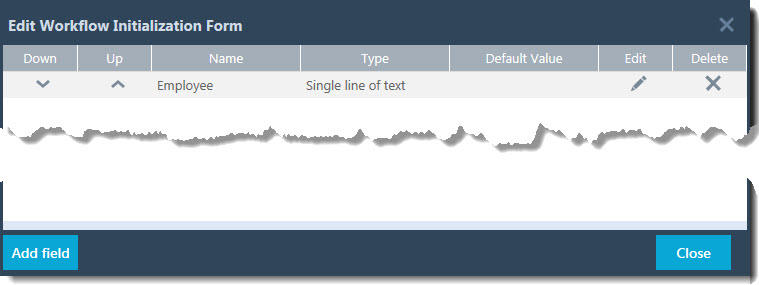 |
| 3. |
Create a variable to store the WF Task ID created in the Collect Data From User widget.
Create a variable of type Single line of text and call it varWFTaskID. |
| 4. |
Configure the Collect Data from User widget.
For the User property, click the lookup icon (
On the widget properties page, click the 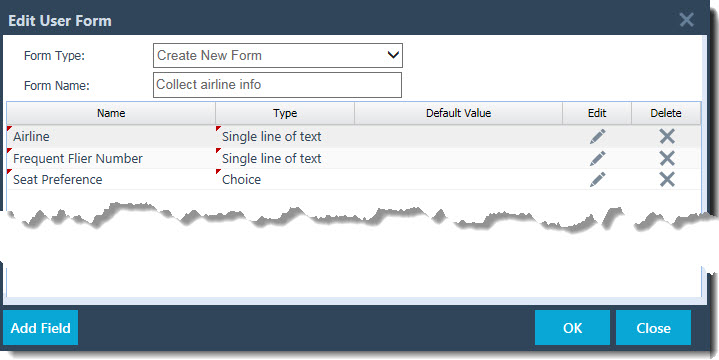 Fill in the other information in the widget properties. When ready, click Save on the widget properties form to save and close the widget properties. |
| 5. |
Configure the Send Email widget.
Click Add to save the selection and close the Define Lookup dialog. Configure the Subject line by clicking the hourglass ( 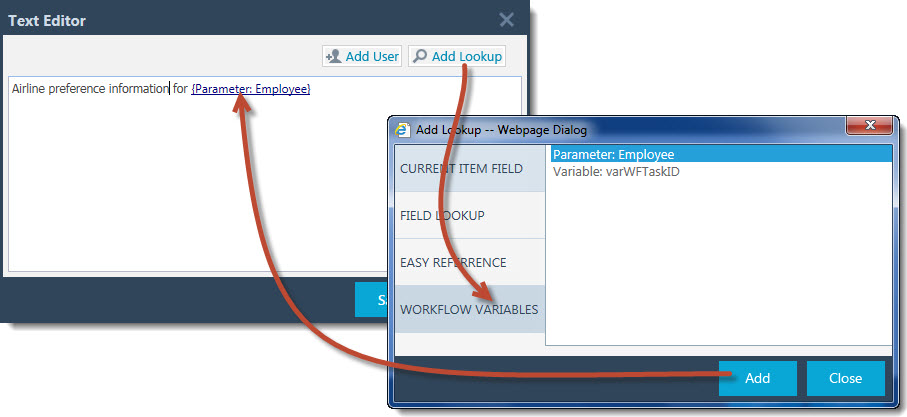
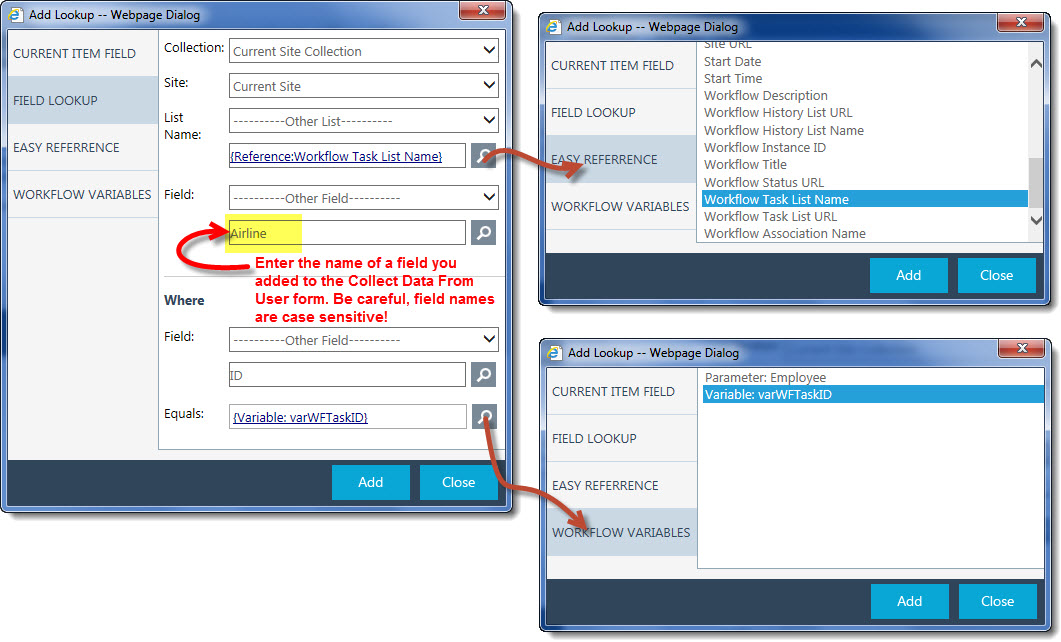
To add the lookups for form values, click Add Lookup and configure them like that shown below.
 Click Save to save the message Body and close the Rich Text Editor. Then click Save to save the widget properties and close the Properties dialog. |
| 6. | 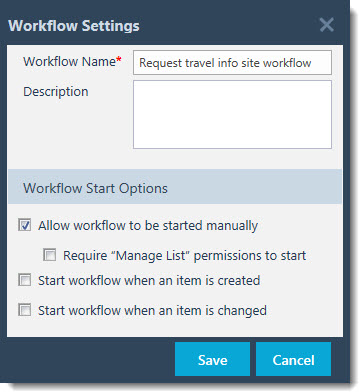 Click the Settings link in the main menu to open the Workflow Settings form. Name the workflow Request travel info site workflow and make sure the manual workflow start option is enabled. Click the Settings link in the main menu to open the Workflow Settings form. Name the workflow Request travel info site workflow and make sure the manual workflow start option is enabled. |
| 7. | 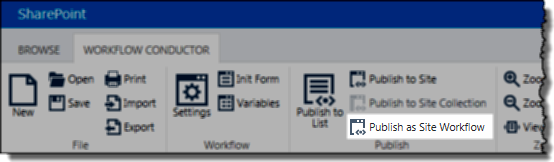 Save and publish the workflow as a Site Workflow by clicking Publish as Site Workflow from the main menu. Save and publish the workflow as a Site Workflow by clicking Publish as Site Workflow from the main menu. |
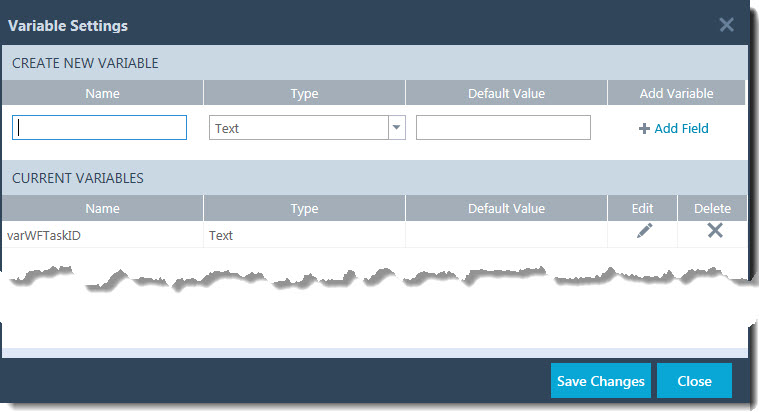 Click the Variables link in the main menu to open the Variable Settings form.
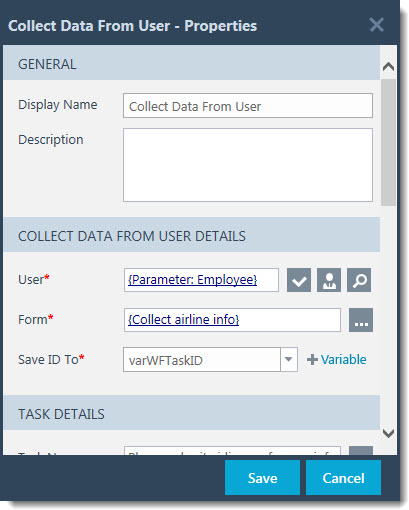 Double click the Collect Data from User widget to open the widget properties.
 ) to open the Define Lookup dialog.
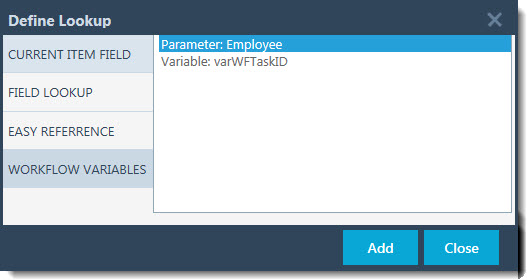 On the Define Lookup dialog, click the Workflow Variables category and select the Parameter: Employee from the list. Click Add to save your selection and close the Define Lookup dialog.
 icon for the Form property to open the Edit User Form dialog. Enter Collect airline info as the Form Name and add the three fields shown below by clicking the Add Field button in the lower left corner of the dialog. When done, click OK to save the form and close the Edit User Form dialog.
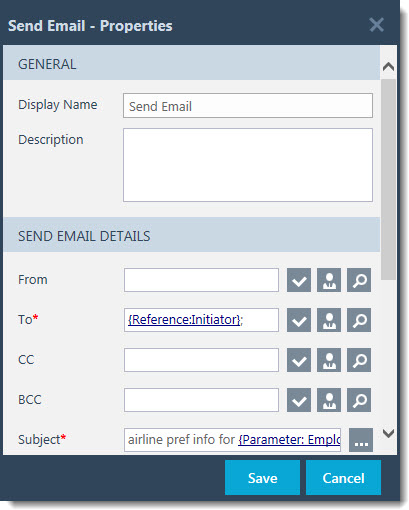 For the To property, click the hourglass icon (
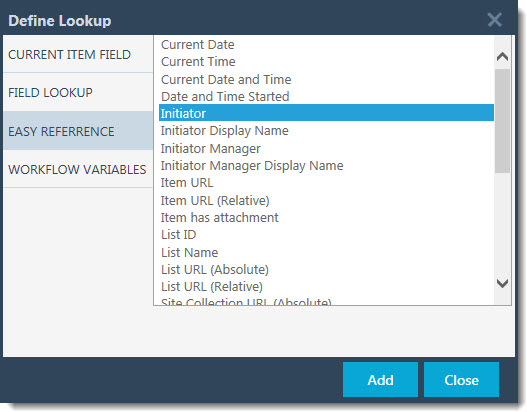 Select Initiator from the Easy Reference area.
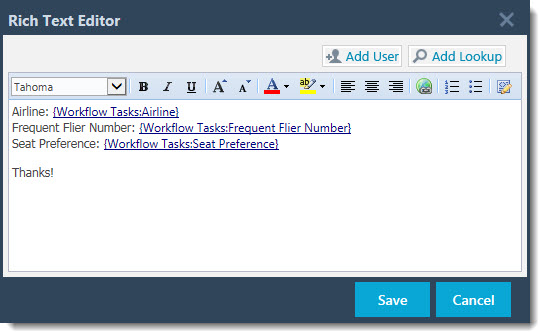 Configure the email Body by clicking (
Running the Workflow
This workflow was published as a Site Workflow. Site workflows are not associated with any list, so you do not start them from a list item. Follow these steps to start this Site Workflow:
| Step | Action |
|---|---|
| 1. | 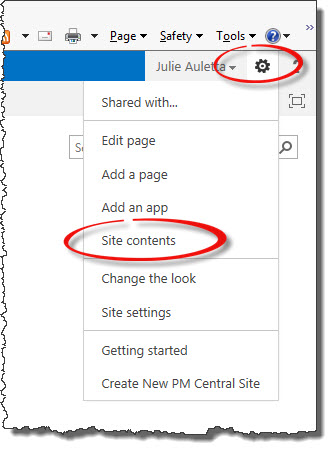 View Site Contents by clicking the gear icon ( View Site Contents by clicking the gear icon ( ) and selecting Site Contents. ) and selecting Site Contents. |
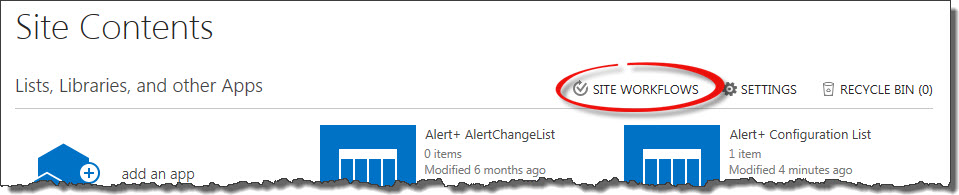
| 2. | On the Site Contents page, click Site Workflows.
 |
| 3. | 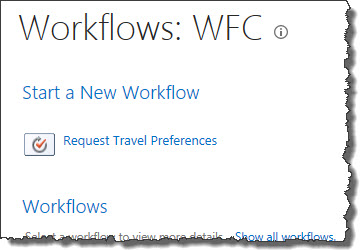 Click the desired workflow to start it. The initialization form is presented. Click the desired workflow to start it. The initialization form is presented.
Fill in the appropriate information and then click Start Workflow. 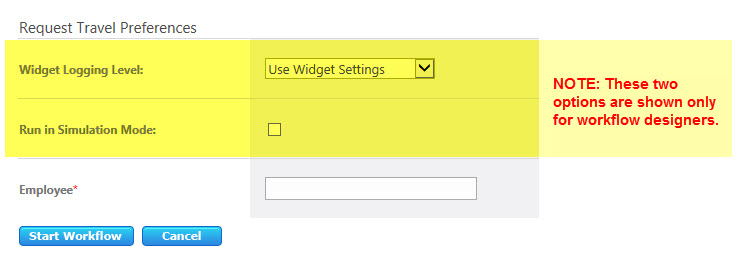 |
| 4. | 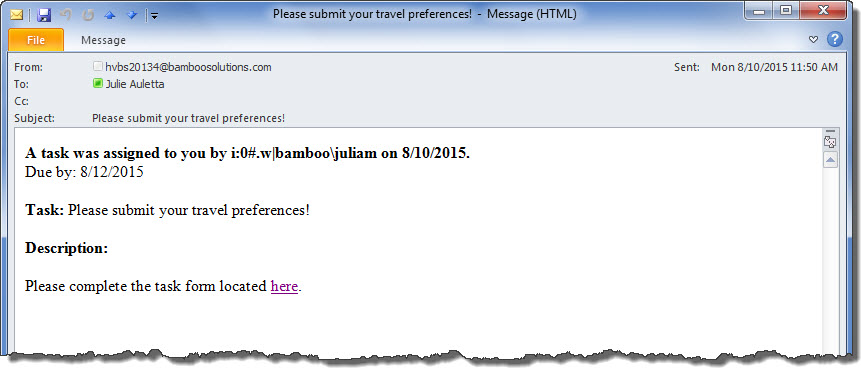 For this particular workflow, an email is sent to the Employee entered in the initialization form. The email has a link to a SharePoint workflow task form, which is shown here. For this particular workflow, an email is sent to the Employee entered in the initialization form. The email has a link to a SharePoint workflow task form, which is shown here. |
| 5. | Clicking the link in the email opens the task form in SharePoint.
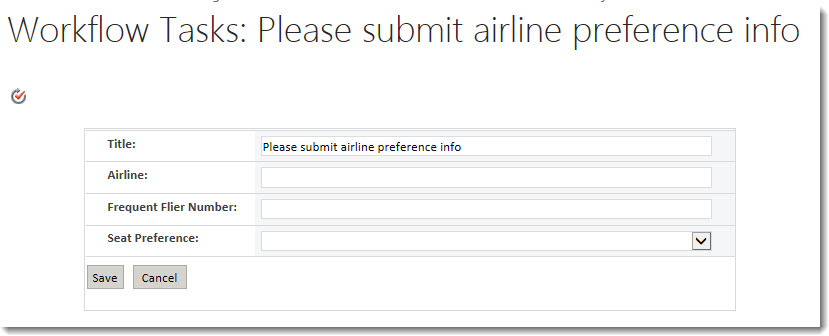 The employee enters values and clicks Save to complete the task. |
| 6. |
A final email containing the employee’s travel preferences is sent to the workflow initiator. 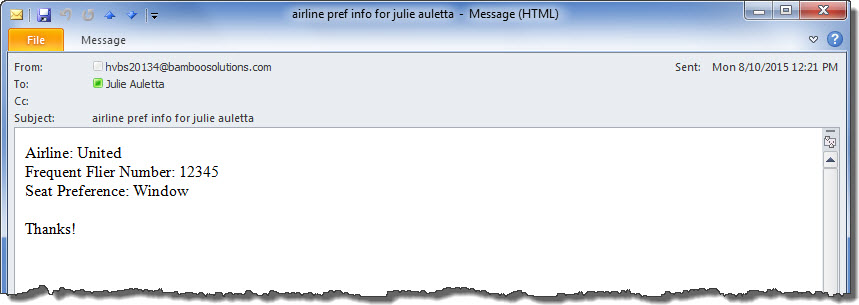
|