Combine Alerts into a Summary Alert
When you configure an alert that sends a notification immediately, receiving one message per item is usually the expected outcome. However, when you schedule an alert to be sent once per hour, once per day, once per week, once per month, or on a custom schedule, you usually want just one email containing information about all the items that met the alert criteria during the timeframe. For example, if you have three tasks coming due in four days, you may want information about all three tasks in one email message rather than receiving three separate emails.
Follow these simple steps to configure an alert that combines information from multiple alert items into one message:
| Step |
Action |
| 1. |
 On the Event Tab, specify the frequency of the alert. On the Event Tab, specify the frequency of the alert.
|
| 2. |
Check the Combine multiple alerts into summary notification. |
| 3. |
On the Mail Format Tab, configure the mail message. Consider these tips when formatting your message:
- The Subject line appears only once in the message, so don’t include any tokens there unless the value displayed will be the same for all items included in the message.
- By default, the Body will be repeated for each alert item that meets the alert criteria during the timeframe, so include something that will visually separate one item from the next.
Consider the two Summary Alert examples below:
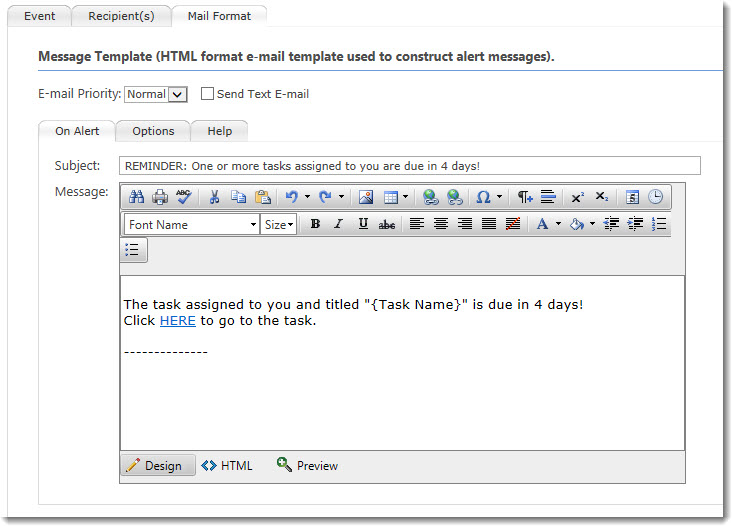 1. This format… 1. This format…
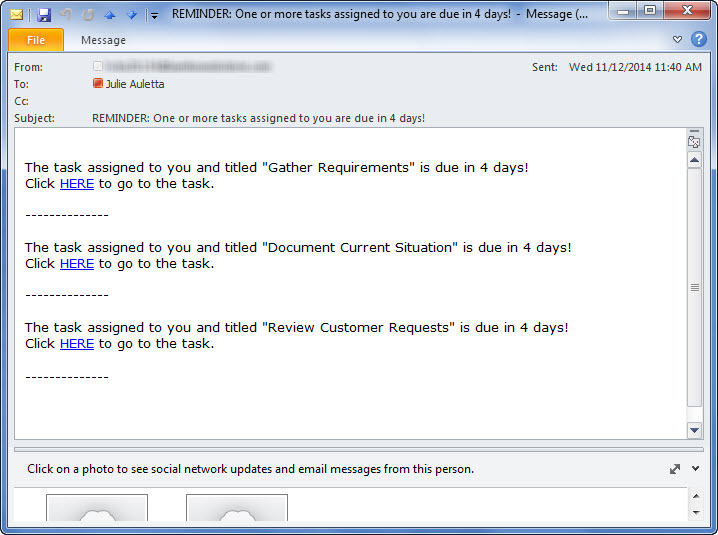 Generates an email that looks like this. Generates an email that looks like this.
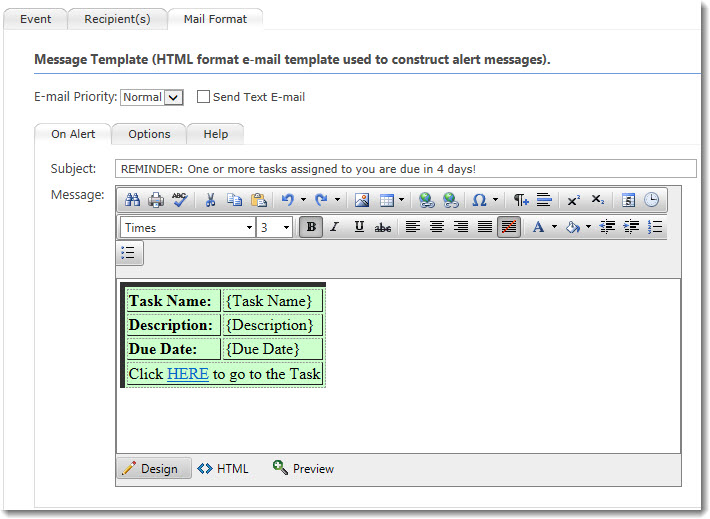 2. This format… 2. This format…
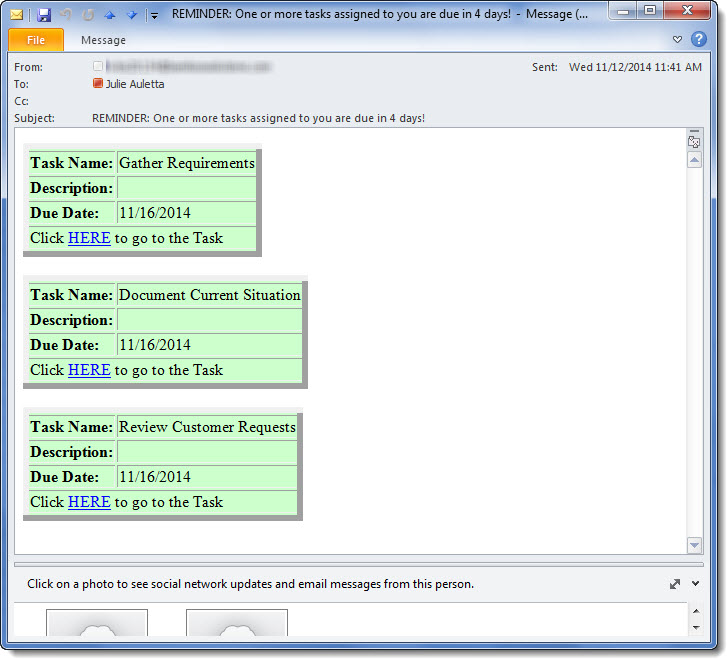 …generates an email message like this: …generates an email message like this:
|
| 4. |
In Alert Plus 4.0 and later versions, you can break email content into separate sections for header, body, and footer.
To do this, simply add the email content in the desired layout, then use the HTML editor button a the bottom of the message window. Add the flowing tags to break the email into the desired sections.
 IMPORTANT: The tags described below are case sensitive. If you do not use the correct case in the header and footer tag, the content located inside these tags will be repeated rather than appearing just once. IMPORTANT: The tags described below are case sensitive. If you do not use the correct case in the header and footer tag, the content located inside these tags will be repeated rather than appearing just once.
- Add “
<#Header>” to mark the beginning of the header section, and “</#Header>” to mark the end of the section. Any content located inside these brackets will appear at the beginning of the alert, and will not be repeated for each item.
- Add “
<#Body>” to mark the beginning of the body section, and “</#Body>” to mark the end of the section. Any content located inside these brackets will appear in the middle of the alert, and will be repeated for each item in the summary.
-
Add “<#Footer>” to mark the beginning of the footer section, and “</#Footer>” to mark the end of the section. Any content located inside these brackets will appear at the end of the alert, and will not be repeated for each item.
 The header, body, and footer tags can also be used to break up other HTML content to handle activities such as creating a single table that contains multiple alert items. For this example, simply place the The header, body, and footer tags can also be used to break up other HTML content to handle activities such as creating a single table that contains multiple alert items. For this example, simply place the <table> tag in the header section, the <tr> and <td> tags in the body, and the </table> tag in the footer.
|