| Return to Connecting to an Exchange Calendar |
|---|
After connecting to an Exchange calendar, configure the display settings for the calendar view.
| Step | Action | Result |
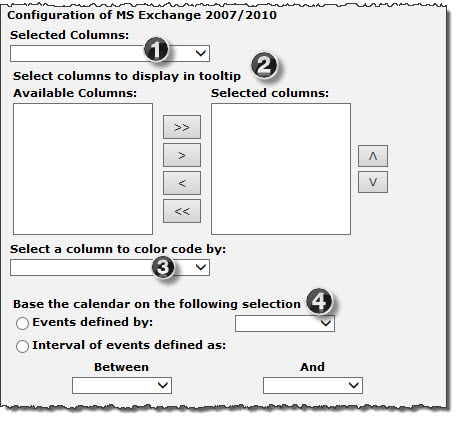
| 1. | In the Configuration of MS Exchange 2007/2010/2013 section of the tool pane, use the Selected Columns list to select a column that contains the text you want to display as the event label (title) in the calendar. |  |
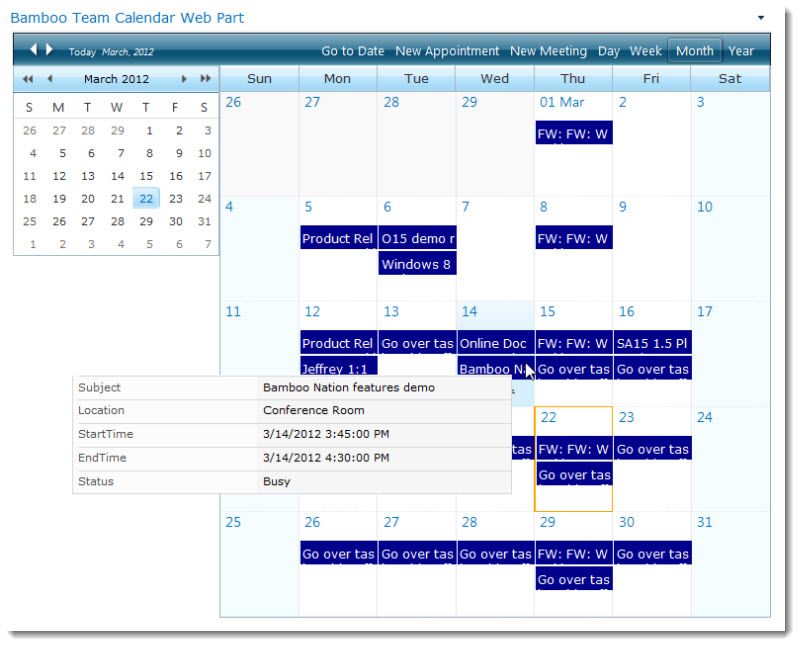
| 2. | Select columns to display in a tooltip when users hover with a mouse over an item in the calendar. Select columns in the Available Columns list and use the arrow buttons to move them to the Selected Columns list. Use the up and down arrow buttons to reorder selected columns. To select multiple columns at once, hold down the SHIFT or CTRL keys. | |
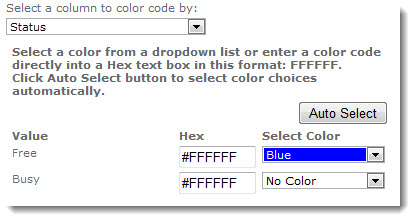
| 3. | Select a column to color code by and then select a color to use as the border color for each possible event type (determined by the column you just selected). |  For example, if you choose to color-code your events by “Status”, and you set the color for “Free” to blue, all events with Free status will be displayed with a blue border on the Calendar. Click Auto Select to automatically assign a unique color for each choice. |
| 4. | Select how to display the event duration on the calendar, and the date/time fields used to determine the event start and/or end time. | To display events on only the start or end date of the event, select the Events defined by option and select either the start date or end date field from the list. For Exchange events, event duration is usually defined by the Start Time and End Time fields. To display an event on the calendar for its entire duration, select the Interval of events defined as option and select the start date and end date fields in the Between and And lists.  |
Your Exchange calendar is now configured. 
NOTE: Remember if you choose the option to display events from a SharePoint list and events from the Exchange mailbox on two separate calendars, you will need to configure the SharePoint list-based calendar now.