| Return to Configuration Overview |
|---|
While the different pages and web parts that make up In/Out Schedule Board are designed to work straight out of the box without necessarily being configured, there are a number of features that can be customized from the respective tool panes of the three web parts.
NOTE: If you are using any of the included site templates (recommended), most of these options will already be set, and In/Out Schedule Board will function properly as is. It is not recommended or necessary to manually configure the Home or Calendar web parts for regular usage.
Use the following procedure to manually configure the Home page Web Part. Note that many of these options are pre-configured when the Schedule Board site is created, and that the part may no longer work properly if they are changed. Those options are marked as such in this procedure.
| Step | Action | Result |
| 1. | Edit the web part and select the Bamboo In And Out Calendar List from the drop down list. This is the list that will hold the event data that determines In/Out status for each user. By default, the “Bamboo In And Out Calendar List” view is selected. | The Schedule Board site template creates this list automatically, and it is not recommended that you change this value.  |
| 2. | Select the Bamboo In And Out Calendar View from the drop down list. This is the View that will be used to determine which items on the Calendar List will be included on the Schedule Board. By default, the “Calendar” view is selected, and it is not recommended that you change this value. | |
| 3. | Select the Column to Color Code from the drop down list. The contents of this column will be used to determine how each user’s information will be color coded on the Schedule Board. By default, “Status” is selected. | |
| 4. | Select colors for each of the available values in the column set in Column For Color Code. To automatically apply colors to all values, click AutoSelect. | 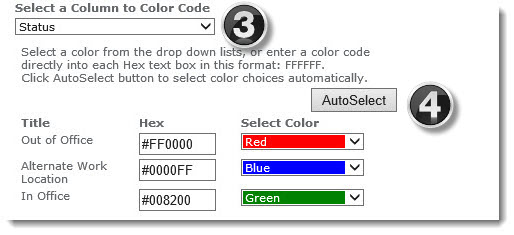 |
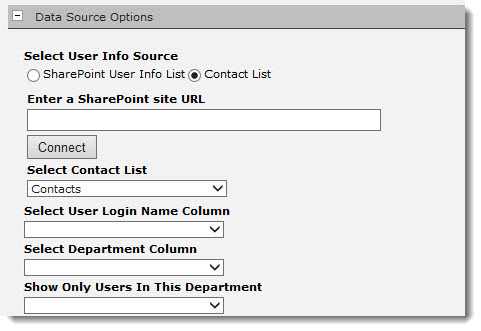
| 5. | Select a User Info Source, either the SharePoint User Info List, or a separate Contact List. | 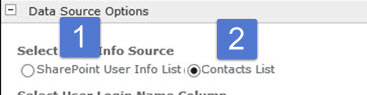 You have two options here; 1) choose the users from a SharePoint User Info List or 2) use a Contact list to pull in user data. |
 |
Select the User Login Name Column. The value in this column is used to associate events with individual users, and should contain a user login name. |  By default, the “Account” column is selected, and it is not recommended that you change this value. Select the Department Column for Display The list of available departments appear in the left box; highlight the one(s) you want to show and press the > button to set it as a display column. This column will be used to quickly sort users into groups; the default setting is “Department”. |
 |
If you choose to use a Contact List, enter the URL of the SharePoint site containing the List in the Enter a SharePoint site URL field. |
|
 |
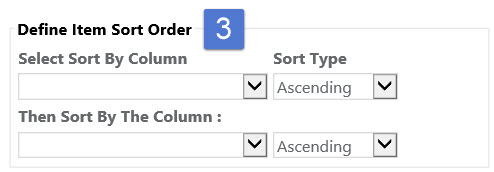
Define Item Sort Order |
Select the drop down list options in Define Item Sort Order if you prefer to change the default sort order of items by up to two columns. |
| 6. | Add any columns you want displayed in the Home Schedule Board Web Part from the Available Columns list to the Display Columns list. | 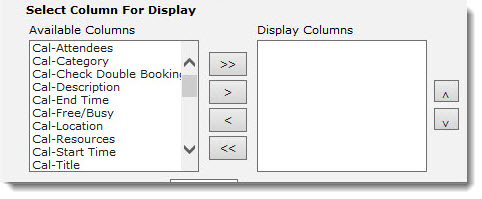 |
| 7. | Optionally, you can toggle the Web Part’s filtering, sorting, grouping and export controls by selecting or deselecting the Display Settings check boxes. | 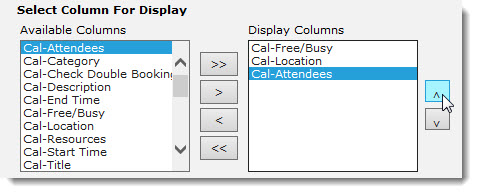 |
| 8. | To set a pre-established, custom column width : | Select a unit of measurement (Pixel or Percent) from the Measure Columns In drop down list.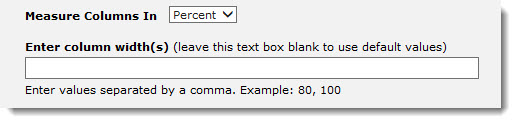 Enter the desired widths into the Enter column width(s) field, separating each value with a column. For instance, to set the values of three columns to 100, 150, and 200 pixels, select Pixel from the Column Width Unit drop down, and enter “100, 150, 200” into the field. |
| 9. | Display Setting | 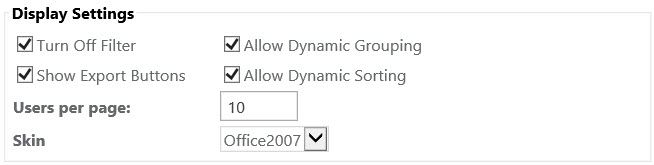 Optionally, you can toggle the Web Part’s filtering, sorting, grouping and export controls by selecting or deselecting the Display Settings check boxes. |
| 10. | If you have included a Picture column the Display Column list, you can set the size of the displayed picture. |  Enter the Width and Height values into the corresponding fields under Picture Size. |
| 11. | To alter the visual appearance of the web part, select from one of the options from the Skin drop down list. | 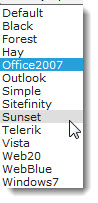 Preview the available skins |