In the Web Part Tool Pane you can configure the following Look and Feel Settings to customize the Web Part Menu to individual needs. From release 1.5, it is possible to edit the skin and apply changes via the CSS also. See Customizing Navigators for more information.
| Step | Action | Result |
| 1. | Inherit from site theme. Select this option to change the skin to reflect your site theme. |  |
| 2. | Custom Style. Select this option to apply custom style settings. |  |
| 3. | Menu Style. Set skin and font format. |  |
| 4. | Select Skin. Choose from the drop-down list to select from the available skin types. |  See images below to see examples of how changing skins changes the look and feel of the web part. |
| 5. | Font Format. Click on the checkbox with letter “A” to configure font settings in a dialogue box. Select Font (use the arrows for selection), Style and Size to format font. |  Click OK and the selected format is displayed in the sample box. Change the color by picking a new color for Foreground and hover and select respectively. Click apply and ok and the selected format is displayed in the sample box. |
| 6. | Automatically resize the Menu. This box is set by default. Deselect this box to set menu size manually. |  |
| 7. | Menu Size. Add pixel(px) value for setting width of the menu. |  |
Results of Skin Changes

Navigator Menu with Web 20 skin applied
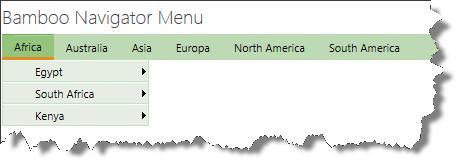
Navigator Menu with CSS Green skin applied
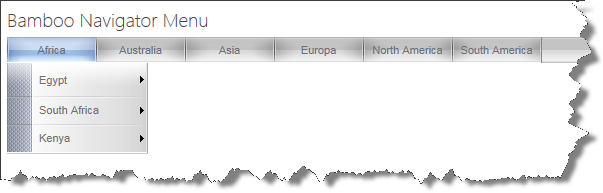
Navigator Menu with Inox skin applied