| Return to Configuration Overview |
|---|
The Current User Filter is designed to filter out items that aren’t associated with the currently logged in SharePoint user; it can also be used to exclude items that don’t match certain parts of the current user’s profile (name, phone number, department, etc.). To connect and configure a Current User Filter, follow the steps listed below.
| Step | Action | Result | |
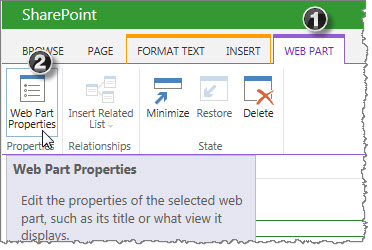
| 1. | Sometimes when you add this web part to a page, you may not see anything on the page but a rectangle where your web part should be. If that happens, you may have to open the Ribbon and Edit the web part properties. |
|
|
| 2. | Within the tool pane, you have a couple of ways to get values for the Current User filter. In this screenshot in the Select value to provide field, you see the radio button is selecting by Current user name. 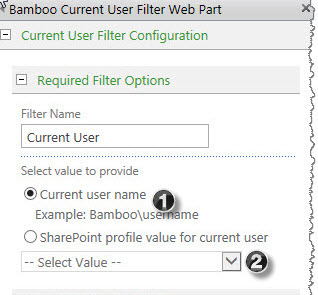 |
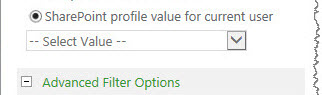
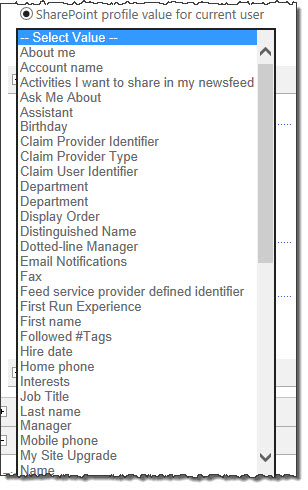
If you choose the next option, SharePoint profile value for current user: Choose a column from the drop-down that you want to base your filter on from the user profile. If you select this option, you are filtering out results that match the selection. So for example, if you choose Department, then all records that match the department value will not appear in the results. |
|
 |
|||
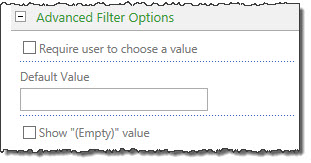
| 1. | Send Empty if there are no values | This means that the filter will show results even when the column on which you are filter has no content. | |
| 2. | When handling multiple values |
Three choices to select if results contain multiple values.
|
|
| 3. | Text to insert before values | In this option you have the option to pre-fill the results with certain text. | |
| 4. | Text to insert after values | In this option you have the option to end the results with certain text. | |
Create the Connection
| Step | Action | Result |
| 1. | After you have made your changes on the tool pane, edit the web part to open the connections choices. | 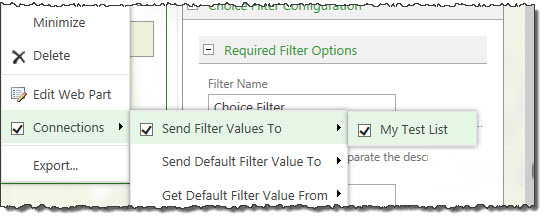 In this example, we have selected to send the filter to the list. |
| 2. | You have a couple of ways you can connect the filter web part to the list web part on the page. | |
| 3. | When you make a selection to Send Filter Values To a list, a dialog box opens on which you need to make more configuration choices. | 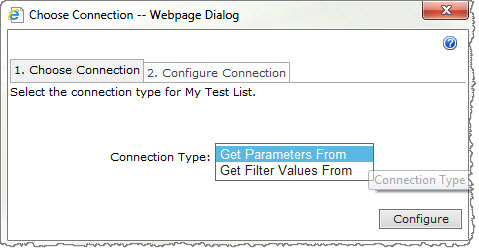 Step 1- Select Get Filter Values From |
| 4. | After choosing your connection, the view switches to the next step where you pick which column in your list that contains the data you want to filter. In our example, we are pulling data from a column called Choices. | 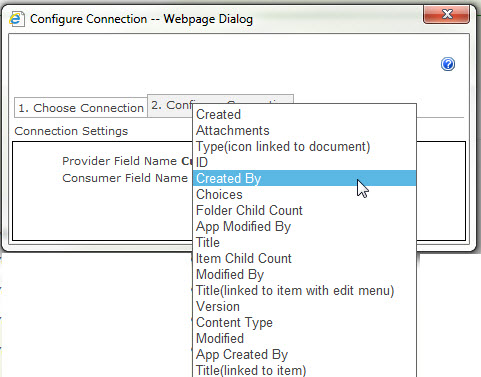 Step 2 – Configuring the Connection |
| 5. | Click Apply and click OK to save your changes. | |