Configuration
-
Layout Setting. Click the Source Edit button to edit the HTML directly and place the widgets where you want them within the Web Part.
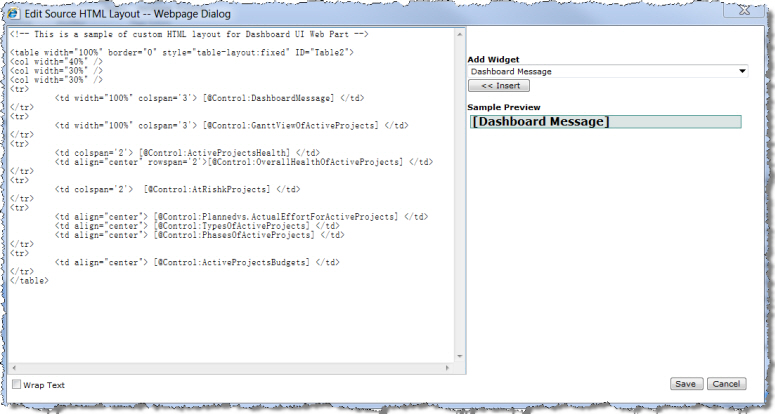
- Add Widget. Use the Add Control drop-down menu to select the widget that you want to insert into the HTML for the Web Part. Selecting a widget also displays an example of what the widget looks like under Sample Preview.
- Insert. Click Insert to insert the selected widget into the Web Part HTML within column tags (i.e.
[widget control] ). Widgets can only be inserted into a column of a table.
Wrap Text. Select the Wrap Text check box at the bottom left of the window to wrap the HTML text in the left pane. - Save. Click Save to save your changes and close this window.
- Cancel. Click Cancel to cancel any changes made and close this window.
-
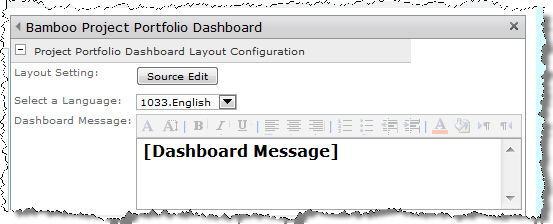
Select a Language. Select a language from the drop-down menu to translate the Web Part user interface and tool pane settings. You can also create your own translation or modify the default files available in the drop-down menu. See Customizing the Translation Settings for more information.
NOTE: The translation options for Spanish, French and English are currently all still in English. You must customize the files directly to translate the Web Part user interface to the language you require. See Customizing the Translation Settings for more information.
- Dashboard Message. Use the rich text editor to title your dashboard, communicate instructions to users, or list the Executive Summary for a single project dashboard.
Usage
-
For project portfolios, your dashboard message may look something like this.

-
For single project dashboards, your dashboard message may look something like this.
