| Return to Configuring Navigators CSS |
|---|
| Step | Action | Result |
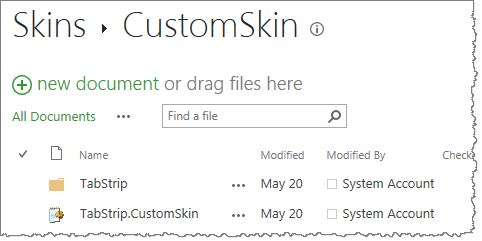
| 1. | Within the Style library under the BambooSolutions folder, you will find the Navigators folder. Navigate to Menu folder > Skins > Customskin and you will see a file and a folder: the folder contains images and the file is the CSS file that you want to modify. |
|
| 2. | Add Bamboo Navigator TabStrip web part to the page or the site. | If you do not know how to add a web part to a page, follow the instructions here. |
| 3. | Configure the tool pane; select Custom Style option. | 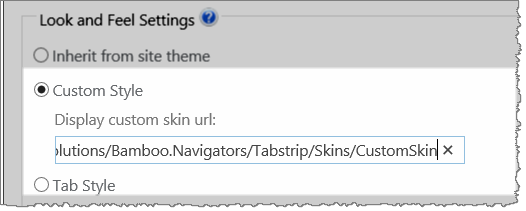 |
| 4. | Download the TabStrip.CustomSkin file and within your CSS text editor or Notepad, make your changes such as the background color of the TabStrip. | 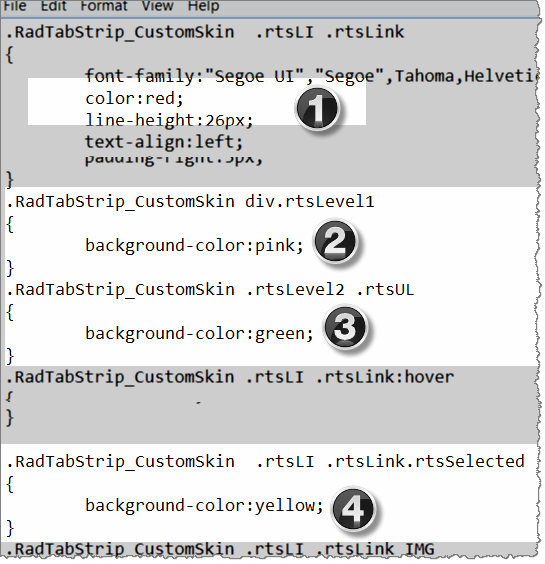 |
| 5. | Upload the modified file to the Customskin folder. Based on the changes made in the web part as shown below: |
|

NOTES:
| Description | Change |
|
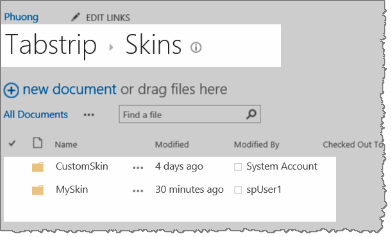
If you decide not to use the default folder (Customskin), you need to create a new folder Myskin at the same level as the Customskin folder and copy the images file and the CSS file to the Myskin folder. (We are using “Myskin” as an example, but you can call it what you want.)
|
 |
| Also, if you decide to do this, it is also required that you replace all the names of classes in your CSS file from “Customskin” to “Myskin”. | 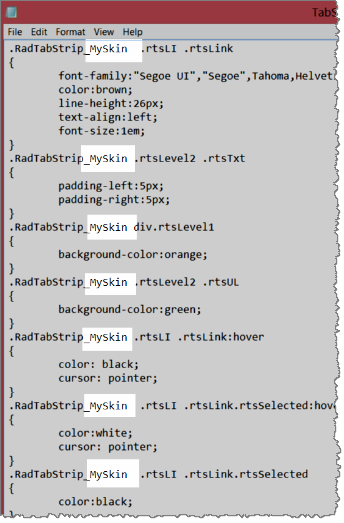 |
| And it is also required that you change the path to the Myskin folder in the tool pane. | 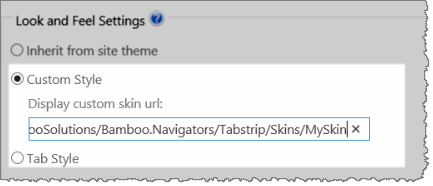 |