| Overview of the List Rollup Web Parts |
|---|
Data Views created by the List Rollup Classic web Part are hidden on the page where they are created (they are created on the page where the List Rollup Classic Web Part resides). To add them to another page on your site, export the data view web part to the site’s Web Part Gallery so you can easily add it to another page in the site.
From the site’s Web Part Gallery, you can also download a copy of the web part so you can upload it to the Web Part Gallery of another site.
To export and then import a data view web part, follow these steps:
| Step | Action |
|---|---|
| 1. |
Once a Data View is created with the List Rollup Classic Web Part, it is stored as a template on the page and listed under the heading Available Templates on the right side of the web part. In the screen shot below, Task Rollup is a saved template. 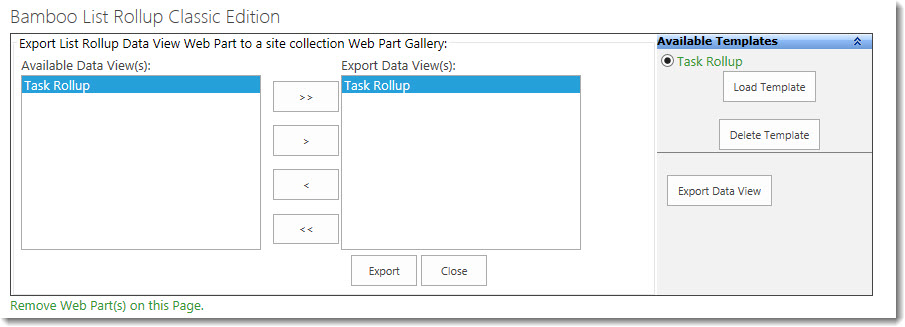 To export the template, select it and click Export Data View. |
| 2. | 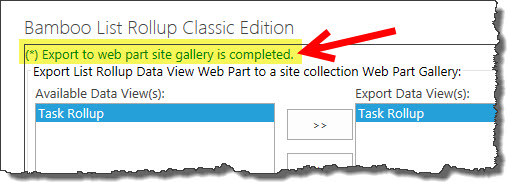 A wait cursor will appear during the export. When the export is complete, the message Export to web part site gallery is completed will appear at the top of the display. A wait cursor will appear during the export. When the export is complete, the message Export to web part site gallery is completed will appear at the top of the display. |
| 3. | 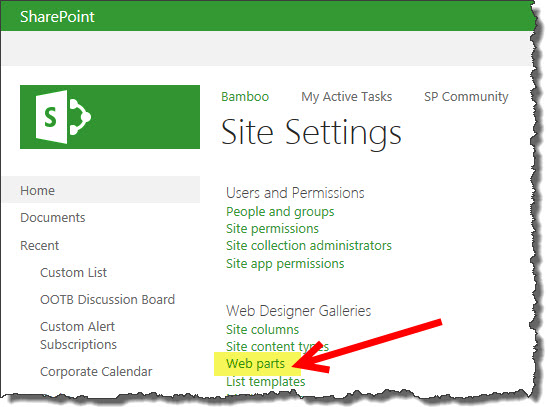 Access the sites Web Part Gallery in Site Settings under Web Designer Galleries > Web Parts. Access the sites Web Part Gallery in Site Settings under Web Designer Galleries > Web Parts. |
| 4. | Your exported data view will appear in the list.
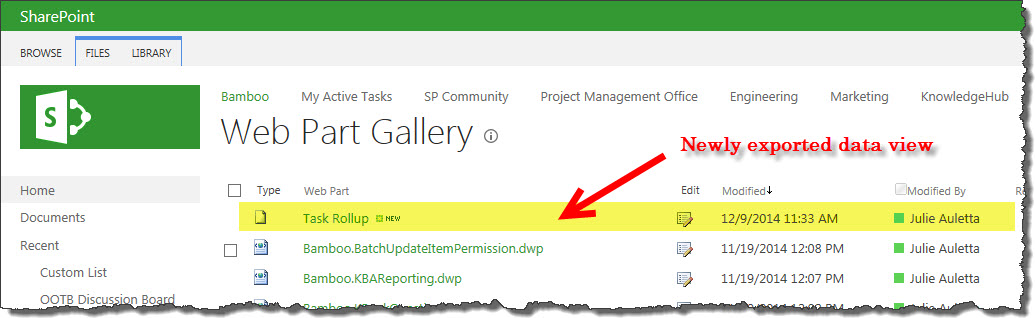 |
| 5. |
Import the web part to another page in the site as you would any other web part from the site’s Web Part gallery. To import the web part to a page in another site, download a copy of the web part from the gallery to your PC by selecting the web part and clicking Download a Copy from the Files ribbon. Keep track of where you download it to as you will browse for it in Step 7 below.  |
| 6. | 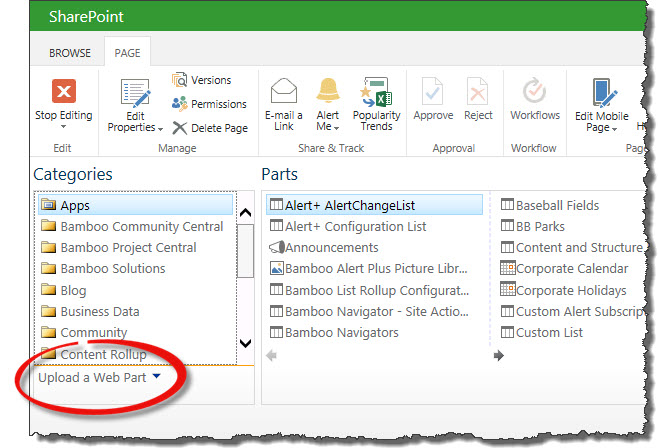 Go to the page where you want to import the saved web part and choose to insert a web part. When the web part gallery appears, click Upload a Web Part beneath the Categories list. Go to the page where you want to import the saved web part and choose to insert a web part. When the web part gallery appears, click Upload a Web Part beneath the Categories list. |
| 7. | 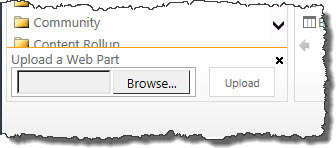 Click the Browse… button to browse for the file you exported in Step 5 above. Then click Upload to upload it. The web part gallery will close. Click the Browse… button to browse for the file you exported in Step 5 above. Then click Upload to upload it. The web part gallery will close. |
| 8. | 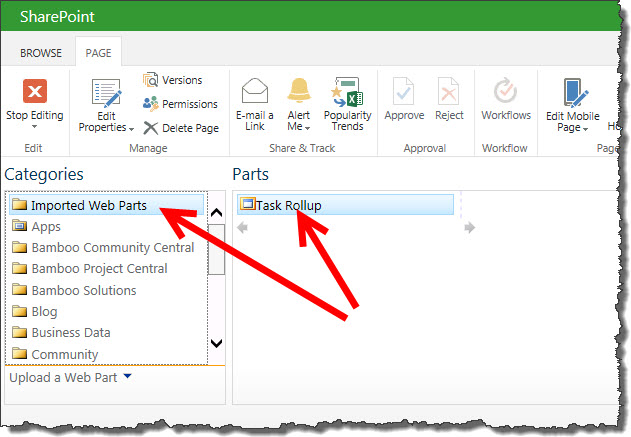 Click to insert/add a web part to the page. This time, a Category called Imported Web Parts will appear. Select it and your uploaded web part will appear in the Parts list. Insert it as you would any other web part. Click to insert/add a web part to the page. This time, a Category called Imported Web Parts will appear. Select it and your uploaded web part will appear in the Parts list. Insert it as you would any other web part. |
| Overview of the List Rollup Web Parts |
|---|