To start using the File Share Library, do the following:
| Step | Description | Image |
|
|
Go to Site Contents and add an app if you are using SharePoint 2013; otherwise, click Create and choose Bamboo File Share Library | 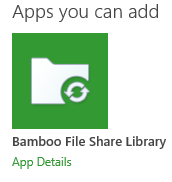 |
| 2. | Give it a name; if you want to provide a description, click Advanced Options and add the name and description there. On this page you can also determine whether to create a new version each time you edit a file in the library. Lastly, you are prompted whether to use a document template so that each time someone clicks the New button, this type of document will be created. | 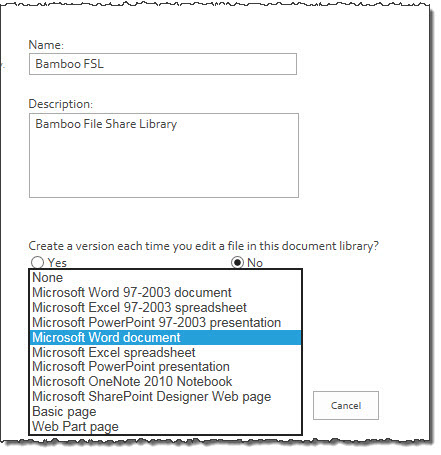 |
|
|
You will see the library after it is created, but it will contain a message Note: The Bamboo File Share Library is not configured. | Click the File Share Library Settings button in the Library Ribbon to access the settings page.** |
| You will need to Configure the File Share Library settings at this point before you can use the library. | ||
| 4. | Once the File Share Library has completed a sync with the specified file share, you can start using your files as you normally would use any SharePoint Document Library. | |
After configuring File Share Library for the first time, you will see an informational message displayed as shown here:

Give it a few minutes and then you can check back and begin using the library. As it syncs up, you will see a couple of icons start appearing next to the files as they become available in the library.

The blue icon indicates the file resides in File Share Library.

The green icon indicates the file resides in the file share, but you can see it in File Share Library.