NOTE: Installation of the List Bulk Import or Bulk Export application requires administrative rights on the computer that the program is installed on. Before installing List Bulk Import or List Bulk Export, make sure you have .NET 3.5 Framework installed. If you have an earlier . NET version, the Installer will automatically detect it, and ask you to download the latest version. You cannot install the application until you have installed .NET 3.5.
To install the application, follow these steps:
| Step | Action |
|---|---|
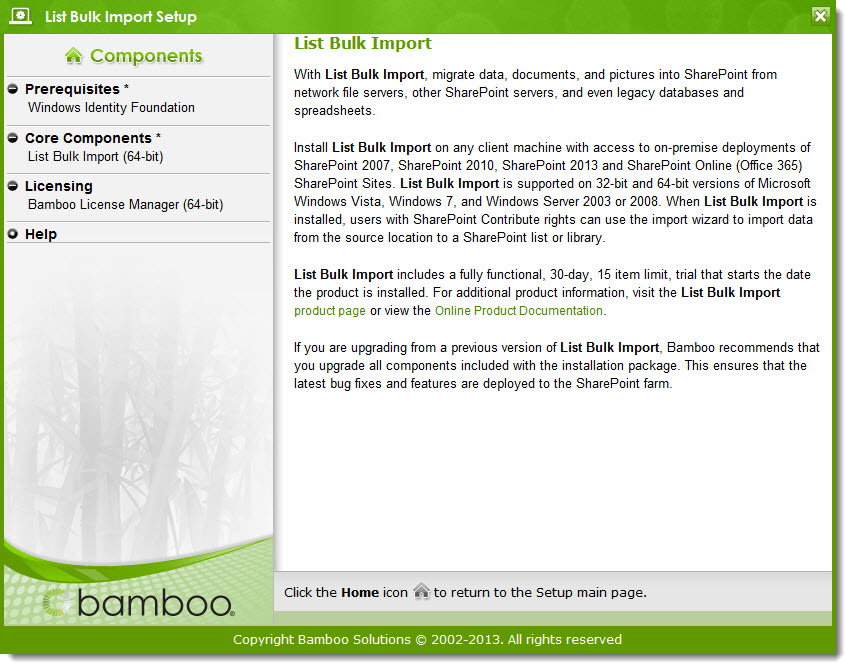
| 1. | Download the self-extracting product EXE from the storefront and save it to a local folder on the PC or server where you want to install the application. Double-click the product EXE file to extract the contents of the product download. The Setup program will automatically start. See below for a screenshot of the List Bulk Import setup. The List Bulk Export setup is similar.
|
| 2. |
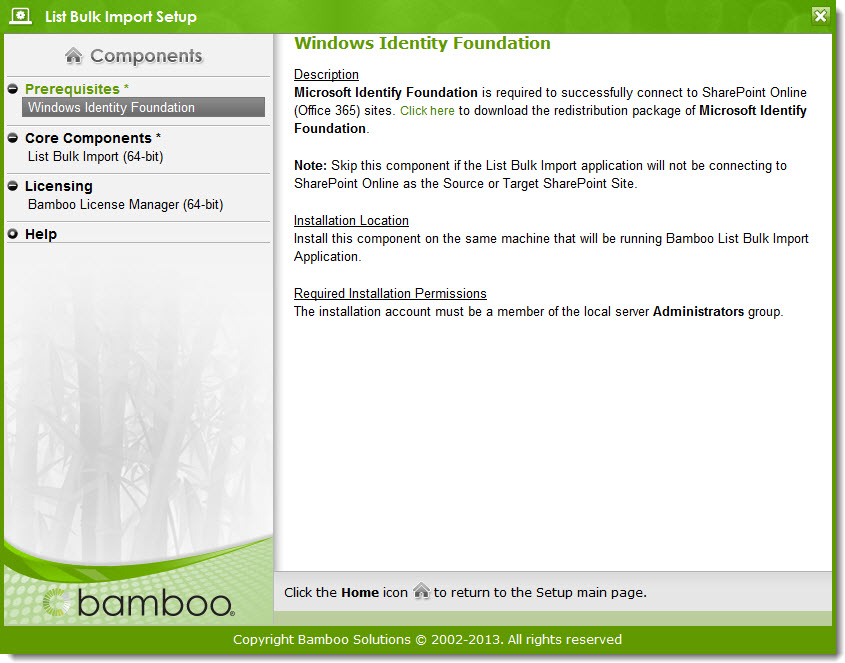
If you are planning to import data into a SharePoint Online site (via Office365), make sure you have the Windows Identity Foundation installed. If this is not in your plans, skip this step.
When you highlight the Windows Identity Foundation component in the Setup, a link to a download from Microsoft is shown on the right side of the screen (see below).
|
| 3. |
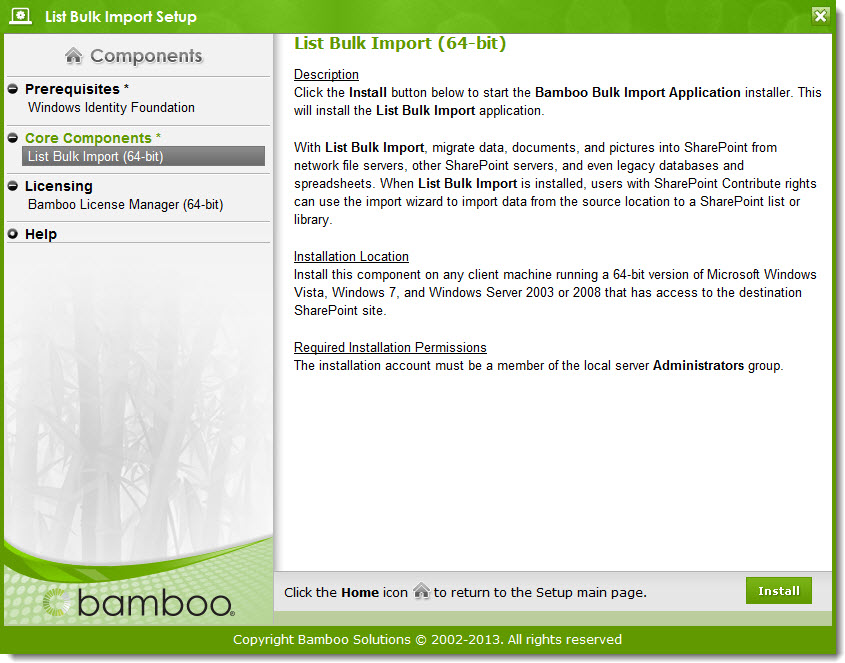
Highlight the List Bulk Import component in the Setup and review the Installation Location and Required Installation Permissions on the right side of the screen. When you are ready to install, click Install.
|
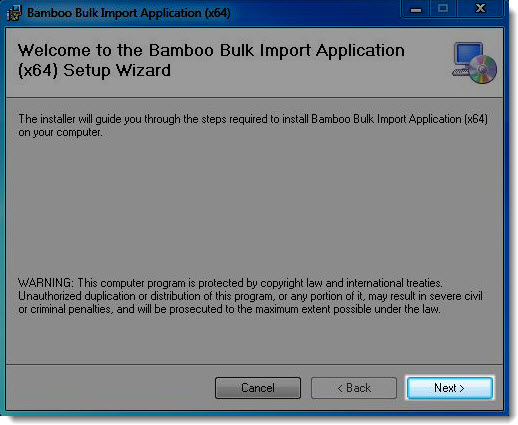
| 4. | Click Next on the first page.
|
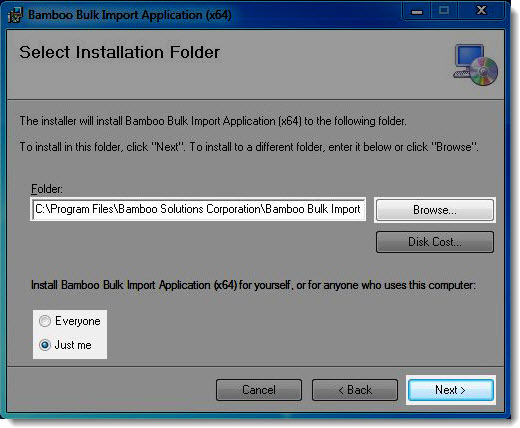
| 5. | Choose the folder to install to and whether you want to install it for your use only or for everyone. Click Next.
|
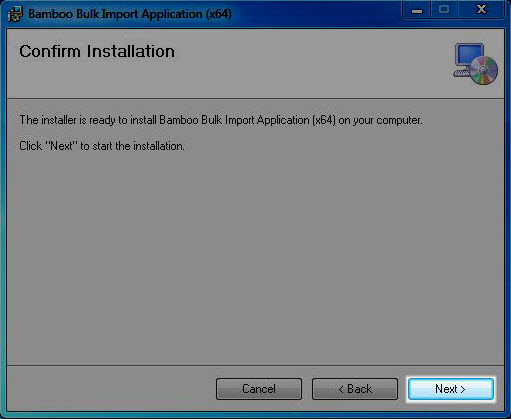
| 6. | In the Confirm Installation window, click Next.
|
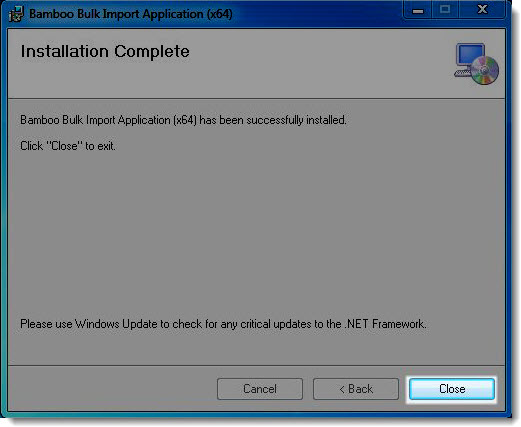
| 7. | In the Installation Complete window, click Close to exit the installation wizard.
|
| 8. |
To run List Bulk Import or List Bulk Export, click the icon on your desktop, or access it from Start Menu > All Programs.
|
