The Microsoft Project Add-in for Microsoft Project 2010 or Project 2013 allows you to import, export, and synchronize tasks between your PM Central project sites and Microsoft Project. It is an optional component.
The Microsoft Project Add-in can be installed to work with either Microsoft Project 2010 or 2013 (32 bit and 64 bit). The Microsoft Project Add-in works with SharePoint 2010 or SharePoint 2013. With the installer included with PM Central release 4.1 and higher, the Microsoft Project Add-in component will install successfully whether Microsoft Project 2010/2013 is installed on your desktop or not. Previous installation required MS Project to be installed prior to the installation of the add-in.
Follow these steps to install the add-in:
| Step | Action |
|---|---|
| 1. |
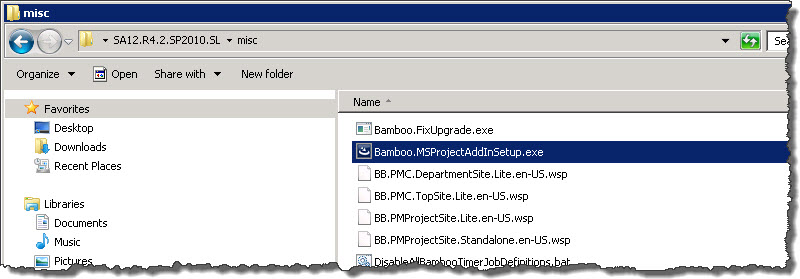
The Microsoft Project Add-in installation package is included in the misc subfolder of the PM Central installation package. Generally, you will not install this add-in on the SharePoint server but on a PC where you have Microsoft Project installed.
You can download the entire PM Central installation package to the PC where you want to install the add-in or you can browse to the /misc folder in the installation files on your server and copy Bamboo.MSProjectAddInSetup.exe to the PC where you want to install the add-in.
|
| 2. |
Verify the Installation Location and the Permissions and when ready, click Install. Otherwise, if you copied the Bamboo.MSProjectAddInSetup.exe file to your PC, double-click it to start the install. |
| 3. | 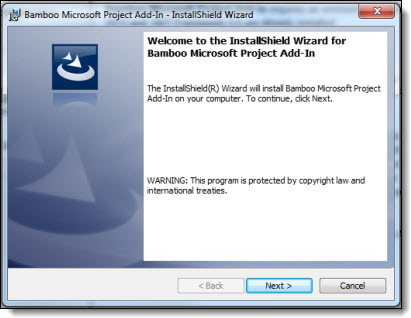 Click Next > to continue. Click Next > to continue. |
| 4. | 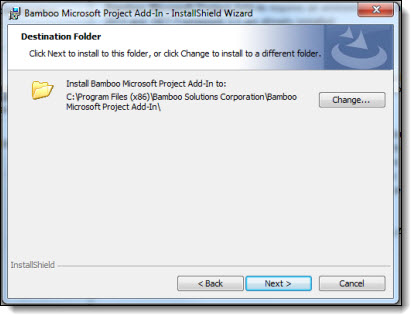 Decide where you want to install the Add-In and then click Next >to continue. Decide where you want to install the Add-In and then click Next >to continue. |
| 5. | 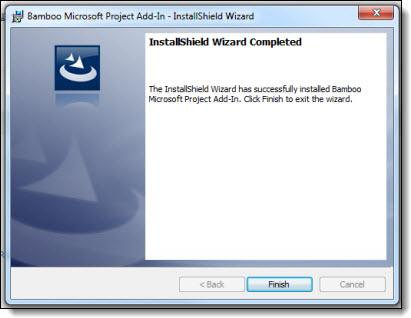 When the Add-In is successfully installed, a message will be displayed. Click Finish. When the Add-In is successfully installed, a message will be displayed. Click Finish. |
| 6. |
The Add-In is not licensed, so there are no other steps required before you begin to use it. |
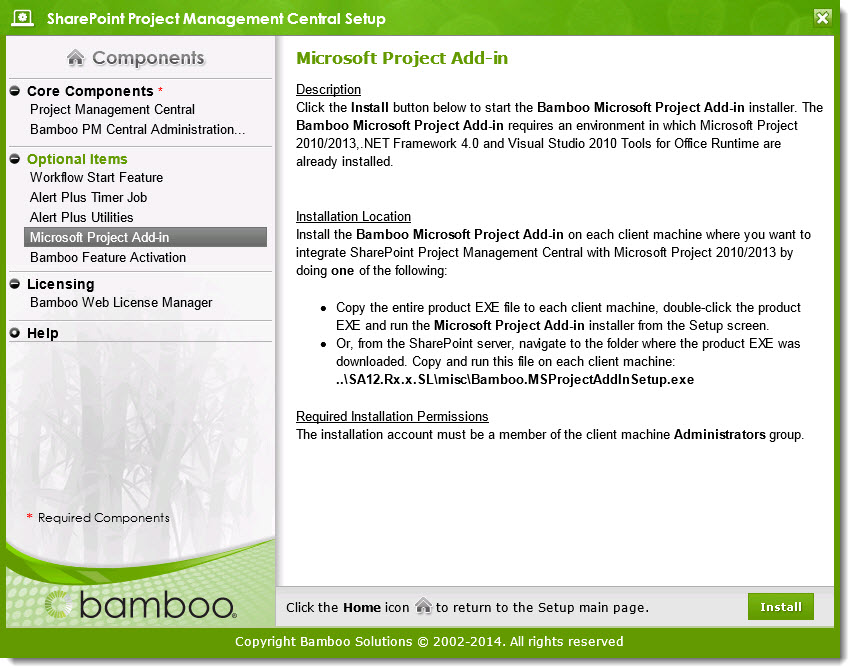 If you downloaded the whole PM Central installation package, run the Setup.bat and highlight Microsoft Project Add-In in the Components list.
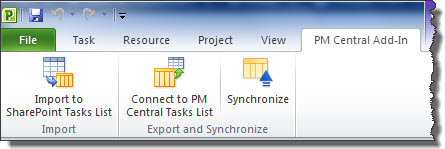 Check MS Project and ensure that the PM Central Add-In toolbar is there.