Using the Workflow Start Feature
Applies to
- Workflow Conductor R3.5 or newer
- SharePoint 2010 and SharePoint 2013
Overview
The Workflow Start Feature allows custom workflow start buttons to be added to the item ribbons within SharePoint lists/libraries. The workflow buttons will display configurable names and launch any desired workflow associated with the current item. Users simply highlight an item in the list and click the button to start the workflow on the selected item.
Configuring the Workflow Start Feature
| Step |
Action |
| 1. |
 On the site where you wish to use the Workflow Start Feature, navigate to Site Actions > Site Settings > Site Actions: Manage Site Features. On the Features page, locate the Workflow Start Feature (it’s usually at the bottom of the list). On the site where you wish to use the Workflow Start Feature, navigate to Site Actions > Site Settings > Site Actions: Manage Site Features. On the Features page, locate the Workflow Start Feature (it’s usually at the bottom of the list).

Click Activate to activate the Workflow Start Feature for the site.
NOTES:
- This is a site feature, not a site collection feature.
- If you don’t see the Workflow Start Feature listed on the Manage Site Features page, check to make sure that the Bamboo.StartWorkFlow.wsp solution is deployed to your web app and the Bamboo.StartWorkFlow.wsp site collection feature is activated for your site collection.
|
| 2. |
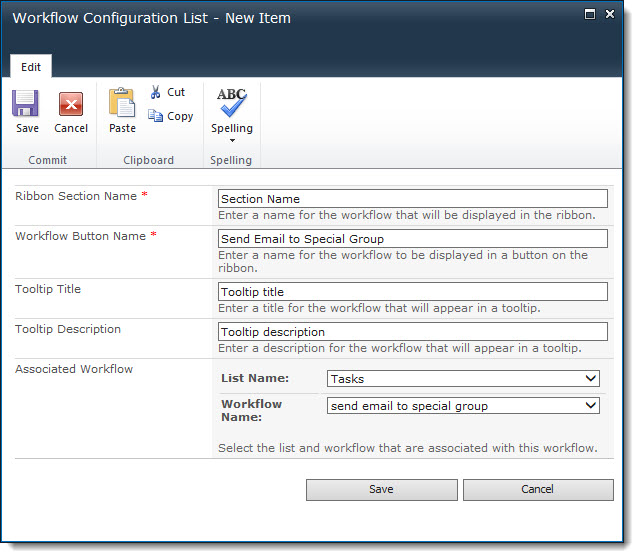
Activating the site feature creates a new list called Workflow Configuration List in the site. Configure a new item ribbon button by adding an item to this list. Find a description of the columns below:
- Ribbon Section Name: Enter a name for the section of the ribbon that will contain the workflow button. This is a required field.
- Workflow Button Name: Enter a name for the button that will be displayed in the ribbon. This is a required field.
- Tooltip Title: Enter the tooltip title that will appear when the end user hovers the cursor over the button. The Tooltip has a title that appears with bold text and a description that appears with normal text. See the screen shot shown in Step 3 below.
- Tooltip Description: Enter the text that will appear in a tooltip for the button. A tooltip appears when the end user hovers over the button with the cursor.
- Associated Workflow: Choose the list and the workflow that will be associated with the button for items in that list.
|
| 3. |
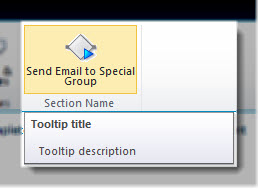 Once an item is added to the Workflow Configuration List, a button will appear in the item ribbon for the appropriate list. It will be grayed out unless an item is selected in the list. Once an item is added to the Workflow Configuration List, a button will appear in the item ribbon for the appropriate list. It will be grayed out unless an item is selected in the list.
The button shown here is the one configured in Step 2 above. Notice the tooltip that appears to end users when they hover over the button; the Tooltip Title and Tooltip Description is displayed.
NOTE: There is no configuration option for the icon that is displayed. It is the same for all workflow buttons.
|
| 4. |
To start the workflow, select an item in the list and click the button. |