The Client site home page is configured to display the Tab View webpart by default. Configure the Web Part using the steps below and see the this article for details on using Tab View
From the KB Admin site, edit the Tab View web part and go to Advanced Settings.
| Step | Action | Result |
| 1. | Enter the site URL for the Bamboo KB Admin site: |  This field is already populated for you with the relative path URL. See Using Relative Paths for more information on the syntax for relative paths. |
| 2. | Select a Display List: |  This field is already preselected for you with the Bamboo KB Articles list. |
| 3. | Select Default View: |  Select the list view that you would like displayed in the tabs. The views configure which articles you will see and what item columns display in the tab navigation pane. Default is the recommended initial setting. |
| 4. | Tabs Displayed: |  Configures which tabs, in what order, will be displayed. |
| 5. | Feature Tab Options: |  Toggles display of each category under the features tab. |
| 6. | Include Subcategory Articles in Parent Category: | 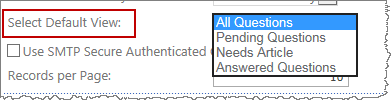 Toggles displaying articles associated with a subcategory in parent categories as well. For instance, the “Panda Bears” article is filed in Bears > Endangered > Asia. When this feature is turned on “Panda…” will display in the “Bears” and “Endangered” folders, in addition to the “Asia” folder. |
| 7. | Records displayed per Category and Page: |  Configures the number of articles that display in each category under the “Features” tab, as well as the records per page for other tabs and searches. |
| 8. | Enter Display Article WP URL: | 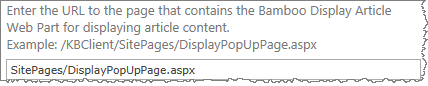 Enter the URL to the page that contains the Bamboo Display Article Web Part for displaying article content. This field is used for the KB Client site only. Make sure that you enter a relative path for the URL. |
| 9. | Select a Language: |  Select this option to set the language used on the user interface of this Web Part. See Localize Bamboo Web Parts for your Language for more information. |
| 10. | Click Apply and then OK to save your changes. | |