| Return to Configuration Overview |
|---|
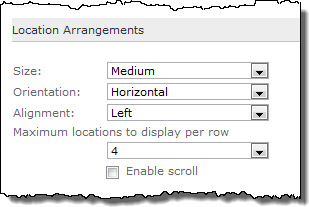
| Location Arrangements | |||
 |
Step | Action | Result |
| 1. | Size |
Select Medium or Small from the Size drop-down list.
|
|
| 2. | Orientation | Select Horizontal or Vertical from the Orientation drop-down list. This option will arrange multiple locations in a row (horizontal) or in a column (vertical). | |
| 3. | Alignment | Select Right, Center or Left from the Alignment drop-down list. This option will align the icons within the Web Part zone. | |
| 4. | Maximum locations to display per row | Select the maximum number of locations that you want to display per row, using the drop-down list. | |
| 5. | Enable Scroll | If you select the Enable scroll checkbox, the maximum number of images will be displayed with scrollbars instead of in multiple rows. | |
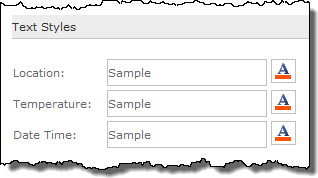
| Text Styles | |||
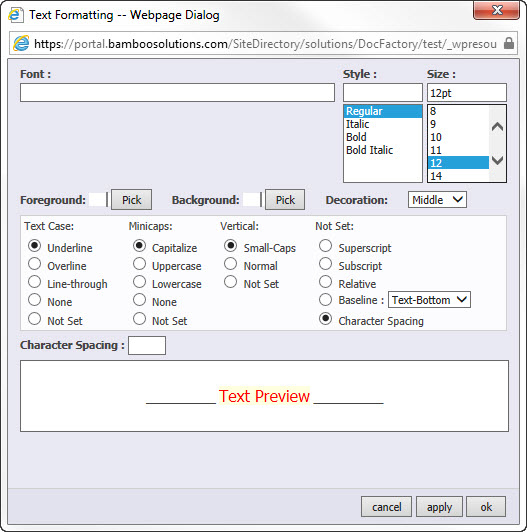
Format the Location, Temperature, and Date/Time text by clicking on the icon to display the Text Formatting dialog box. |
The box below is a preview box so that when you click apply, you can see how your choices will look before you commit them. Click OK when you are finished formatting the text. |
||
| Location Borders | |||
| Define the color of the border line around each location. | Select the color or provide a hexadecimal value for the color of the border around each location. | ||
