| Overview of the List Rollup Web Parts |
|---|
By default, a List Rollup Classic Edition Data View Web Part is created on the same page as the List Rollup Classic Edition Web Part.
It’s best to move a data view to a page where it is the only (or one of a few) rollup on the page. Multiple rollups on the same page negatively impacts page load time.
When you edit the page, you will see it as a hidden web part. If you want to move/copy it to a different page of your portal, follow these steps:
| Step | Action |
|---|---|
| 1. |
A message will appear giving you the opportunity to save the exported web part file (a *.webpart file). The location and appearance of the message will vary slightly depending on the version of your browser. Save the file and make a note of where you save it. For an alternative method of exporting the web part, see Export or Import List Rollup Data Views. |
| 2. | 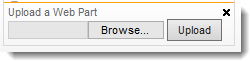 Go to the page where you want the Data View Web Part to appear and edit that page. Choose to insert a web part. When the Web Part Gallery appears, in the Upload a Web Part area, browse for the file you exported in step 1 above. When ready, click Upload. Go to the page where you want the Data View Web Part to appear and edit that page. Choose to insert a web part. When the Web Part Gallery appears, in the Upload a Web Part area, browse for the file you exported in step 1 above. When ready, click Upload. |
| 3. | 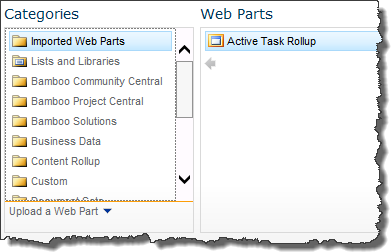 After the page refreshes, you should see a Category in Gallery called Imported Web Parts. The imported Data View Web Part should appear there so you can add it to any web part zone. After the page refreshes, you should see a Category in Gallery called Imported Web Parts. The imported Data View Web Part should appear there so you can add it to any web part zone. |
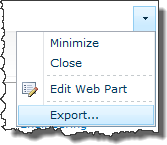 From the web part menu, choose to Export.. the web part.
| Overview of the List Rollup Web Parts |
|---|