| Overview of Calendar Plus Configuration Settings |
|---|
The Microsoft Exchange data source can be combined with any other data source for Calendar Plus.
Microsoft Exchange Calendar feature added in Calendar Plus 4.7
When working with Microsoft Exchange keep in mind:
-
The Exchange Web Services (EWS) Managed API must be installed on your SharePoint farm. See the Overview of the Installation/Setup Program for additional information.
-
When Calendar Plus Web Part is connected to an Exchange calendar, a hidden SharePoint cache list is created on the SharePoint site. This hidden SharePoint list is used to temporarily cache the Exchange calendar events for that calendar instance.
-
When Calendar Plus is connected to an Exchange calendar, a hidden BambooCalendarConfigList is created (if it does not exist already) on the root site collection. This hidden SharePoint list is used to store the configuration information for all Exchange calendars connected to Calendar Plus web part. The Calendar Sync Data Exchange Timer Job references this list to update the individual the Exchange cache lists (The Timer Job runs every 30 minutes by default).
IMPORTANT: Do not edit the calendar configuration list form unless specifically instructed to do so.
The following steps require you to have accessed the Calendar Plus Settings screens by clicking the Calendar Plus Web Part Settings button in the web parts configuration tool pane.
| Step | Action | Result |
| 1. | Click the Microsoft Exchange button under Data Source Settings in the navigation tool pane. 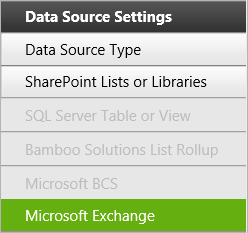 |
The Microsoft Exchange Settings will be visible on the right side of the configuration screen and is divided into two sections:
|
| 2. |
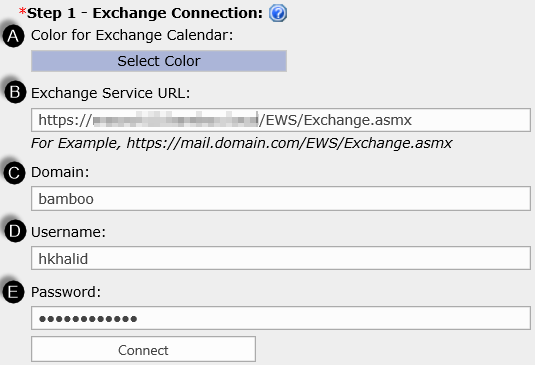
Complete the Exchange Connection section to define which Exchange calendar will be overlayed onto Calendar Plus
|
The Exchange Calendar and color entered will be used in the calendar display to identify the source list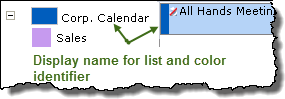 |
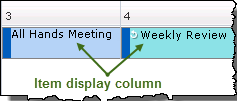
| 3. | Select the column that contains the values you want to display in the item cell from the Item Display Column drop down.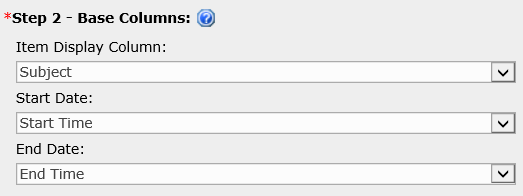 |
 |
| 4. | Select the Date and Time column(s) in the Exchange Calendar that will be displayed in the calendar. 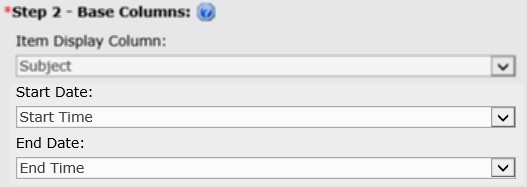 |
Whether you see Start Date and End Date fields or a Single Date field will depend on the selection made on the General Settings screen to Base the Calendar on a Single Date or Interval.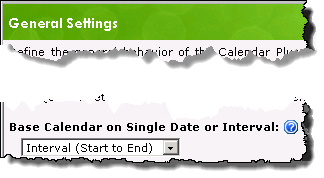 |
| 5. |
Stay in the configuration screen and complete the Optional Steps ORClick Save and Close |
Clicking Save and Close will exit the Calendar Plus Web Part settings screen |
| 6. |
Use the left navigation pane and configure View Settings for the Calendar Plus web part ORClick Save and Close a second time |
Clicking Save and Close will exit the Calendar Plus Web Part settings screen |
| Overview of Calendar Plus Configuration settings |
|---|