| Return to Configuration Overview |
|---|
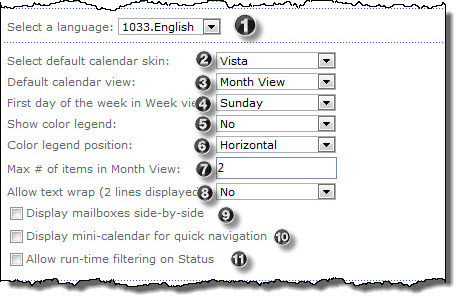 There are several generic settings you can choose when first configuring the web part that will impact what users will see and how they will interact with Team Calendar. The numbered items on the screen shot refer to the numbered steps below. Each section may contain more detailed information and links to topics relating to that particular setting.
| Step | Action | Result |
| 1. | Select a language | To localize the Team Calendar Web Part interface and tool pane settings for your language, follow the instructions provided in Customizing the Language Settings and then select the appropriate language file. |
| 2. | Select default calendar skin | Configure the style and color scheme of Team Calendar by selecting from several preconfigured skins. For more advanced style configuration options, see CSS for Team Calendar. |
| 3. | Default Calendar View | Select the view the calendar displays by default. Each view changes the appearance of the calendar; end users may also switch the view using the toolbar on the web part interface.  Compare Calendar Views to see how the interface changes when selecting a view. |
| 4. | First day of the week in Week view | Choose which day of the week will be displayed first in Week view.  You have a drop down selector box to pick any day of the week as the first day -keep in mind most users expect to see Sunday or Monday as the first day of the week. However, if you have a certain day of the week when deliverables are expected from the team, it might be good to use that as the first of the week. |
| 5. | Show color legend | Choose Yes or No depending on whether to display a legend of colors used in the calendar. This option does not affect the color-coding settings for the calendar. For information about configuring color-coding settings, see ?????? |
| 6. | Color legend position | 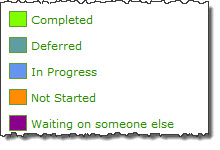 If you choose Yes above to display the legend, select whether color codes will be listed horizontally or vertically at the bottom of the calendar. If you choose Yes above to display the legend, select whether color codes will be listed horizontally or vertically at the bottom of the calendar. |
| 7. | Max # of items in Month View | Specify how many calendar events will be visible in each day of the Month view; the default is 2. |
| 8. | Allow text wrap | Enable or disable text wrapping in calendar event labels. Allow text wrap means that two lines will be displayed rather than one. |
| 9. | Display mailboxes side-by-side | Select this option to display a separate calendar for each mailbox configured in the web part. For example, you can display both a SharePoint list calendar and an Exchange calendar side by side. |
| 10. | Display mini-calendar for quick navigation | Select this option to display a small calendar on the left side of the web part. If you enable this, end users will be able to click on any day in the mini-calendar to display it in the main calendar view. 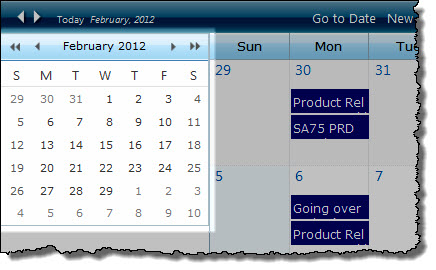 |
| 11. | Allow run-time filtering on Status | Select this option to allow users to dynamically filter calendar events by status. When this option is selected, use the Default filter list to select a status to filter on when the calendar is first displayed as shown below: 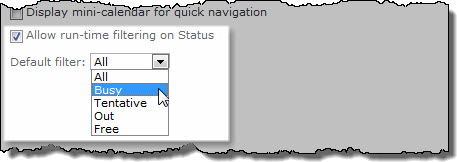 |