If you need to collect information from a user in an initialization form when a workflow is started, add a Workflow Initialization Form to your workflow in Conductor Studio. The Workflow Form is made up of one or more fields. Each field is stored in a workflow parameter, which can be used by the widgets in the workflow. Workflow parameters, like workflow variables, appear in the lookup list for Workflow Variables.
NOTE: Workflows with an initialization form must be configured with a manual Start Option to allow users the opportunity to complete the required form fields. When workflows start automatically, users don’t see the initialization form.
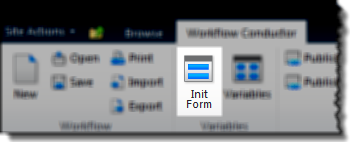
If you have already created an initialization form for your workflow, clicking Init Form from the menu or Workflow Settings tab will edit your existing form. If no form has been created yet, clicking Init Form will allow you to create a new form (see Workflow Forms for more information).
To modify an initialization form, follow these steps:
| Step | Action | Result |
| 1. | In the Workflow Conductor Studio, click the Add Field button in the Workflow Settings tab.
|
The Form Builder is displayed. Fields added previously are listed in the Input Field list. The Form Builder allows you to add more fields to the initialization form or edit, delete, or rearrange fields.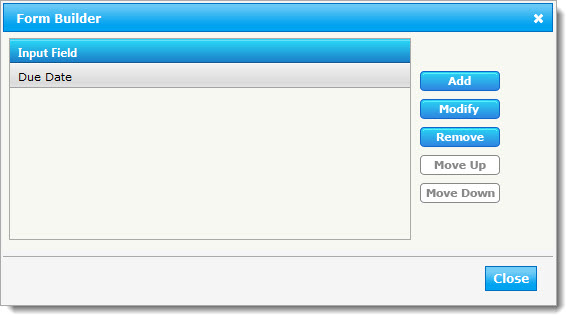 |
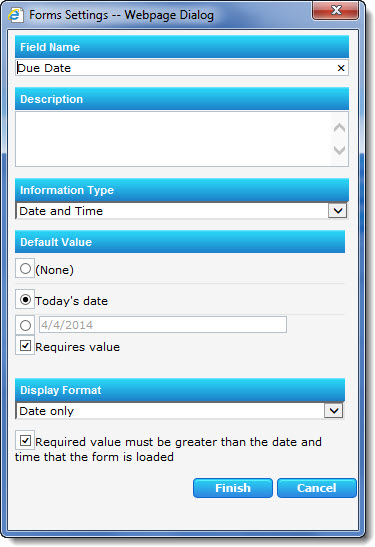
| 2. | To modify the fields on an initialization form, select the field that needs updating and click Modify.
For more details about Information Types, see Information Types used on Workflow Initialization Forms. |
The Forms Settings dialog will appear. See below for an example of a Date and Time field ready to be modified.
|
| 3. | Modify the parameters as needed. When ready, click Finish to save changes made to the field. Otherwise, click Cancel to close the Form Settings dialog without saving any changes. |
The Form Settings dialog will close.
|
| 4. | If you want to delete a field, select it in the Form Builder and click Remove. |
The selected field will be deleted.
|
| 5. | If you want to change the order that the fields are displayed to the end user, select a field and choose Move Up or Move Down as appropriate. |
The selected field will move up or down the list one position.
|
| 6. | Repeat steps 2-5 to modify, remove, or move more fields, as needed. | |
| 7. | When your form is complete, click Close to close the Form Builder. | Your form will be saved. |