Background
Because Alert Plus uses a combination of Web properties, event receivers and SharePoint lists to store URLs, the SharePoint Administrator must run this special command-line utility to update the static URLs associated with Alert Plus alert jobs that existed on the old farm. Until the utility is run, no existing alerts will work on the new farm.
Specifically, the Bamboo.FixUpgrade utility updates:
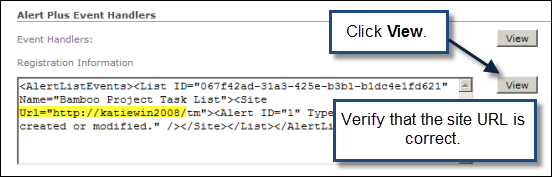
- Web Properties (Alert registration information)
- URLs in the Alert+ Configuration List
- URLs stored in Event Receivers on Alert lists
NOTE: The Bamboo.FixUpgrade utility is needed when you migrate your SharePoint farm using the Database Attach Upgrade Method (and the URL of the new farm is different than the URL of the old one), regardless of whether you are migrating to a new version of SharePoint or not.
Steps
To run the utility, follow these steps:
| Step | Action |
|---|---|
| 1. |
On the SharePoint server in the new SharePoint Farm where Alert Plus was installed, locate the Bamboo.FixUpgrade.exe file. It is located in the Alert Plus product extraction folder in the /misc folder.
|
| 2. | 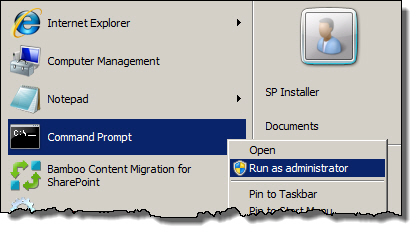 From the Start button on the server, select the Command Prompt and choose Run as administrator. From the Start button on the server, select the Command Prompt and choose Run as administrator. |
| 3. |
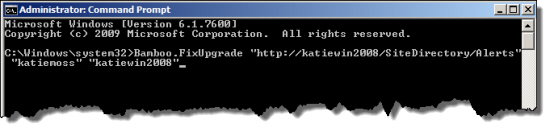
Change the directory in the Command Prompt to the directory that contains the Bamboo.FixUpgrade.exe file. Enter the following command: where:
See the example below: |
| 4. |
Make sure that the alerts are updated successfully by completing the following verification:
|
| 5. |
Repeat Steps 3 and 4 for each instance of Alert Plus that was migrated to the new farm.
|