When a user attempts to access the page where User Redirect has been added, he/she will be allowed to see the page or the browser will redirect to a different page, according to the configuration settings of the Web Part on the page.
Example:
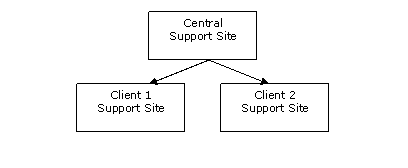 In this example, we want to set up a central support SharePoint site allowing our clients to access and create support requests. All clients will access the central support site with the same URL (i.e., support.myCompany.com), but each client will have their own username and password.
For our example, we have two very large clients that have special needs and we want to setup different sites to provide direct support to them. However, we want these two clients to use the same URL as the others. With User Redirect on the main support site, we will redirect these two clients to their sites when they log in.
The following steps describe how User Redirect helps to achieve the desired results.
| Step | Action | Result |
| 1. | Create the central support site | 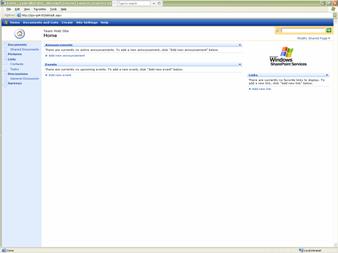 |
| 2. | Create two specific sub sites for each large client; client1.aspx and client2.aspx in this example. | 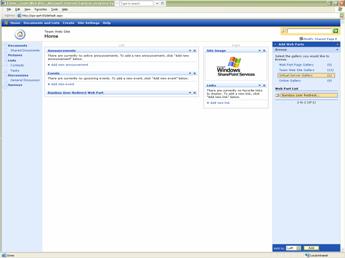 | | |
| 3. | Install User Redirect in the central support site as described in the Installation section of this document. | |
| 4. | Drag and drop User Redirect to the support.mycompany.com/default.aspx page | |
| 5. |
Modify the web part settings to redirect the specific client login accounts to the appropriate site. In the Bamboo Properties section, update the following properties (Figure 5):
|
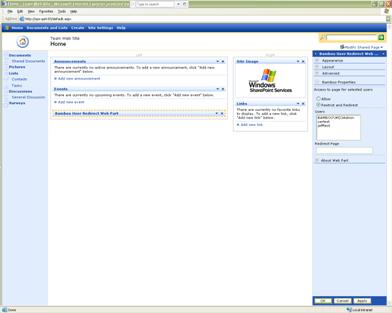 |
| 6. | Once you press Apply, the web part will display the user name along with the redirected page. When needed, you can delete a user/redirect page entry. | 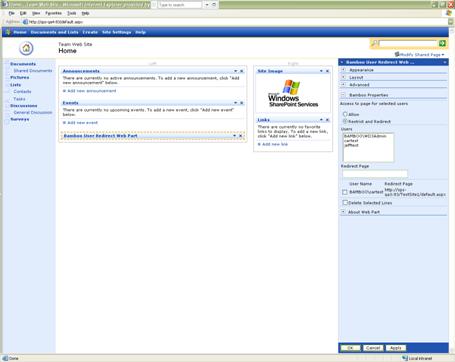 |
| 7. | Login to the portal as a user who will be redirected. Instead of the Home page, you will land on the client2.aspx page. | |