In addition to supporting formatted text, styles, and tables, Rich Text fields also allow users to upload and store images in a SharePoint Picture Library without ever directly accessing it themselves.
| Column | Description | Result |
| 1. | Click  the Insert Image button. the Insert Image button. |
The Image Manager dialog will open.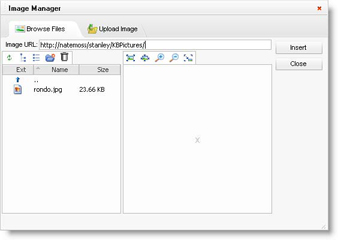 |
| 2. | Select an image to add. | You have a variety of choices from where to select the image. Follow the next set of instructions depending upon where your image is located. |
| To add an image from a Picture Library | When the Rich Text Column was set up, the administrator set the default Image URL. Although you can add an image from any library by entering its URL into the Image URL field, it will always default to the Picture Library associated during setup. To add an image from this library, simply navigate and select it from the list on the left side of the dialog. |
|
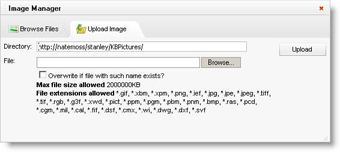
| To upload a local image |
Select the Upload Image tab on the top of the Image Manager dialog.
Click Insert to add the picture. |
|
| 3. | Once a picture has been added, it can be resized and edited from the Rich Text editor. | To re-size an image Select it and drag the white re-sizing handles that appear. 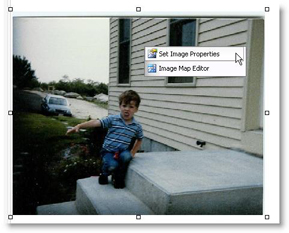
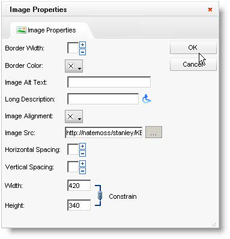
To change an image’s properties, such as size, border, and alignment, right-click on the image, and click Set Image Properties to open the Image Properties dialog. |
| 4. | When you are finished changing Image Properties, click OK. To discard any changes, click Cancel. |
Saves or discards your changes. |