| Return to Overview of the Configuration Toolpane |
|---|
 You must be in the site administrator group or assigned Full Control permission to change your site banner. Also, you must have access to the picture library where you upload the image for the site.
The Community Central Home site includes a default banner image for the Community Central Home, the Forums Home page, and the Blogs Home pages. To replace any of these banner images with an image customized for your company, perform the following steps:
| Step | Action | Result |
| 1. | In a SharePoint 2013 Community Central Home site, go to Settings > Site Contents.
In a SharePoint 2010 Community Central Home site, go to Site Actions > View All Site Content. |
SharePoint 2013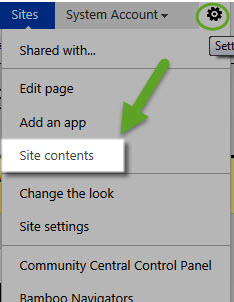 SharePoint 2010 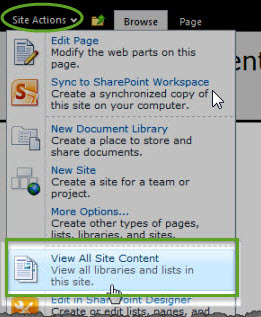 |
| 2. | Click the Pictures library. | SharePoint 2010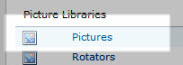 SharePoint 2013 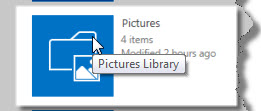 |
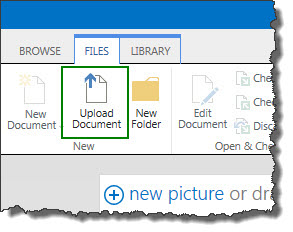
| 3. | Upload your new images to the Banners folder in the Pictures library. |
|
| 4. | Navigate to the Community Central Home, Forums Home, or Blogs Home page—whichever contains the banner you want to replace. In the Page ribbon, click the Edit Page button. | 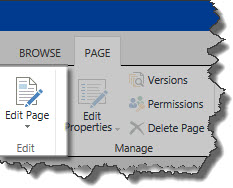 |
| 5. | Edit the Banner Web Part. | 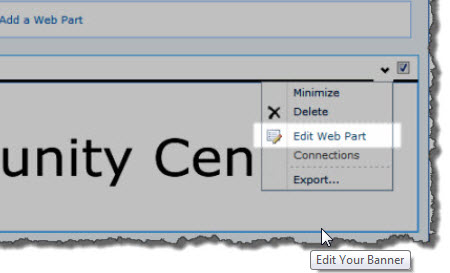 |
| 6. | Change the Image Link location to the image you uploaded to the Pictures library. (If you saved the URL in Step 3, simply paste it into the Image Link box or you can click on the ellipsis to navigate to your picture library where you uploaded the file and locate it that way.) You can also change Alternative Text or image alignment and transparency, as needed. | 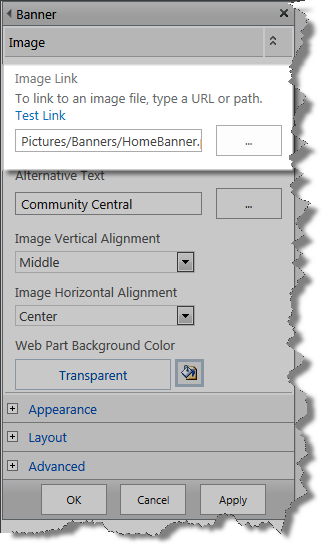 |
| 7. | Click OK to save your changes. | The new banner is now displayed. |
See also: