Bamboo Aggregation Service. Unlike the SharePoint Content Query Web Part, you can aggregate items of different types if you select this service. Because it is capable of aggregating items of various types, it takes a little bit longer, so choose this only if you need to rollup items of various types.
To create a new List Rollup Schema definition, follow these steps:
| Step | Action | Result |
|---|---|---|
| 1. | From the main menu at the top of the web part, click New Schema to create a new schema definition.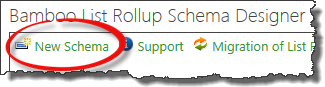 |
The schema configuration page will appear. |
| 2. |
Click the Select Aggregation Service (required) to choose the service for your schema. This will be the first thing you do; until you choose an aggregation service, nothing else is enabled. 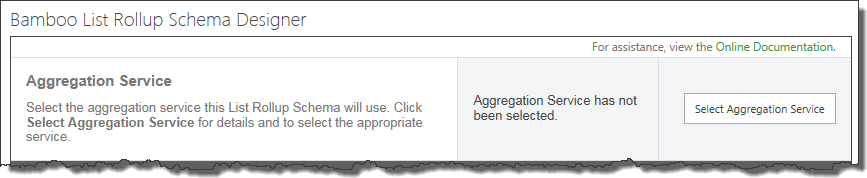 Choose Bamboo Aggregation Service. Unlike the SharePoint Content Query Web Part, you can aggregate items of different types if you select this service. Because it is capable of aggregating items of various types, it takes a little bit longer, so choose this only if you need to rollup items of various types. 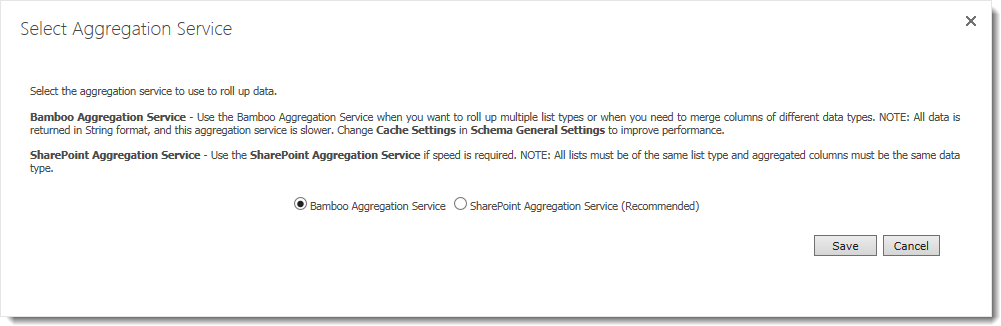 Click Save to save the aggregation service selection and close the dialog. Otherwise, click Cancel to close the dialog without saving anything. Once a service is selected and saved, it will be shown on the page in the center column (see below) so it will be easy to see which configurations you have completed. 
|
|
| 3. | Included Lists (required). In the Included Lists section, configure the discovery mode, select a list, and include it. You must select at least one list in order to create a schema. See Select the Included Lists for your Schema-based List Rollup for details. Once the list (or lists) is selected, it will appear in the Included List table, shown below. If needed, you can check the box in the right column of the Included Lists table and then click Remove Selected to remove a selected list if you change your mind. |
|
| 4. | Columns to Rollup (required). Identifying the columns to rollup is a required step, however you will not be able to select columns until you select a list. You will not be able to create your schema if you do not select at least one column. See Select the Columns to include in your Schema-based Rollup for details. Once columns are selected, they will be shown in the center column of the schema designer, as shown below.
 |
|
| 5. | Filter (required). Defining a filter is a required step and you will not be able to create your schema if you do not specify whether you want to see all items or a filtered set. See Select the Filter for your Schema-based Rollup for details. Once the filter has been configured, it will be shown in the center column of the schema designer, as shown below. |
|
| 6. | Recurrence. If you are rolling up Calendar/Events lists, see Select the Recurrence Option for your Schema-based Rollup for details. Once the recurrence has been configured, it will be shown in the center column of the schema designer, as shown below. |
|
| 7. | Exluded Lists. If you defined an automatic discovery mode in the Included Lists step, you can exclude specific lists from the rollup. See Identify Lists to be Excluded from your Schema-based Rollup for details. If an excluded list is defined, it will be shown in the center column of the schema designer, as shown below. |
|
| 8. | Schema General Settings (required). This is a required step; you will not be able to create your schema until you give it a name. See Configure the General Settings of your Schema-based Rollup for details. Once you have given your schema a name, it will be shown in the center column of the schema designer, as shown below. |
|
| 9. |  If desired, preview your rollup by clicking the Preview Rollup button. The first 15 items in the rollup will be displayed at the bottom of the page (you may need to scroll down to see it). See an example below. If desired, preview your rollup by clicking the Preview Rollup button. The first 15 items in the rollup will be displayed at the bottom of the page (you may need to scroll down to see it). See an example below.
 |
|
| 10. |
When ready, click Create/Update Schema to save your schema and return to the List Rollup web part. Otherwise, click Cancel and accept the warning question to return to the List Rollup web part without saving any changes. Your schema is displayed in the list of available schemas in the List Rollup Schema Designer Web Part. If you have multiple pages of schemas listed, the new schema will be on the last page. |
|
| Overview of the List Rollup Web Parts |
|---|