Overview of TTM’s Timesheet Entry Web Part
Before you start to use Time Tracking and Management (TTM) you will need to configure the Timesheet Entry Web Part to reference the appropriate data-sources for your implemetation. This configuration is a mandatory step in the Time Tracking configuration checklist.
When configuring the Timesheet Entry Web Part keep in mind:
-
You will need to identify data-sources for the following:
- Tasks
- Administrative Time
- Resources
-
The TTM configuration decision map is available to help determine how you should configure the Web Part.
-
Information on using the Timesheet Entry Web Part is available here
To configure the Timesheet Entry Web Part:
| Step |
Action |
| 1. |
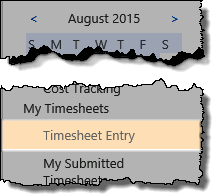
From the TTM site, click the Timesheet Entry link in the TTM quick launch
OR
Use the link in the Time Tracking configuration checklist.
|
| 2. |
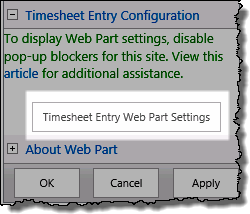
Edit the Timesheet Entry Web Part and click the Timesheet Entry Web Part Settings button to access the pop-up configuration window
 IMPORTANT: If you don’t see the dialog screen (shown below), make sure that you have disabled popup blockers for this site. IMPORTANT: If you don’t see the dialog screen (shown below), make sure that you have disabled popup blockers for this site.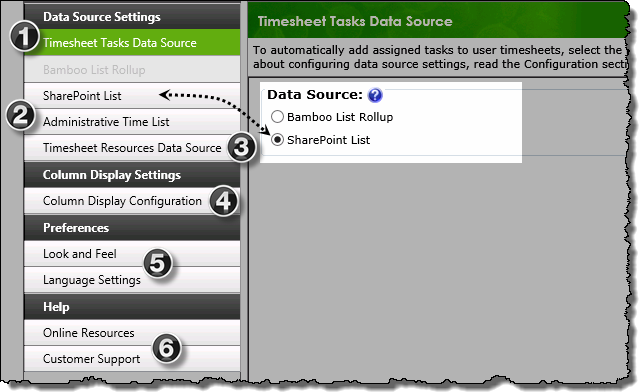
|
| 3. |
Use the left hand navigation to access the appropriate configuration screens:
| # |
Function |
| 1 |
Timesheet Tasks Data Source:
Use the radio buttons to Select a Task Data Source from ONE of the following
options:
- Bamboo List Rollup:
Select this option if your task list is one of the following, and then configure the Bamboo List Rollup settings described below:
- A task list in a Bamboo Project Management Central site.
- A Bamboo List Rollup configured for task lists in other sites.
- SharePoint List:
Select this option if your task list is one of the following, and then configure the SharePoint List settings described below.
- The default Timesheet Tasks list included with Time Tracking and Management.
- A SharePoint Tasks list in another site.
The corresponding button will be available in the navigation pane, allowing you to access the data-source’s configuration screen.
|
| 2. |
Administrative Time
By default Timesheet Entry Web Part uses the local Administrative Time list to track time that is not related to a specific project.
- If you will use this default list no further configuration is required in this section,
Otherwise…
- Configure the Web Part to use another SharePoint list to define Administrative Time
|
| 3. |
Timesheet Resources data source
Select a Resource Data Source from ONE of the following
options:
- Timesheet Resources – this is the default setting and uses the local Timesheet Resources list to get information about users.
- If you will use this list then no configuration is required in this section.
- PM Central Enterprise Resource Pool (ERP)
|
| 4. |
Column Display Settings:
|
| 5 |
Preferences
|
| 6. |
Help
- Click Customer Support to access available online resources for the web part.
- If you are unable to find the answer to your question with these resources, our Customer Support engineers are standing by to help.
|
|
| 4. |
Click Save & Close to commit the changes and exit pop-up configuration screen.
To return to the Time Tracking configuration checklist, use the Time Tracking link in the TTM quick launch menu
 To mark this item as complete in the checklist, click the To mark this item as complete in the checklist, click the
 button for the item. button for the item.
More information on using the checklist is available here
|