| User Guide Infographic | Overview of Data-Viewer display |
|---|
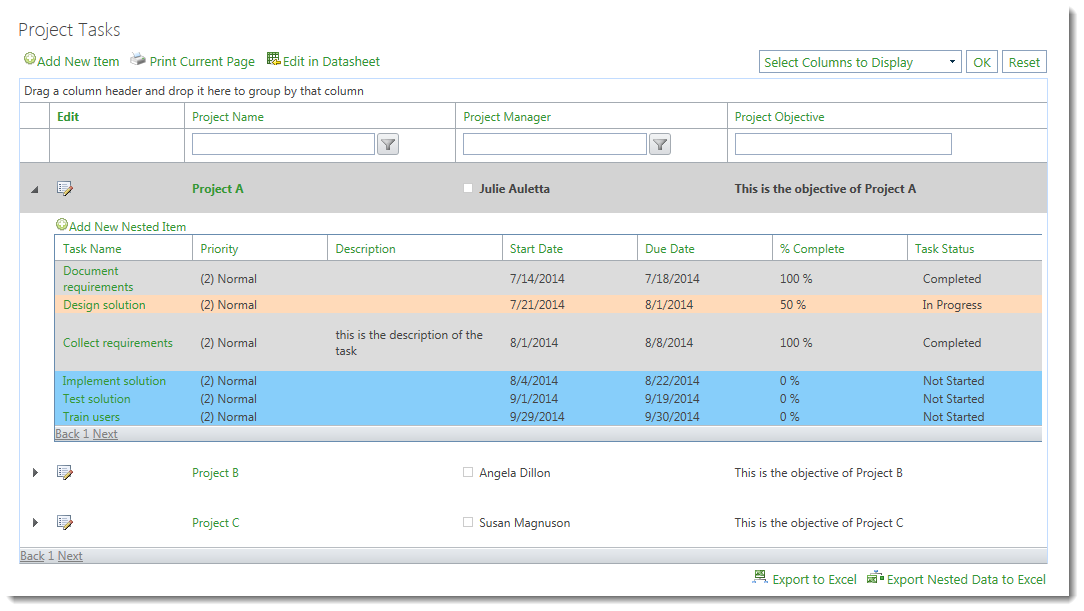
The example below shows a Data-Viewer Web Part with Export to Excel enabled. Since it is configured with nested data, there are two export links shown:
- Export to Excel. This will export the data from the parent list.
- Export Nested Data to Excel. This will export the nested data. Depending on the configuration option chosen, it will export all the nested data or just the expanded nested data.

If the Enable Export to Excel or Enable Export Nested Data to Excel option is enabled, an Export to Excel link is displayed at the bottom right corner of the Data-Viewer display. Follow these steps to export the data:
| Step | Action |
|---|---|
| 1. |
Export data by clicking either Export to Excel link. The message below will appear: Choose to Open the file, or choose Save or Save As from the Save menu to save it before opening. Otherwise, click Cancel to close the message without opening or saving the file. |
| 2. |
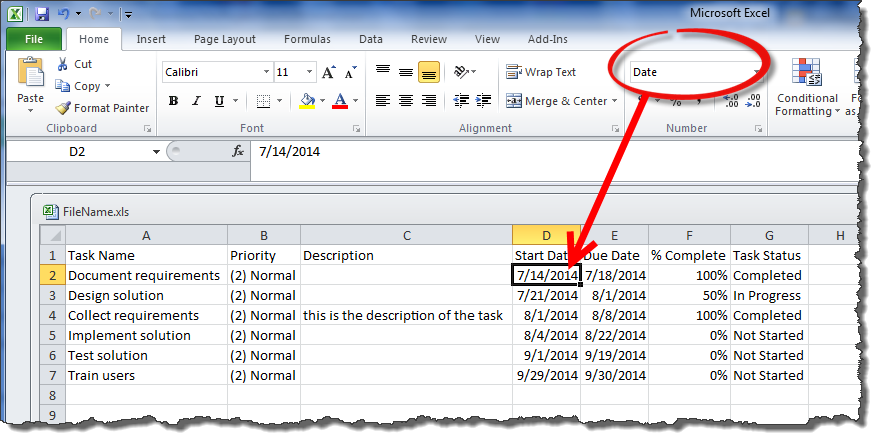
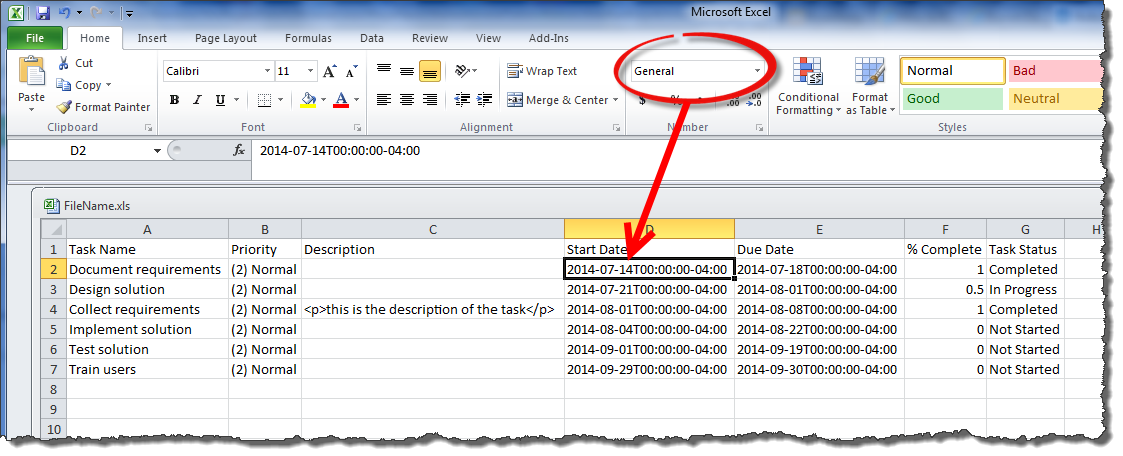
Open the Excel file. Depending on how your export was configured, you may see all the nested data, or just the nested data that was shown (expanded) when you clicked Export. If your data is exported with formatting, it will look similar to that shown below. 
|
| User Guide Infographic | Overview of Data-Viewer display |
|---|

