| Return to Overview of Web Part |
|---|
| Step | Action | Result |
| 1. | Site icons | The red site icon  in the tree indicates that the site inherits user permissions from the parent site. The blue site icon in the tree indicates that the site inherits user permissions from the parent site. The blue site icon  indicates that the site has unique permissions. indicates that the site has unique permissions. |
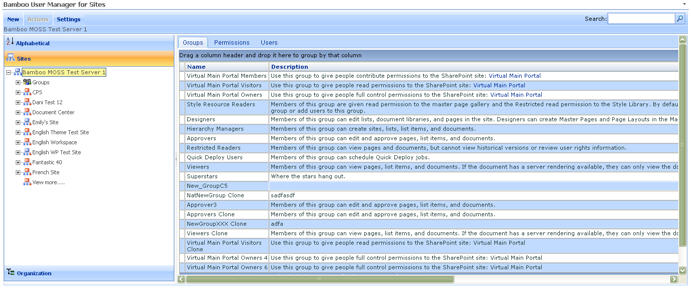
| 2. | Site Information | Click on a site node (including the top level site) to see tabbed information in the right pane containing Group, Permission and User information for the selected site. You can drag and drop column headings in each of these tabs to the bar directly above the information grid to group information by that column heading. |
| 3. | Export site information | You can export the list of Groups, Permissions, or Users in the right pane to Microsoft Word or Excel by clicking one of the buttons at the bottom right of the information grid. |
| 4. | Create groups and users | The Sites view pane is the only view where you can create groups and users. |
| 5. | Right-clicking Sites, Groups or the Groups node |
Right-click a site, group or the Groups node to view a context menu of available actions.
|
These topics provide more detailed information about user and group actions within the web part: