| Overview of the Alert Plus Web Part |
|---|
Go to the page in your Portal, where the Alert Plus Web Part exists. If it hasn’t been added to a page yet, see How to add a web part to a SharePoint wiki page.
It is not necessary to add an Alert Plus web part to a page in each site. Because you specify the URL for the site where the alert items reside, you can consolidate your alerts in one web part on a single page in your site collection.
To create a new alert, follow these steps:
| Step | Action |
| 1. | 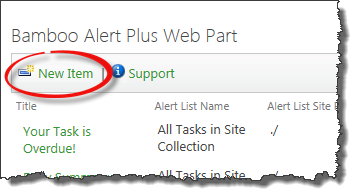 From the Alert Plus toolbar, click New Item. From the Alert Plus toolbar, click New Item. |
| 2. | Give the new alert a title. You won’t be able to save the alert without a title.
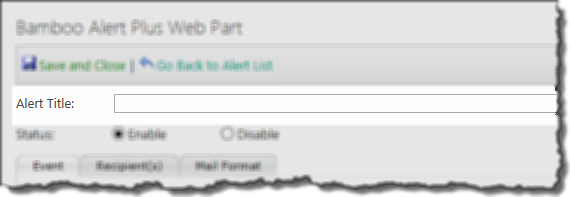 |
| 3. | The new alert will have a Status of Enable by default. If you don’t want this alert to run right away, choose Disable. |
| 4. | On the Event Tab, identify the source for the alert. The source can be a SharePoint list or library or a Bamboo List Rollup. For details, see Configure the Alert Plus Event Tab. |
| 5. | On the Recipient Tab, identify who will receive the alert. For details, see Configure the Alert Plus Recipient Tab for more information. . |
| 6. | On the Mail Format Tab, configure the Subject and Body of the email message that will be sent when an item meets the criteria for the alert. For details, see Configure the Alert Plus Mail Format Tab. |