| Overview of the Alert Plus Utilities |
|---|
Use the Upgrade Alert Plus tab of the Alert Plus Utilities when upgrading Alert Plus Release 3.1 or later to the latest version.
As new features are added to Alert Plus, the Alert Plus Utilities is used to update your existing alerts to leverage the new features. As an example, for Release 3.1 the utility included configuration updates to custom alert schedules, event receiver architecture, List Rollup Schema CAML query structure, and new columns in the Alert+ Configuration List. These updates are not performed automatically when the Alert Plus Web Part is upgraded via the Installation/Setup. They must be made by running the Alert Plus Utilities for each individual site after the Installation/Setup upgrade is completed.
NOTE: If you moved or migrated SharePoint to a new farm with a different URL as part of your upgrade, you should ensure that all the sites using the Alert Plus web part are properly registered before running the utility to upgrade the sites. The utility depends on the registration information. See Use the Alert Plus Utilities to Register Sites for more information.
Follow these steps to use the Alert Plus Utility to upgrade a site:
| Step | Action |
|---|---|
| 1. |
|
| 2. | In the Upgrade Alert Plus tab, verify that all four upgrade options are checked. Enter the URL of a site containing the Alert+ Configuration List and click the Upgrade button.
|
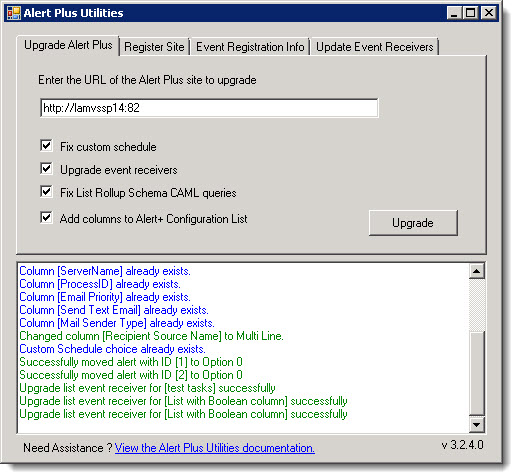
| 3. | Review the results of the upgrade activities in the status box. For any errors or warnings, read the information provided for important troubleshooting steps.
|
| 4. |
Repeat steps 2 and 3 for each site that contains an Alert+ Configuration List.
If Alert Plus is installed on several sites, you should consider using one of the available automation methods to upgrade all sites in a site collection or web app at once. If you are using
|
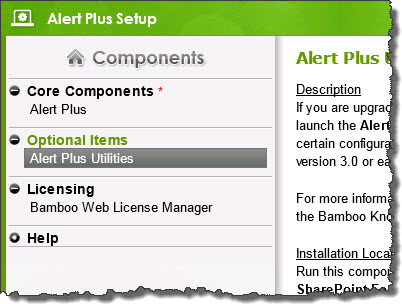 From the Alert Plus product installation, start the install by clicking Setup.bat and highlight the Alert Plus Utilities. Verify the location and required permissions for the application and then click the Install button to launch it.
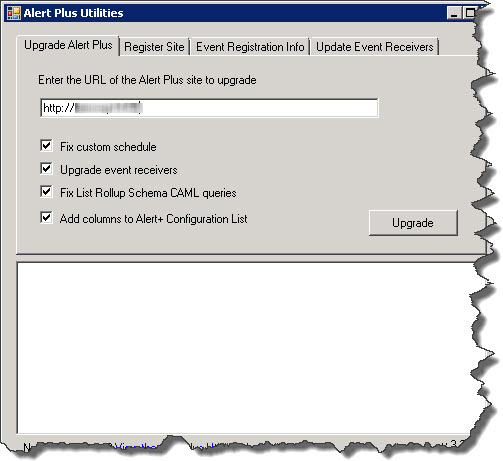
Return to Overview of the Alert Plus Utilities