| Return to Overview of Web Part Configuration |
|---|
To get started configuring this web part, you need to begin with which site your list resides in and from there, select the view and map the columns in your list to the Navigators list that Bamboo provides. If you have not deleted the Bamboo-provided list, all the mapping options will contain the default column name.
| Step | Action | Result |
| 1. | Click the arrow by the Web Part title and select Edit Web Part to open the configuration tool pane. | 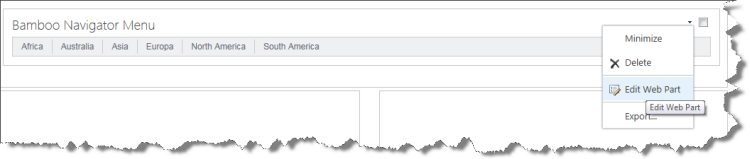 |
| 2. | Enter the Site URL. Type the URL address of the site where the Bamboo Navigators list resides, then click the green arrow button. Enter an absolute or relative URL. |
|
| 3. | Select List. Select the Bamboo Navigators list. |
|
| 4. | Select View. Select the view of the list that contains the items you want included in your navigation. |
|
| 5. | Menu Title. Select the column that contains the name of the menu item. |  |
| 6. | Description. Select the column that contains the description of the menu item. |  This text is displayed in a tooltip when the user hovers over the menu item with a mouse. |
| 7. | URL Link. Select the column that contains the URL address for the menu item. |  |
| 8. | Parent Menu. Select the menu item that is the parent of the item you are creating. |  This is a lookup column that looks up to the Menu Title column of the Bamboo Navigators list so that you can create submenus. |
| 9. | Sort Order. Set the order of the menu items at their respective levels. |  For instance, for all of the menu items at the parent level (i.e. the Parent Menu column has no selection), you can set the order in which they are displayed. For three child items under one of these parent menu items, you can set the order in which they display under the parent menu item. |
| 10. | URL Icon. Select the column that contains the Icon URL. |  You can choose to display a small icon next to the menu item; these icons must be in a column containing the image. |


