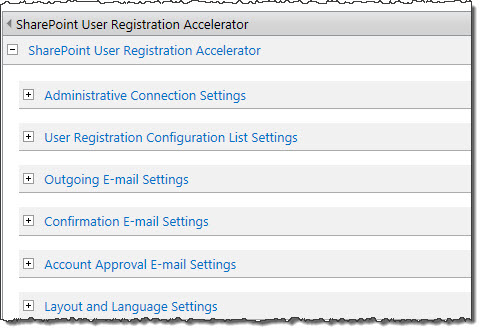
 After you first add the web part to a page, you will need to edit the web part so you can configure the options within the tool pane window. There are several that are showing in collapsed view that you will need to expand and set up. Click the topics linked below to learn how to configure that section of the web part.
- Administrative Connection Settings
- User Registration Configuration List Settings
- Outgoing E-mail Settings
- Confirmation E-mail Settings
- Account Approval E-mail Settings
- Layout and Language Settings
The Account Request Process
Here’s what happens when a visitor to the site containing User Registration Accelerator makes an Account Request.
- The email address submitted by the user is checked against the Configuration List.
- If it fails to match any of the rules there, the request is denied.
- If it matches a rule, the request procedure continues – if the account request is ultimately successful, the new account will be created according to the specifics of the matching rule.
NOTE: These rules are checked in the order they are stored in the list, so that if the supplied email address falls under multiple rules, User Registration Accelerator will use the earliest one listed.
-
Next, the email address is checked against the Pending Request list.
- If it does not match any of the addresses stored on the list, it is confirmed as an original request, and the request procedure continues.
- If it does match an existing address, the request is denied.
-
Once the system has determined the email address has not already been used to create an account, an email message is sent to the submitted address to confirm its authenticity. At this point, the request is “pending”.
-
When a user clicks the link contained within the authentication email, the new account is created, based on the specifics contained in the Configuration list (determined in Step 2).
-
Finally, a confirmation message is sent to the account’s email address, containing the new user name and password.