How to View Wiki Libraries with Tree View
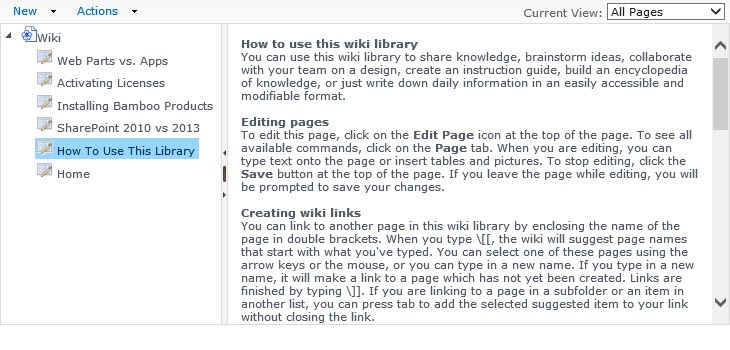 Wiki libraries can quickly become unmanageable with many, many pages. However, by using Tree View on a page, you can deliver a cleaner interface to your users. They can view Wiki pages which are contained in the Wiki Library through a familiar look and feel similar to Windows Explorer or a file share view. Just by clicking on the page name in the tree hierarchy on the left, they can see the contents of that page in the right side of the window pane.
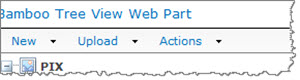
Users can create new wiki pages (depending on how you have configured the web part and their permission level), export pages to Excel, and set an alert on the library by using the New and Action buttons on the toolbar.
Displaying Site Navigation with Tree View
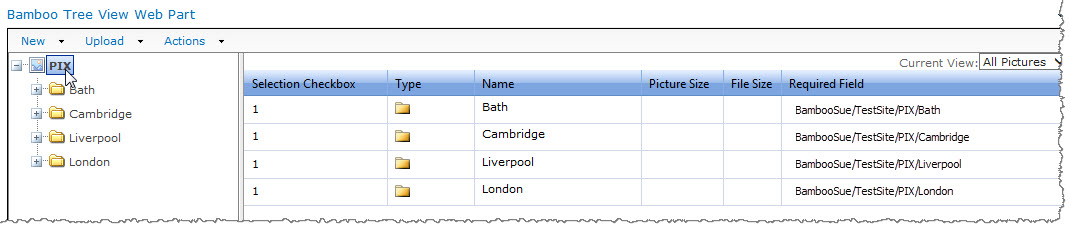
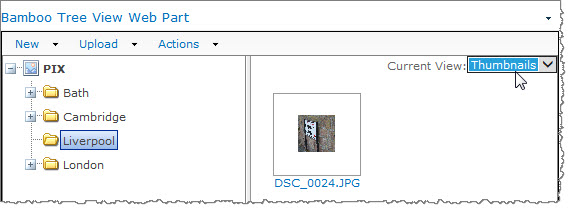
You can use Tree View to display items from SharePoint Lists, Document Libraries, Discussion Boards, Wikis and Picture Libraries or to display sites in the site collection.
| Action |
Result |
| From the left pane, click the plus sign
or
Click the site item name to view sub-sites in the right pane. |
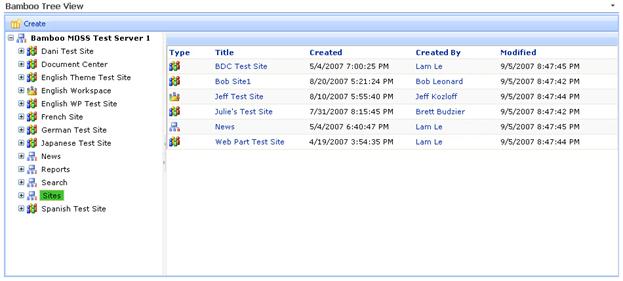
NOTE: Depending on how it has been configured, your web part may have a Create link above the tree view. Users with the appropriate permission level, will be able to create a new SharePoint site under the selected node.
-
Clicking the name of the sub-site or the icon takes you to that site.
-
You can also limit the tree hierarchy to show only sites under the current site by selecting the Only this site and below check box in the Web Part tool pane. See Step 2 in Configuration Options SharePoint Site.
|
|
How to Display Discussion Board Information in Tree View
You can use the Tree View to display items from SharePoint Lists, Document Libraries, Discussion Boards, Wikis and Picture Libraries or to display sites in the site collection. To display Discussion Board items in Tree View by topic name and hierarchy of replies as they were made in the Discussion Board itself, add Tree View to a page where the Discussion Board resides.
| Step |
Action |
Result |
| 1. |
Users can create new discussion posts for the selected topic item in the left pane by using the New button on the toolbar. |
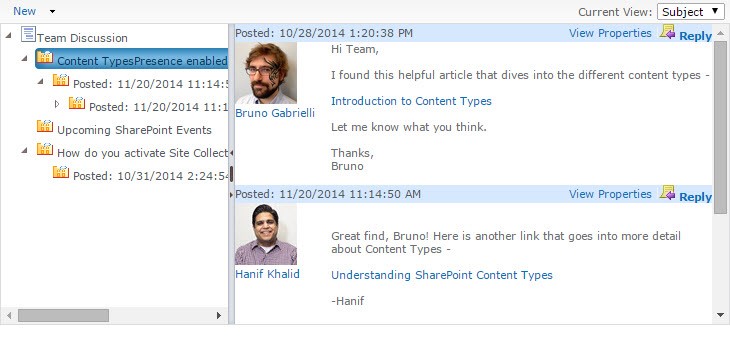
This view allows users to quickly navigate to the topic of their choice and choose a discussion thread to review.
|
|