| Return to Overview of the Configuration Toolpane |
|---|
Discussion Board Plus uses the built-in SharePoint permissions to determine what actions a user can perform in a Discussion Board Plus list. We’ve divided up the sections of Discussion Board Plus to provide you a helpful way to understand the variations in permissions and settings for the tool.
- General Permissions
- Private Topic Permissions
- Private Reply Permissions
- Move Topic Permissions
- Permissions for Forum Actions
- Permissions for Blog Actions
- Configuring Anonymous Access
- Forum Settings for Discussion Board Plus List
General Permissions
The table below describes the permission or permission level required to perform each action.
| Discussion Board Plus Action | ||||
| Verify Answer | ||||
| Move Topic | ||||
| Suggest as Answer | ||||
| Mark as Not Answer | ||||
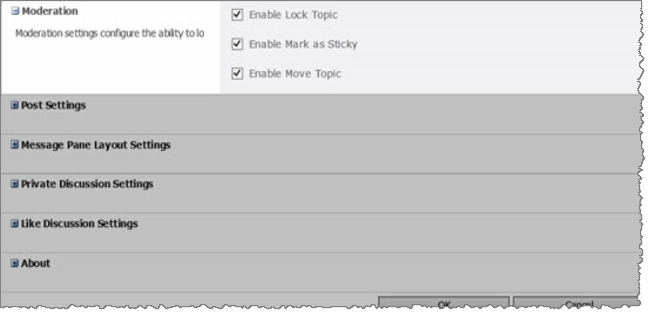
| Lock/Unlock Topic | ||||
| Mark/Unmark Topic as Sticky | ||||
| Access Forum Settings | ||||
| Edit/Reply | ||||
| After topic is locked: Edit/Reply/Suggest or Verify Answer/ Mark as Not Answer |
||||
| After topic is locked: Mark or Unmark as Sticky/Unlock Topic |
||||
1The user who created the topic (does not apply to anonymous users).
2SharePoint site collection administrators.
*Yes, if the creator has the Manage Lists permission, Full Control permission level, or is a site collection administrator.
**Yes, if the user suggested or verified the answer originally.
***Yes, if the user has the Edit Items permission.
To set up your own SharePoint permission levels to use with Discussion Board Plus, refer to the following information from Microsoft: Edit, create, and delete permission levels.
Private Topic Permissions
| Discussion Board Plus Action | ||||||
| Create Topic | ||||||
| Share With | ||||||
| Access Topic | ||||||
| Get Alert Notification |
*Yes, if the user has Full Control permission level.
**Yes, alert sent to the Recipients only.
Private Reply Permissions
| Discussion Board Plus Action | ||||||
| Create Reply | ||||||
| Access Reply | ||||||
| Get Alert Notification |
Move Topic Permissions
| Discussion Board Plus Action | |||
| Is a Locked Topic? | |||
| Is a Sticky Topic? | |||
| Is a Private Topic? | |||
| Contains a Private Reply? | |||
| Inherits List Permissions from Parent? | |||
| Inherits Site Permissions from Parent? | |||
Forum Settings for Discussion Board Plus List
| Forum Settings | |||
| Verify Answer | |||
| Suggest as Answer | |||
| Tagging | |||
| Like | |||
Permissions for Forum Actions
Forums use the general permissions by default. And in addition to the permissions provided by Discussion Board Plus, please note the following for Community Central forums:
- Administrators and Moderators can add, update or delete any forum topic or post.
- Members can add topics and posts, but can only edit or delete their own topics/posts.
- If a read-only account is configured in the Forum Control Panel, anonymous users can read topics and posts but cannot add new topics or posts.
Permissions for Blog Actions
Community Central uses the default SharePoint settings to determine who can perform actions in a blog site. For a list of default permissions for basic blog actions, see the table below. For information about customizing blog site permissions, see the following article:
Configure permissions and settings for a blog (From office.microsoft.com)
| Blog Action | Users |
||||
| Read Blog Posts and Comments | |||||
| Create Blog Posts | |||||
| Edit Blog Posts | |||||
| Add Comments | |||||
| Edit Comments | |||||
| Approve Blog Posts and Comments | |||||
| View Draft Posts and Pending Comments | |||||
| Manage Blog Categories |
* Members can edit any blog post or comment by default (not just their own post/comment).
1. Allow visitors and anonymous users to add comments by modifying list permissions.
** Members can view their own draft posts and comments pending approval, but not posts/comments created by other Members.
Configuring Anonymous Access
By default, anonymous access is not enabled in SharePoint 2013. SharePoint administrators may want to enable anonymous users to have access to Community Central content without having to provide authentication credentials. Anonymous access is permitted or denied based on the permissions for the site. Additional configuration is needed for anonymous users to access Community Central content.
For example:
- Viewing locked topics – In order for anonymous users to view locked topics in forums, you must configure a read-only forum access account in each forum site’s Forum Control Panel. All other forum content is visible if the site is configured to allow anonymous access.
- Viewing avatars – In order for anonymous users to be able to see avatars (the SharePoint user profile picture), additional configuration steps are needed. For instructions, see this blog.
- Adding blog comments – In order for anonymous users to add blog comments, the administrator must modify the list permissions for the Comments list in each blog site. For instructions, see this blog.
For more information about configuring SharePoint for anonymous access, see:
- Using ideas from this article from Microsoft, decide whether to allow access for anonymous users.
- This article from Microsoft covers configuring anonymous access.
- For SharePoint 2010-specific configuration, see this blog.
Alternatively, you can configure SharePoint for anonymous access for forms-based authentication where the accounts can be created from the database. For more information on configuring anonymous users for forms-based authentication, see:
See also:


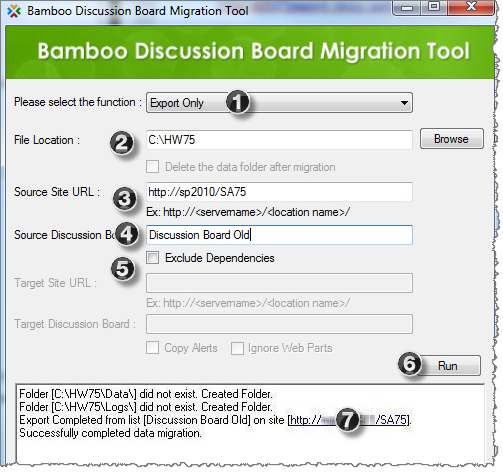
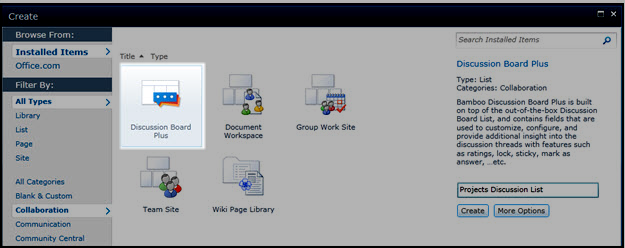
 You can migrate existing SharePoint Discussion Board lists to Discussion Board Plus using the Discussion Board Plus Tool, included with the Discussion Board Plus Setup program. The Migration Tool allows you to migrate all existing discussion board topics and posts to a Discussion Board Plus list so you can take advantage of features like
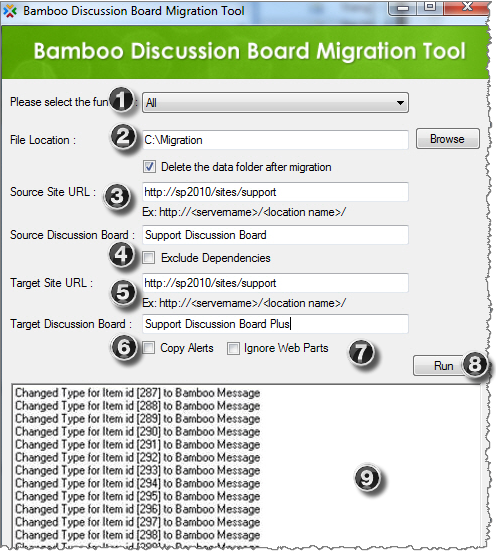
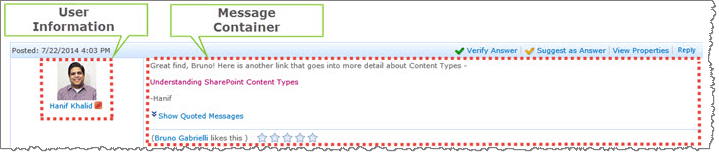 When the Right layout radio button is selected, the message container is displayed on the right of the user information as shown here.
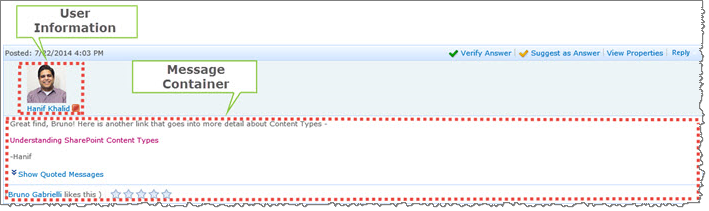 When you select this option, the message container is displayed below the user information.
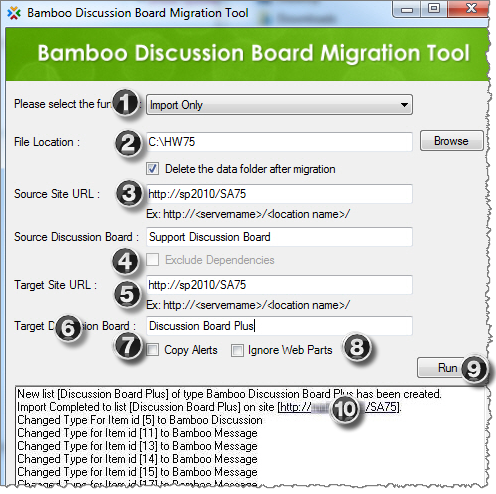

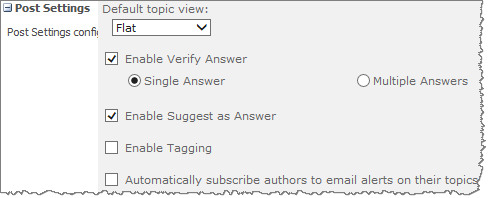
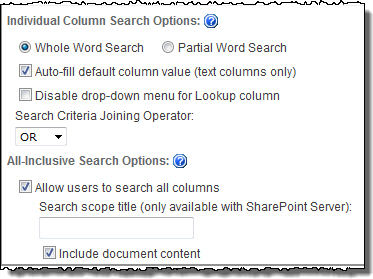
 By default, Tagging is not enabled. When you check this box in the configuration tool pane, users with the required permissions can apply Tags when creating new topics.
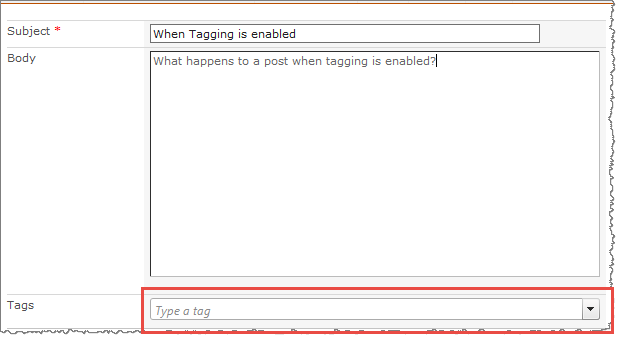 Users see a text box on screen where they can type in tags for this topic. When tagging is enabled, users can search for content that has that tag.
 When Move Topic is enabled, users with the required permissions can move one Discussion Board Plus topic to a different Discussion Board Plus list.
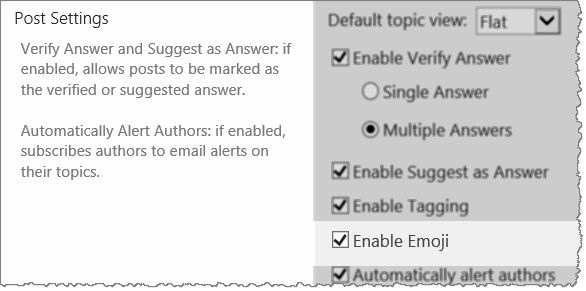 Discussion Board Plus supports emoji for discussion topics and replies.
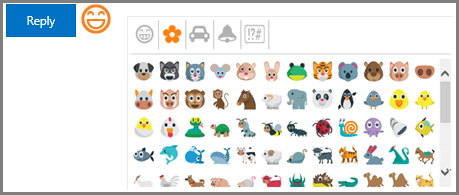
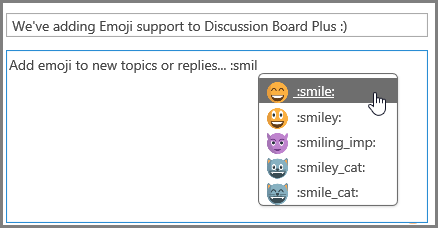
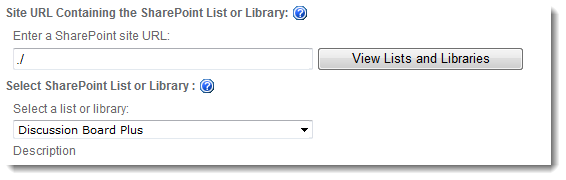
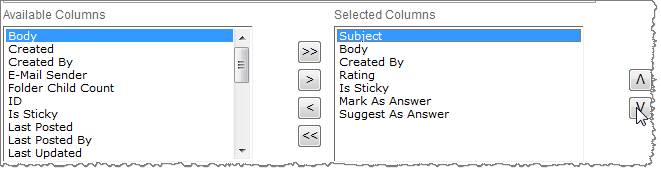
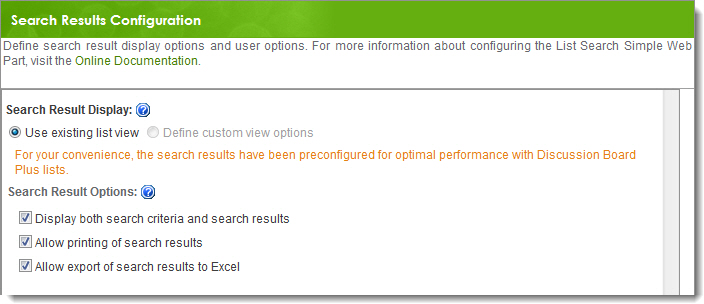
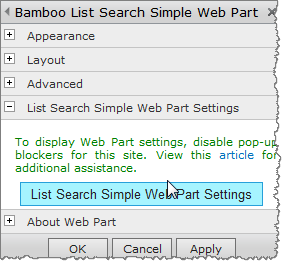 When you install Discussion Board Plus for SharePoint, List Search Simple is also installed. List Search Simple lets you configure a search page for your Discussion Board Plus list so users can search discussion board posts for relevant content. The search page is not created automatically. Follow these instructions to
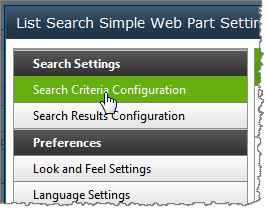
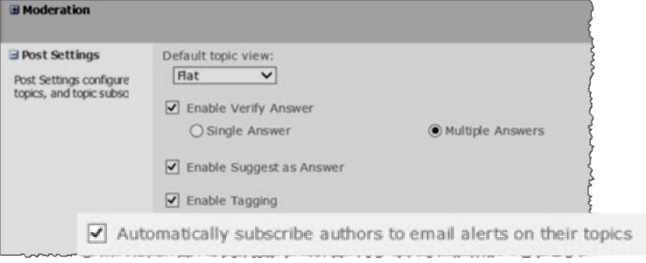 Enabling Automatically Subscribe Authors to Email Alerts allows users to receive email notifications each time there is activity in a discussion thread. Users can also request that notifications are sent immediately after new posts, or in a scheduled summary email.