Update the Contacts List
Depending on how you choose to configure it, the Schedule Board tracks and displays the in/out status of all users in either the SharePoint User Information List OR a Contacts list created by the Schedule Board site template.
- If configured to use the User Information List, the Schedule Board will always include available status information for all users on the list.
But if you configured In/Out Schedule Board to use a Contacts list, you must manually add and remove users to and from the list.If you’ve chosen this option to manage your Schedule Board contacts via the Contacts List, use the following procedure to access the list, where you can add and remove users as needed.
| Step |
Action |
Result |
| 1. |
Navigate to your all site contents and select the Contacts list you are using. |
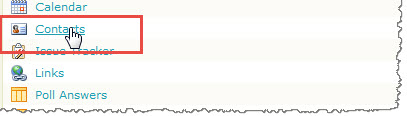
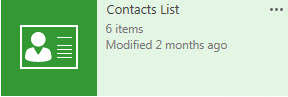
In SharePoint 2013, your lists are considered Apps, but they contain the contacts. |
| 2. |
To add a new contact |
In order to track in/out status, the Schedule Board requires a valid login ID to be associated with each user. If you know the exact name of the person you are adding, enter the name into the User Login Id field, and click the Check Names icon.

- If this doesn’t return a match, or you don’t know the exact name of the person for whom you’re looking, click the Browse icon, and use the standard Select People screen that appears to search for the appropriate valid user name.
When you’re done filling out the required fields, along with any additional information you want viewable from the Schedule Board, click OK.
- Your new contact will now be available to list on the Schedule Board.
|
| 3. |
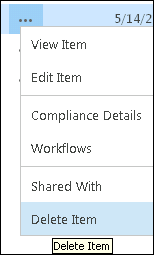
To remove an existing contact: |
-
Move the cursor to the contact you want to delete, and click Delete Item from the drop-down menu that appears.
-
If you are sure you want to remove this person from the Contacts list, click OK to confirm.
-
The contact will no longer be available to list on the Schedule Board.
|
|
How to Use the My Status Screen for In/Out Schedule Board
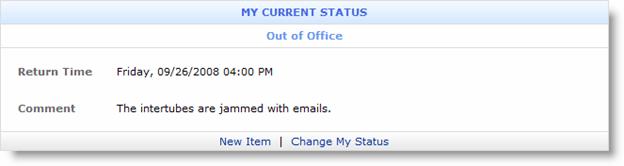
The My Status page displays a quick summary of your current status, including your return time. While it is included in the site template, the My Status web part used on this page can actually be added to any site, allowing access to the In/Out Schedule Board information from outside of the Schedule Board site.
From this screen, users can:
- View current in/out status and any related comment text
- Update their status by adding new schedule items to the In/Out Calendar List or editing existing ones
How to Use the Home Screen
The Home page on the In/Out Schedule Board site displays an overview of all users’ current status, as well as related information that can be toggled on or off from the tool pane, such as location, department, return time, and the like.
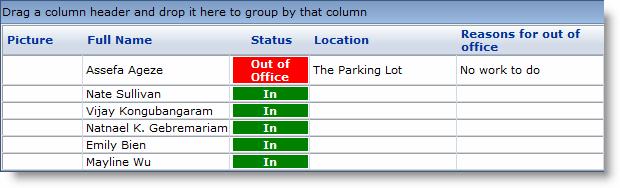
From this screen, users can:
- Sort the user list by any column by clicking its heading
- Group the user list by dragging any column heading into the title bar
- Reorder columns dragging any column heading into a new location
- Export the entire list to an Excel or Word document
- Update their status by adding new schedule items to the In/Out Schedule Board Calendar List
How to Use the Calendar Screen
The Calendar page on the In/Out Schedule Board site displays the current and future status for all users or the users of any single department. Visitors to the page can view an individual’s status over the course of a single day, work week (5-day), full week, or month, or edit existing schedule items on the In/Out Schedule Board Calendar List.
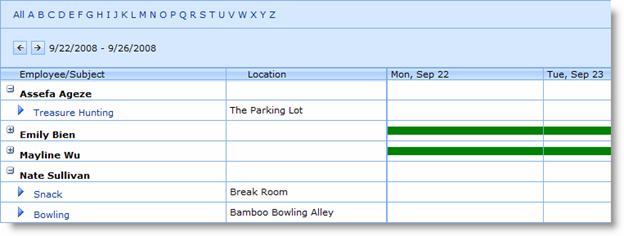
From this screen, users can:
- View the current and future in/out status of any single user or a group of users (based on “Department”, or another user-defined grouping)
- View and update all items assigned to a single user
- View color coded status by day, 5-day week, full week, or month
How to Update My Status Web Part
The My Status Web Part allows you to view and alter your status at any time, from any site that contains the Web Part. By default, it always displays your current status, comment, and return time – however, these options can be changed from the tool pane configuration.
To create a new calendar item:
| Step |
Action |
| 1. |
Click New Item |
| 2. |
- Each item requires, at minimum, values to be entered for Title, Start Time, End Time, EmployeeID (this associates the item with a person in the contact list), and Status (this is the status of the associated person during the event). Enter these values.
- If applicable, mark the event as an all day event, or a repeating event.
- Include any other relevant metadata, such as reasons for out of office, or contact method. This information will be displayed on the In/Out Schedule Board, if you have configured it to do so.
|
| 3. |
- To change your current status, click Change My Status. This option will only be available if your current status is affected by a calendar event; this event will automatically be opened for you to edit.
|
|
Create an In/Out Schedule Board Site
 After In/Out Schedule Board and corresponding site template are installed, you can create a Schedule Board site by using the site template.
NOTE: Even if you plan to use the My Status web part separately on an existing site, you still need to create a new site based on the Schedule Board site template to store the necessary data.
You will need to log in as a user with the rights to create sites from the top level of your site collection.
From the Site Contents menu of your top-level site, select “New Subsite“
| Step |
Action |
| 1. |
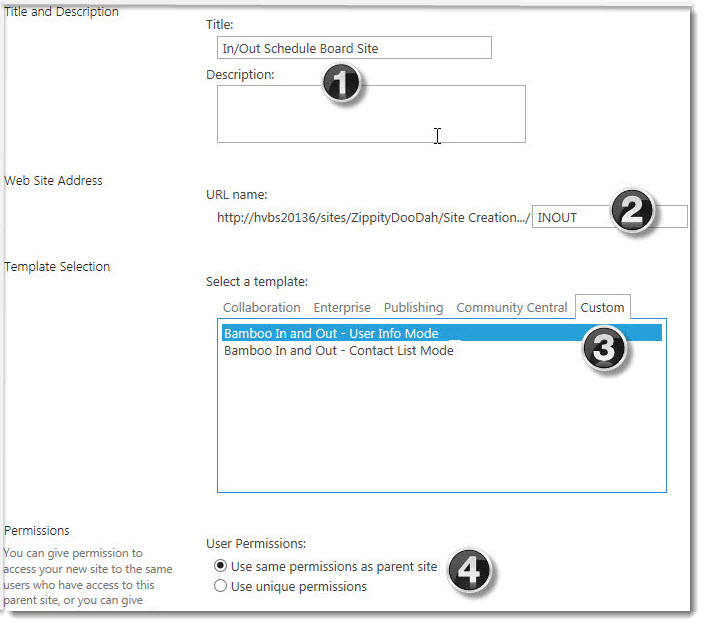
Fill in the Title & Description fields to give your site a name. |
| 2. |
Label your site with a short URL name (we recommend no spaces or punctuation). |
| 3. |
Click the Custom tab to select from the available Custom templates; there are two In and Out options. What is the difference?
- A Schedule Board site that is created using the User Info Mode will hold all of the users in the SharePoint User Info List; in other words, all of the users that have permission to your site.
- A Schedule Board site created from a separate Contacts list will only contain the users who are in that list. You can always add or remove users to or from the list later.
|
| 4. |
Click Create – The site will now be created. In a few moments, once the site has been created, your browser will load it, and you can start configuring the web parts on the site. |
|
Congratulations! The new In/Out Schedule Board site is now ready to configure.