Localize Bamboo Web Parts for your Language

Applies to:
- All Bamboo Web Part components
- Windows SharePoint Services 3.0 and Microsoft Office SharePoint Server 2007
- SharePoint Foundation 2010 and SharePoint Server 2010
- SharePoint Foundation 2013 and SharePoint Server 2013
Bamboo products can be configured to display product menus, user interface text, and settings in your local language. You can also customize the default text provided with the product. To change the language or text a product displays, perform the steps described in this page. Click a link below for detailed information about each step.
Top
About the Language Files
There are four language files included with Bamboo products. Their name and location may differ by product.
| Setting |
Older Products |
Newer Products |
| Web Part Language Settings |
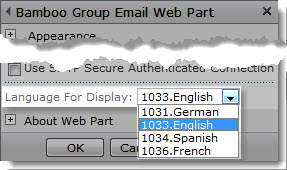 |
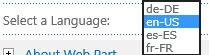
Newer products will show the language choices in the Web Part settings using the abbreviated [language]-[COUNTRY] format (e.g. “en-US”)
|
| Language File Names |
- 1033.English.xml (the default)
- 1031.German.xml
- 1034.Spanish.xml
- 1036.French.xml
|
- Bamboo.[Product].en-US.resx (the default)
- Bamboo.[Product].de-DE.resx
- Bamboo.[Product].es-ES.resx
- Bamboo.[Product].fr-FR.resx
|
| Language File Location |
These files are located in the wpresources folder. This folder and its associated language files may be located under one of the following paths on each SharePoint server:
- servernamedriveInetpubwwwrootwss
VirtualDirectoriesportwpresources[Product]
- servernamedriveInetpubwwwrootwss
VirtualDirectoriesportwpresources[Product]
LanguageFiles
- servernamedriveProgram FilesCommon FilesMicrosoft Sharedweb server extensionswpresources[Product]
|
Depending on your version of SharePoint, your localization files may be found in the following locations.
- servernamedriveProgram FilesCommon Filesmicrosoft sharedWeb Server Extensions15CONFIGAdminResources (SharePoint 2013)
- servernamedriveProgram FilesCommon Filesmicrosoft sharedWeb Server Extensions14CONFIGAdminResources (SharePoint 2010)
|
The German, Spanish and French files have not yet been translated; although the file name suggests otherwise, their content is English. Edit these files to provide your own text or translation of the product user interface and settings.
 IMPORTANT: If you do not rename the files you modify, your customizations will be overwritten when you upgrade to a new Bamboo product release.
To make sure that your customizations do not get overwritten when you upgrade the product, follow these steps:
| Step |
Action |
| 1. |
Copy the default file for the appropriate language and rename the copy. For example, you might save a localized French language file as CompanyName.1036.French.xml or Copy.Bamboo.ProductName.fr-FR.resx.
NOTE: When you next upgrade the product, the default file (i.e., 1036.French.xml) will be overwritten with the new version. Your file will not. You can use any file name, as long as the file extension is .xml (or .resx for newer products).
To create language files for languages other than German, English, Spanish, or French, copy one of the existing language files and rename it. Then edit the file to provide your own translation.
|
| 2. |
When you upgrade your Bamboo product, the installation/setup application will not remove or overwrite language files you created if you saved them with a name other than the default. However, product upgrades may require that you merge new resource strings for the new product release.
NOTE: If you forget to add new resource strings to your custom language file, you may see strange things in the user interface. The product will display missing resource string IDs instead of text.
Copy these new resource string IDs from a default language file to your custom file and make any desired translations.
|
Top
Editing Text in Language Files
IMPORTANT: Before making any changes to any file, back up your original file and put it in a safe place.
To change text in a language file, follow these steps:
| Step |
Action |
| 1. |
Open the language file in a text editor and locate the text you want to change. |
| 2. |
Edit the text between the <resource></resource> tags but do not edit the tags.
NOTE: Do NOT modify the resource id value. Modify only the text between the <resource></resource> tags.
If you want to remove text completely, delete only the text; do not delete the <resource> entry from the file, or the product interface will display an error message. In the example below, the text you can modify is highlighted in gray.

|
| 3. |
When you are finished with your changes, save the file and copy it to the appropriate resources folder on all Web front-end servers in your SharePoint farm. |
| 4. |
Follow the instructions below to select your new language file in the product settings. |
Top
Selecting a New Language File for a Product
The instructions below for changing language file settings apply to Bamboo products with settings configured in the Web Part tool pane or Web Part Settings pop-up page. If you have multiple instances of a product in your portal, you must make the same change for each instance that requires the change.
Change the Language Settings in the Web Part Tool Pane:
| Step |
Action |
| 1. |
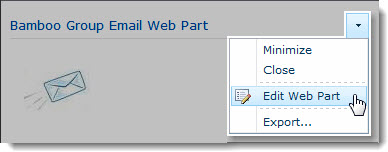 Click the edit drop-down menu on the Web Part title bar and select Edit Web Part (or Modify Shared Web Part if you are using SharePoint 2007). See the example from the Group Email Web Part. Click the edit drop-down menu on the Web Part title bar and select Edit Web Part (or Modify Shared Web Part if you are using SharePoint 2007). See the example from the Group Email Web Part. |
| 2. |
In the Language Settings section of the Web Part tool pane, select the language file you want to use. See the example from the Group Email Web Part. If you have created a new file (i.e., Copy.Bamboo.ProductName.fr-FR.resx), it should appear in the list as a valid selection. |
| 3. |
Click Apply and then OK in the Web Part tool pane to apply your changes. |
Change the Language Settings in the Web Part Settings Pop-up Page:
| Step |
Action |
| 1. |
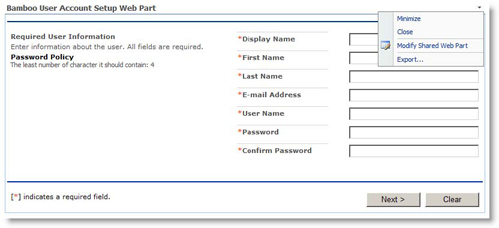
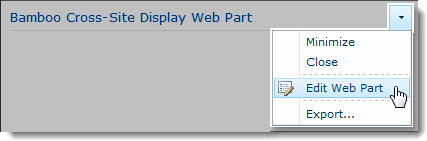 Click the edit drop-down menu on the Web Part title bar and select Edit Web Part (or Modify Shared Web Part if you are using SharePoint 2007). Click the edit drop-down menu on the Web Part title bar and select Edit Web Part (or Modify Shared Web Part if you are using SharePoint 2007). |
| 2. |
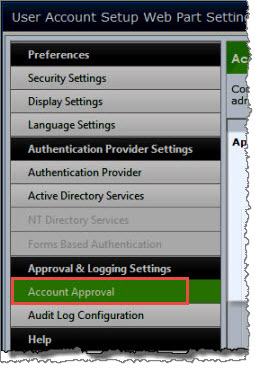
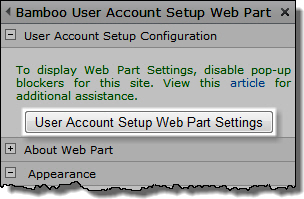
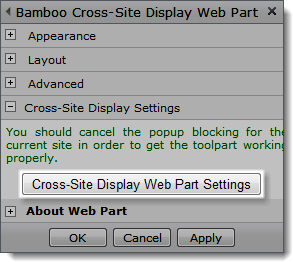 Click the [Product] Settings button in the Web Part tool pane. Click the [Product] Settings button in the Web Part tool pane. |
| 3. |
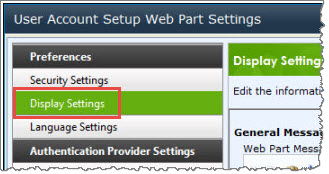
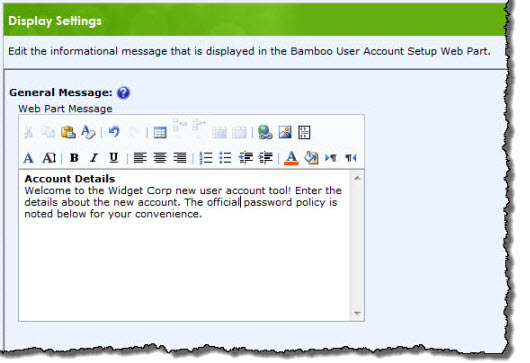
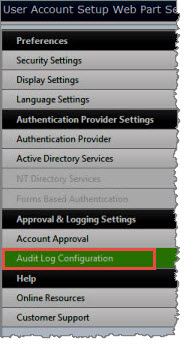
Click Language Settings in the Web Part Settings page and select the language file you want to use. If your product does not have a Language Settings section, look for the Select a Language drop-down list in General Settings instead.
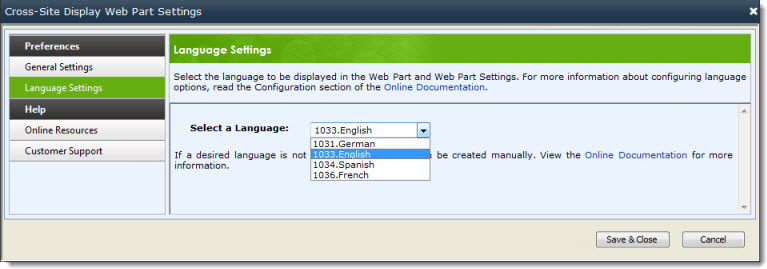
If you have created a new language file (i.e., Copy.Bamboo.ProductName.fr-FR.resx), it should appear in the list as a valid selection. |
| 4. |
Click the Save & Close button to save the Web Part settings. |
| 5. |
Click Apply and then OK in the Web Part tool pane to apply your changes. |
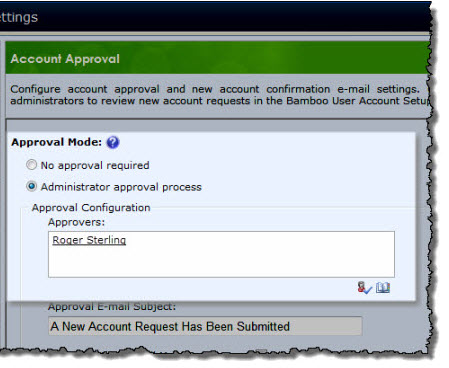
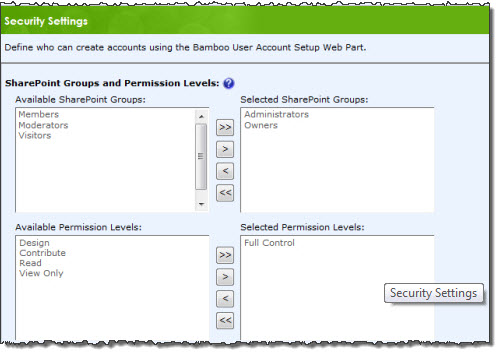
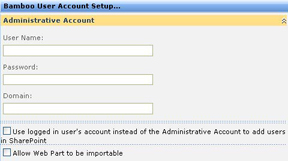
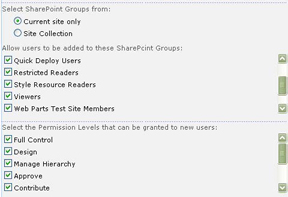
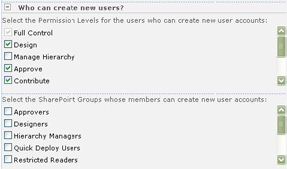
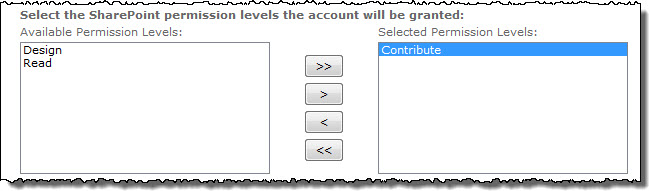
 After you first add User Account Setup to a page, the web part cannot be used to create accounts. A SharePoint user with the Full Control permission level or higher on the site must first configure the web part and select specific SharePoint groups and/or permission levels who are authorized to create accounts.
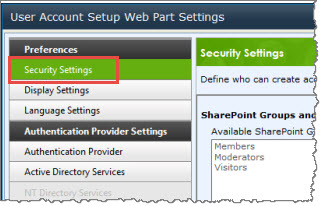


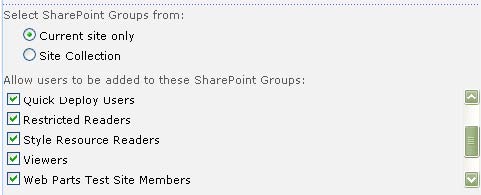

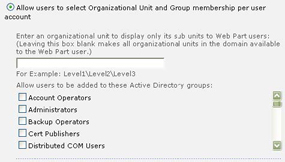
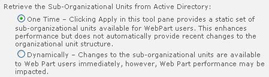
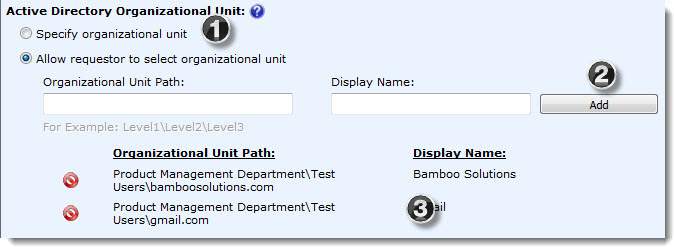 Check this option to allow the requestor to choose the OU to add the account to. You can provide a list of several possible OUs.
 . The OU will be removed from the displayed list.
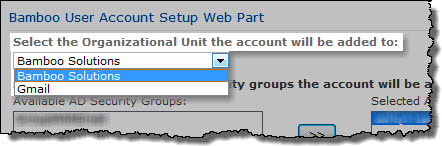
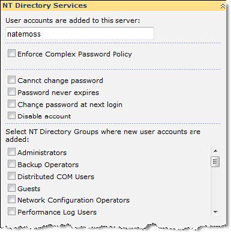
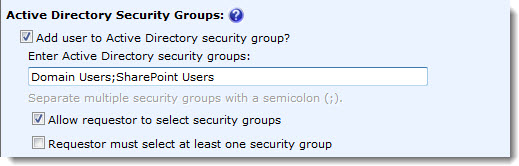 When a new account is created, User Account Setup can assign the new account to Active Directory security groups at the same time. Check the option Add user to Active Directory security group to enable this feature. When you select this option, the following additional settings are available:
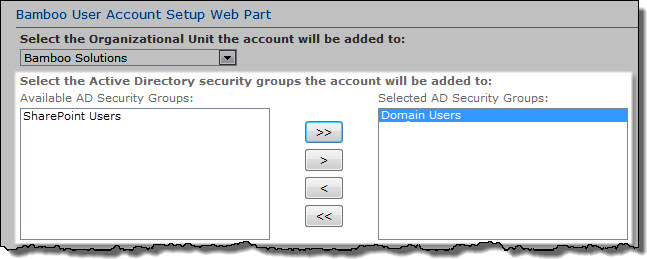
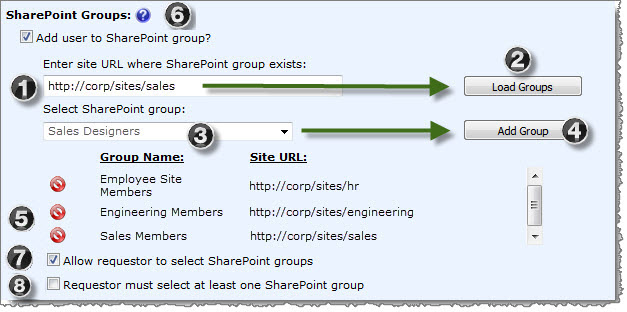
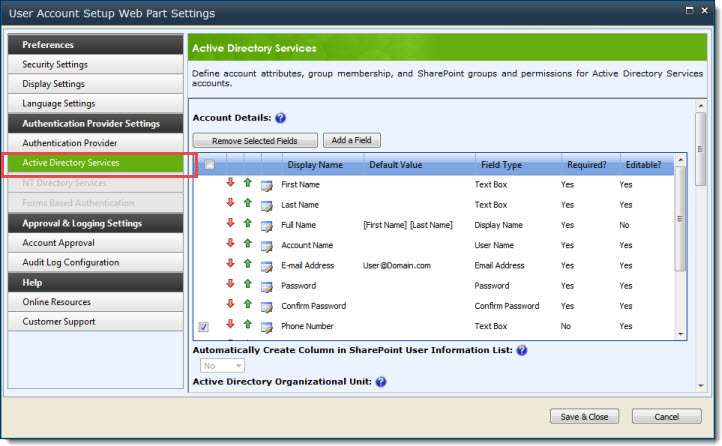 If User Account Setup is configured to use the Active Directory Services authentication provider, the Active Directory Services settings tab is active in the Web Part Settings page, and the following additional settings are available to define account attributes, group membership, and SharePoint groups and permissions for Active Directory Services accounts:
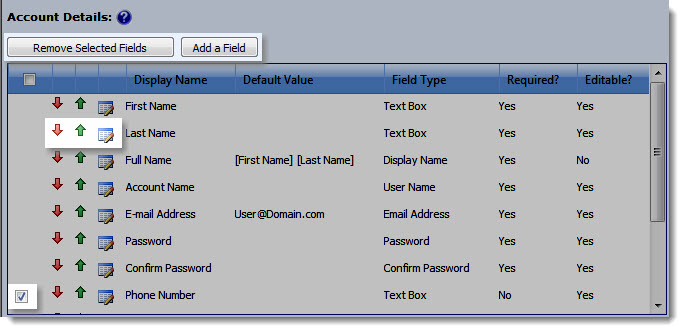 The Account Details section lets you define the account attributes to enter in User Account Setup. The minimum attributes required to create an account in Active Directory are configured by default.
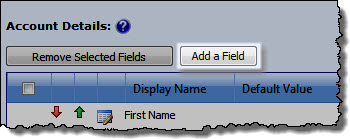 To add a new attribute to the User Account Setup Web Part form, click the Add a Field button above the attribute list and define the attribute properties.
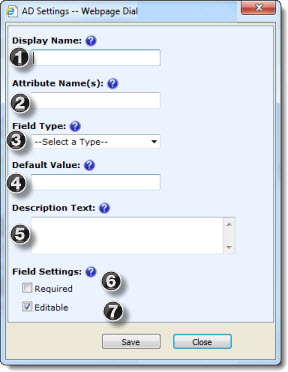
 The Automatically Create Columns in SharePoint User Information List option is enabled only if the User Account Setup Web Part instance is installed on a SharePoint Foundation 2013 site. When User Account Setup Web Part creates an account, it will attempt to copy account attributes in the Account Details list to a column with the same name in the SharePoint User Information List. The account information is then visible in the SharePoint profile. If a column with the same name does not exist, User Account Setup Web Part can create the column automatically in the User Information List.