 To view a Community Central forum, click on its name on the Forums Home page or on the forum site page in the site where the forum was created.
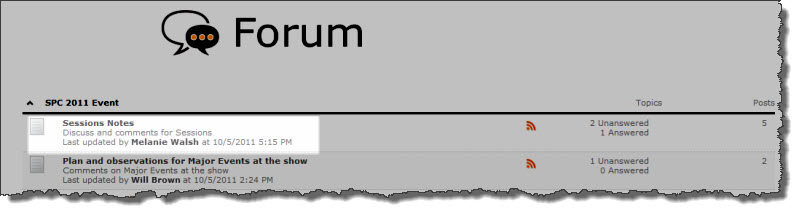
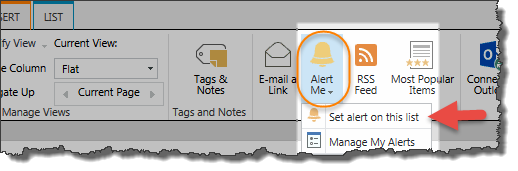
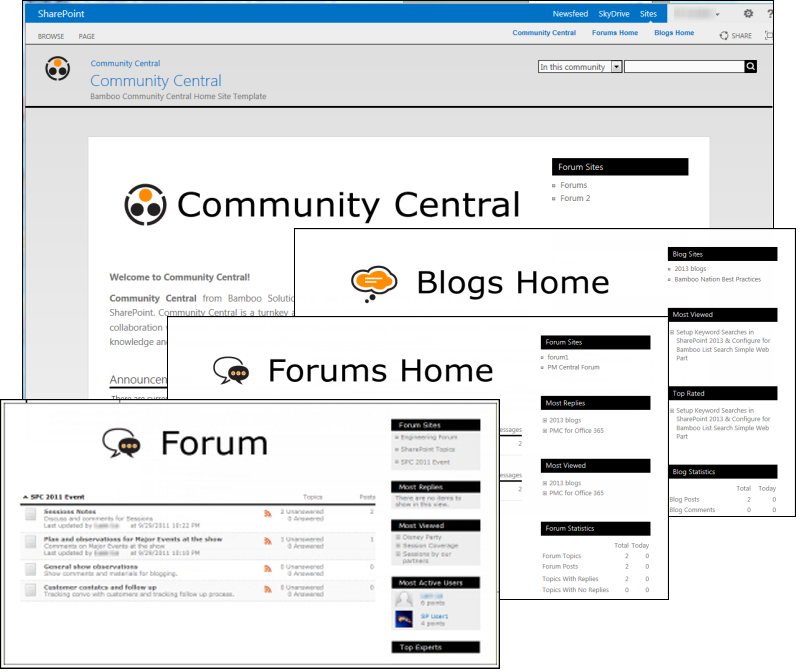
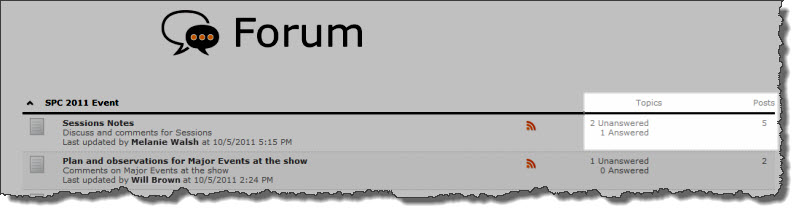
When you click the forum name, the forum is displayed using Bamboo Discussion Board Plus. The default Forum view lists all topics in that forum. Click a topic name to read it. Topic posts can be displayed in one of three different views: Flat, Append, or Thread. For a description of these three views, see Using Views.
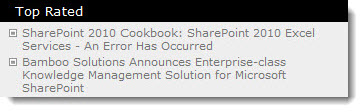 The Top Rated list in the Blogs Home page lists the posts in the entire community with the highest ratings. Click a post title to read it.

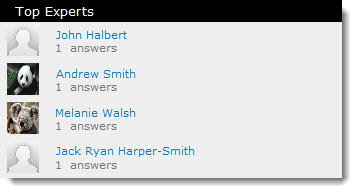 The Top Experts list contains users with the most verified answers.
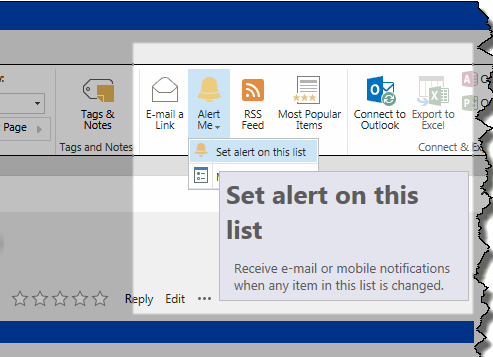
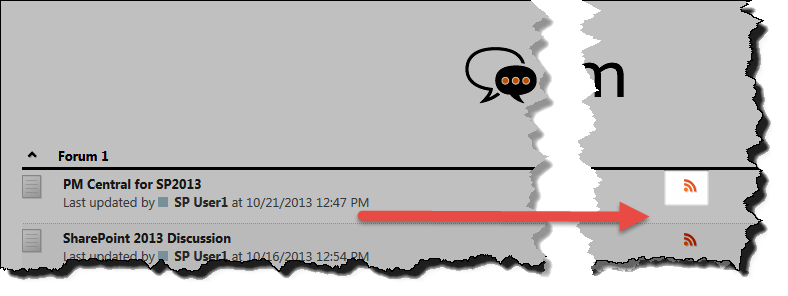 In the forum site list on the Forums Home page, click on the RSS Feed icon next to the forum name to subscribe to that forum.
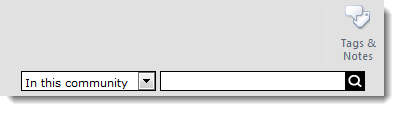 To search Community Central, enter a word or phrase in the search text box and hit Enter, or click on the magnifying glass button to the right of the text box. Community Central will search for the terms you entered in the body text and titles of every blog and forum post.
 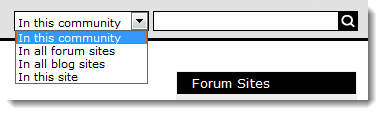 You can also set filters to restrict your search to different areas of the community. Community Central allows you to narrow the search scope to:
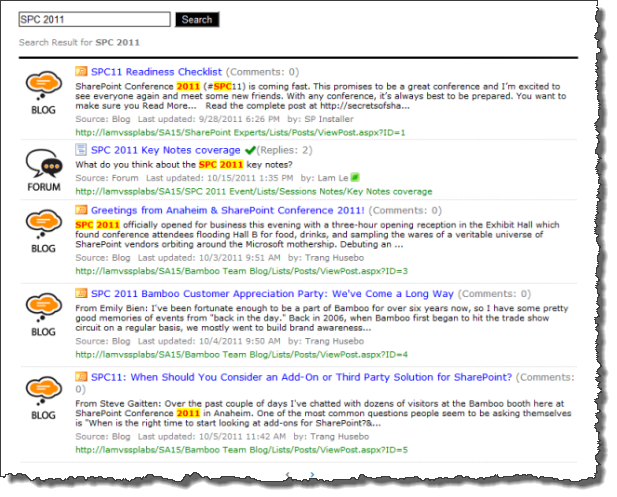
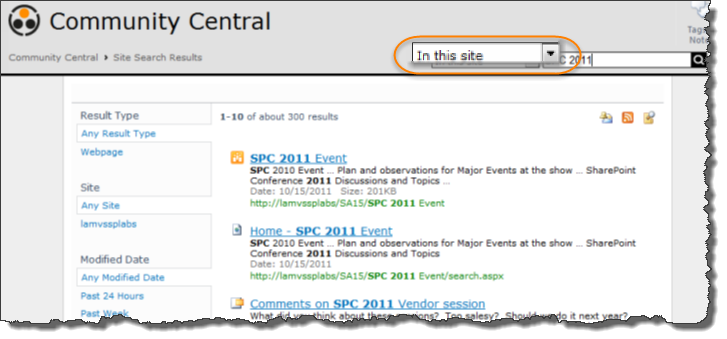 When you search using In this site as the search scope, the search results will be narrowed to return only items in the site that you are currently viewing. Community Central will return the search results using the standard SharePoint search results format.
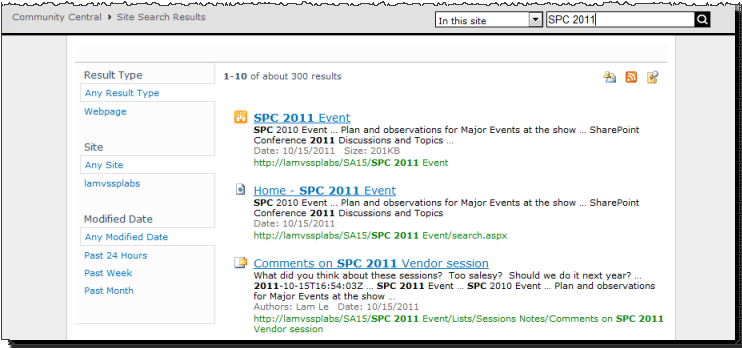 When you search using In this site as the search scope, the search results will be narrowed to return only items in the site that you are currently viewing. Community Central will return the search results using the standard SharePoint search results format, as shown below:
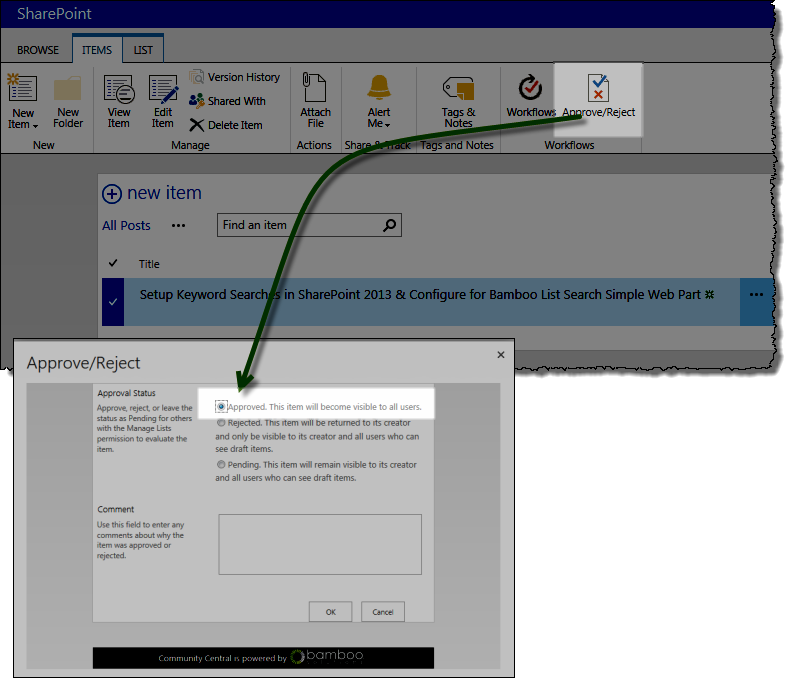
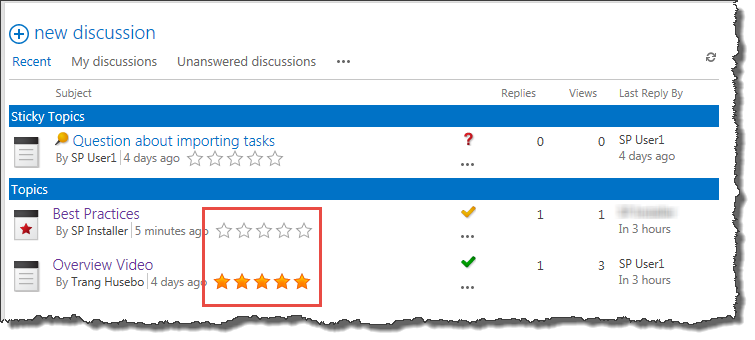 Community Central forum readers can rate forum topics and posts. Ratings allow other readers to easily identify the most helpful forum content. Forum ratings are provided by the Bamboo Rating Column custom column, which is configured to use 5-star ratings by default. For tips on using the 5-star rating feature, and other rating types, see Using Bamboo Rating in a List or Library. For more information about configuring rating options, see Configuring Forum Rating.
 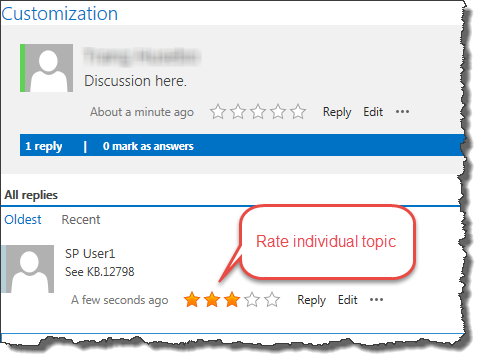 To rate an individual forum post, click a topic to view its posts. Click on the rating in the toolbar for the post you want to rate. Note: Ratings are available in Flat or Thread view only.
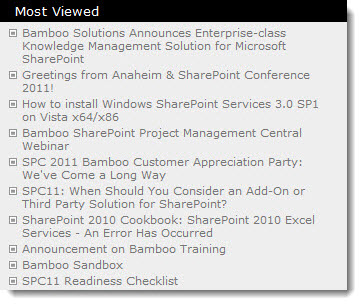 The Most Viewed list in the Blog Home page lists the blog posts in the entire community with the most views. Click a post title to read it.
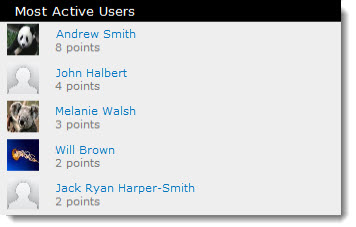 The Most Active Users list in the forum site page contains users who have earned the most points for forum-related community activities. Points are assigned according to how your site was
  The
The  The Archives list is automatically created based on the Created date for blog posts in the site. Click on a month to see all blog posts created in that time period.
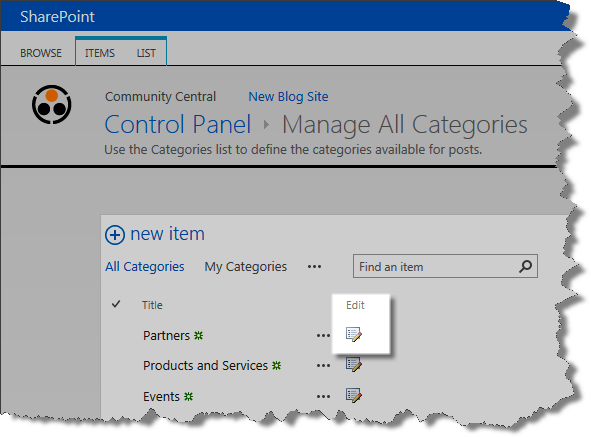
 Blog post authors can assign their post to categories to make it easier for readers to find content they are interested in. The Categories list is automatically generated based on the categories created by Community Central Administrators. For more information about creating and managing the Categories list, see
  In individual blog sites, the list is filtered to show only posts in that blog site. Click a blog title to read it. The Most Viewed list on the blog site home page lists the blog posts in this site that have earned the most views. Individual blog sites also include a Most Viewed list.
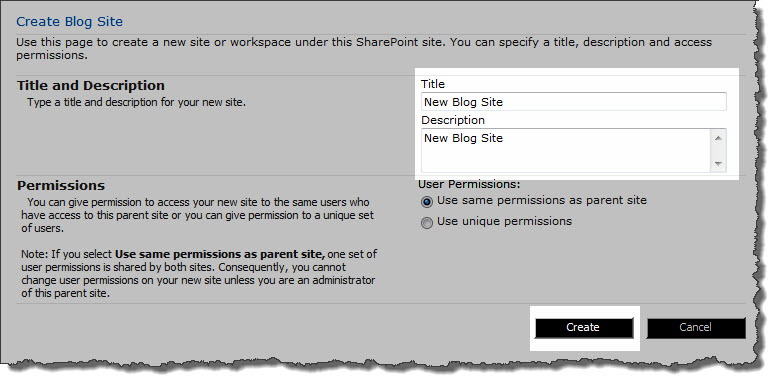
 When a new blog site is created in Community Central, a link to the new site it is automatically added to the Blog Sites list. Click a blog site name to navigate directly to the site page and begin reading posts. For information about customizing this list, see
 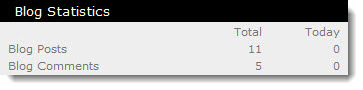 Blog statistics are constantly updated to help you track blog site participation. Statistics displayed on the blog site home page include:
 The Blog Tools list contains links to common blog activities. For more information about blog activities, see Creating and Managing Blog Posts and Using Comments and CAPTCHA.
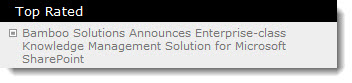 Individual blog sites include a Top Rated list. In individual sites, the list is filtered to show only posts in that blog site. The Top Rated list in the Blogs Home page lists the posts in the site that have the highest rating by readers. Click a blog title to read it.
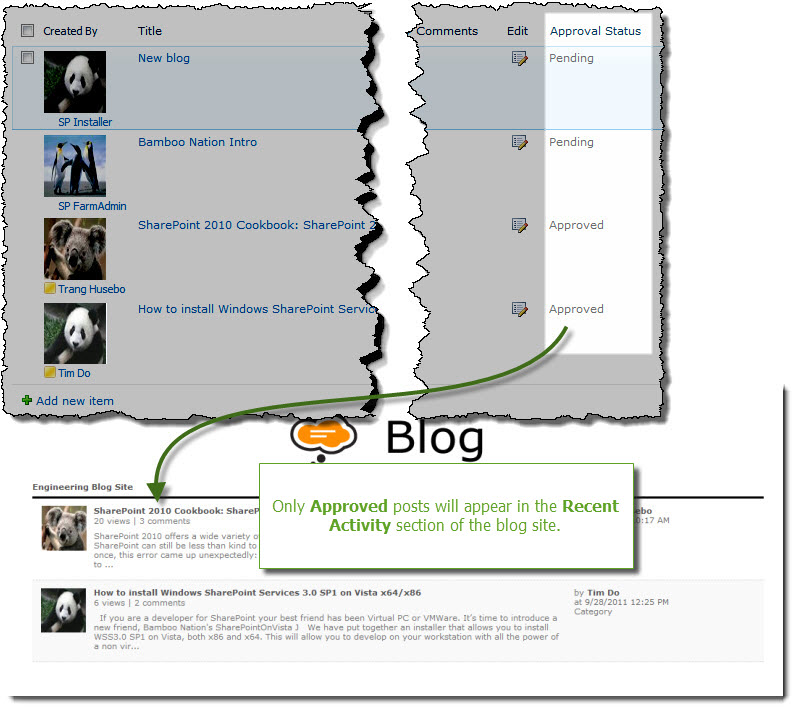
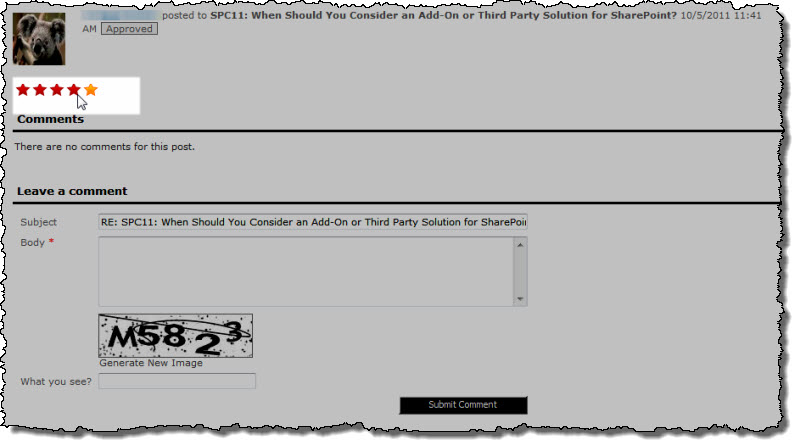 Readers can rate blog posts in Community Central. Ratings determine which posts are included in the Top Rated list and help identify relevant content for other community users.
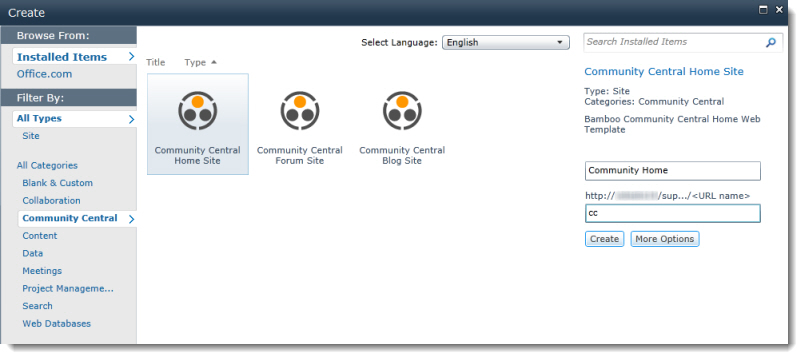
 When Community Central is installed, a new category called Community Central is added to the SharePoint Create screen. A SharePoint user with rights to create new sites can select the Community Central Home Site template to create a new community. In addition, several Bamboo products that provide additional functionality for Community Central are added to the Web Part Gallery and site collection feature list.
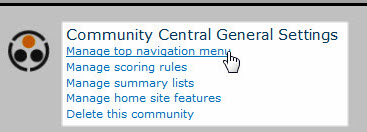
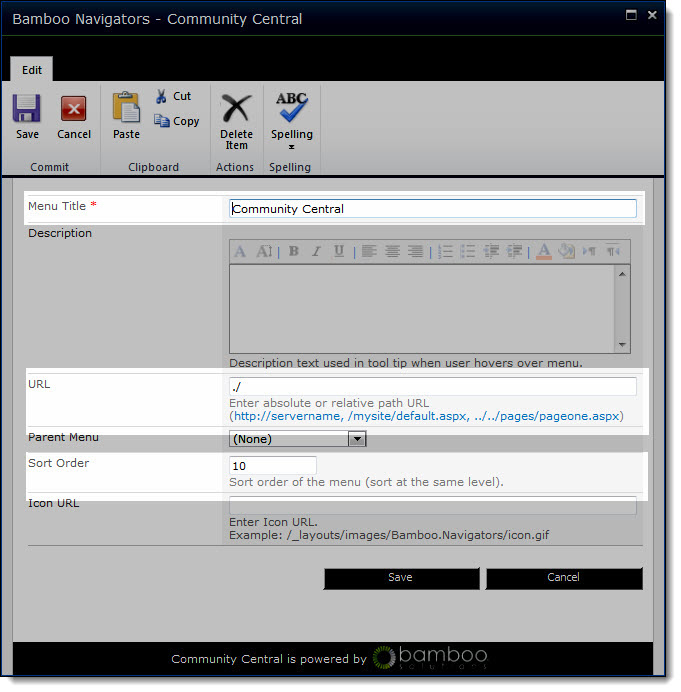
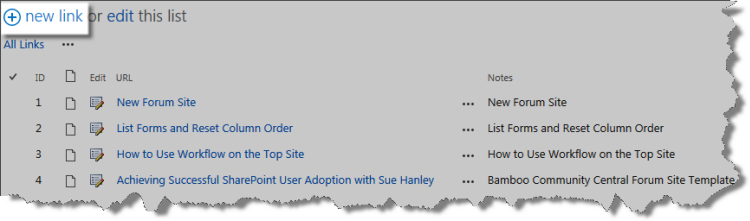
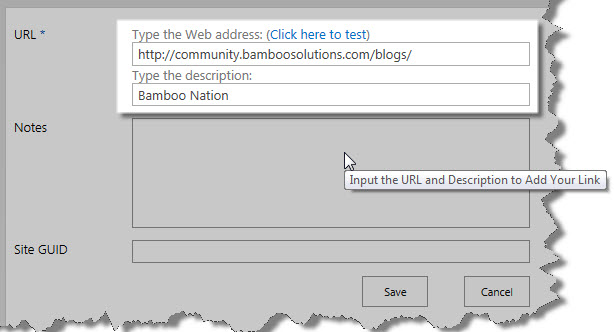
 The top navigation is shared with all pages in the Community Central Home site. To customize the top navigation and change link names, add or remove links, and even include links to sites outside Community Central, follow the instructions below.
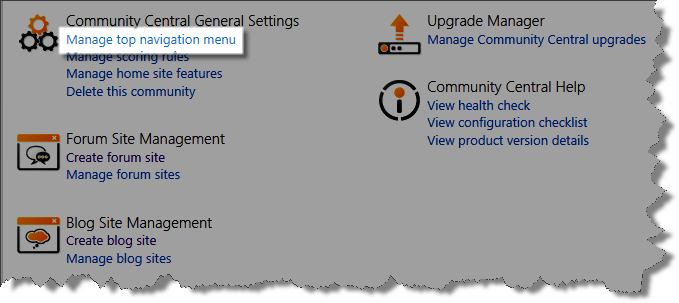
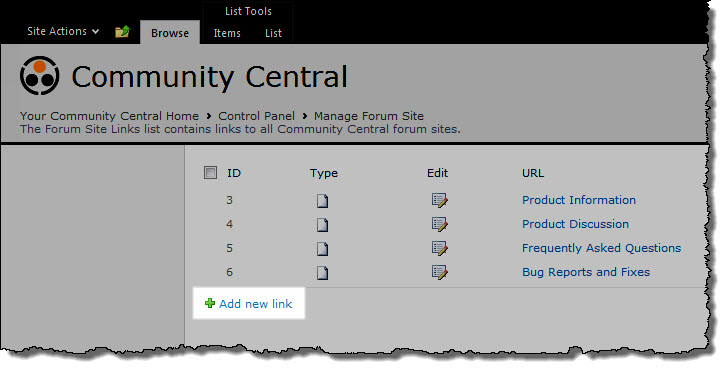
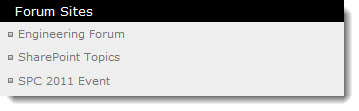
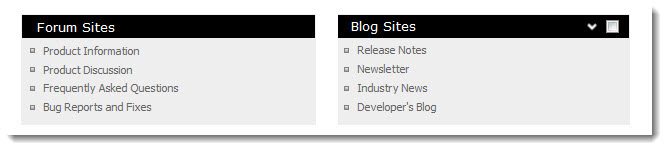 The main content area of the forum site or blog site home page contains a list of all forums or blogs in the site.
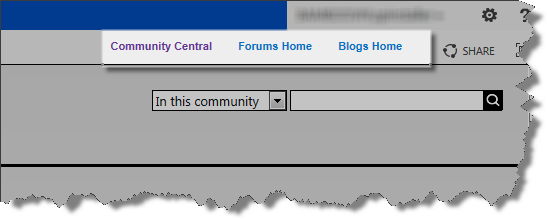 The top navigation in a forum site is unique to that site.
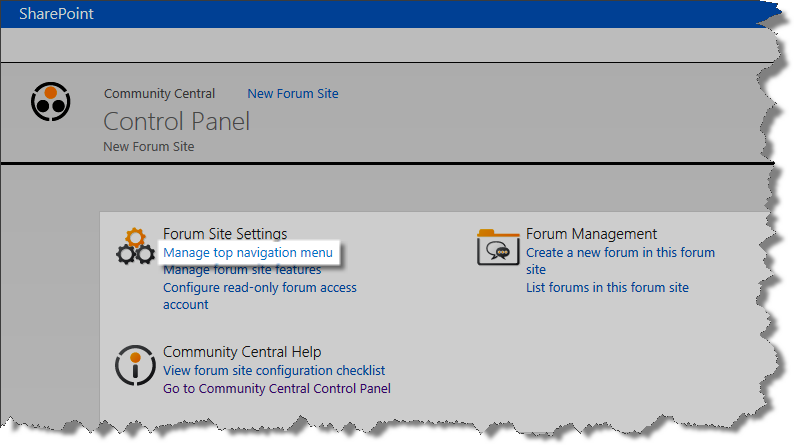

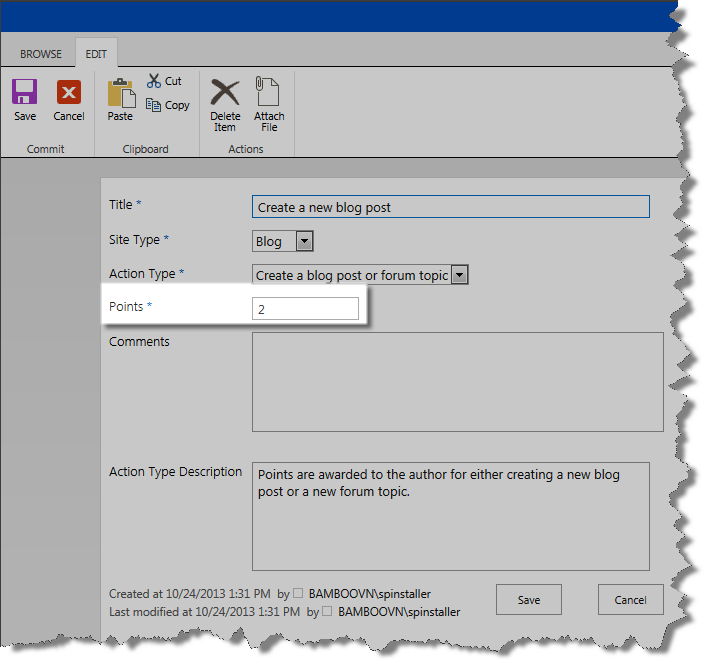 By default, the following Scoring Rules are provided by Community Central but you can customize the number of points awarded for Community Central activities.
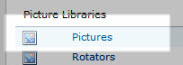
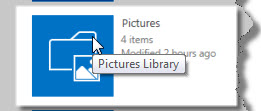
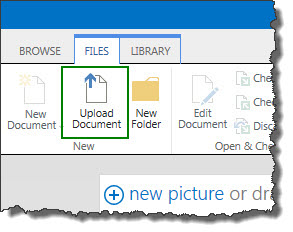
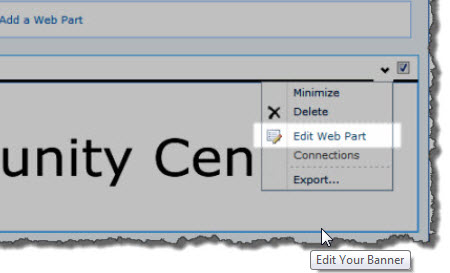
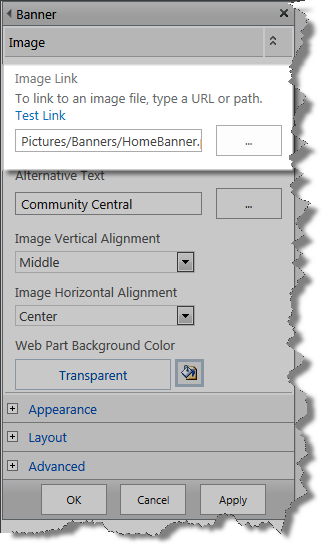
 You must be in the site administrator group or assigned Full Control permission to change your site banner. Also, you must have access to the picture library where you upload the image for the site.
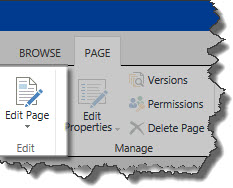
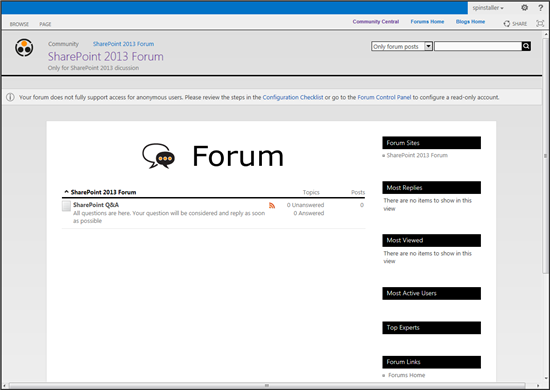 With a few minor updates, you can customize the look of your Community Central site including the site’s background color.
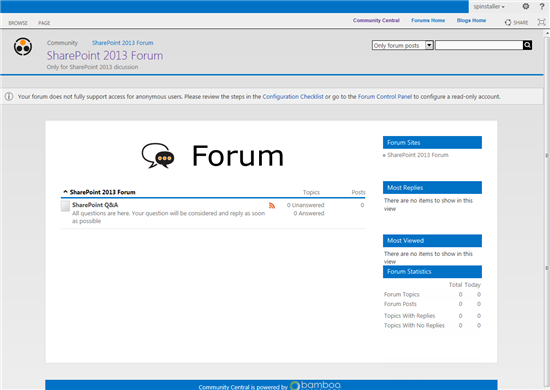
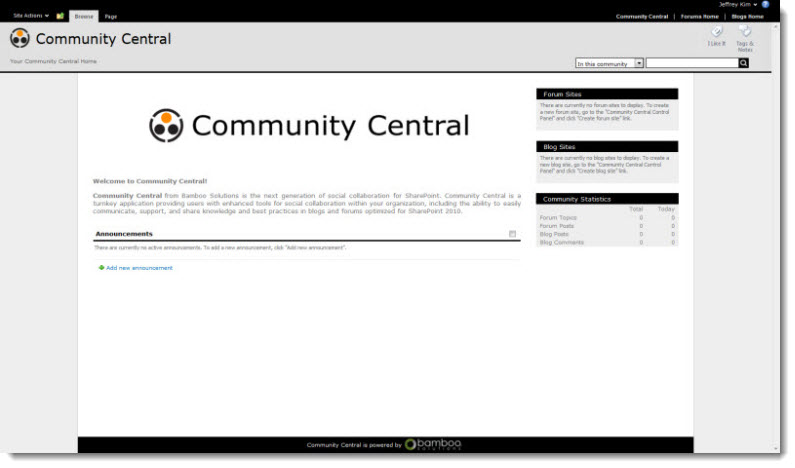
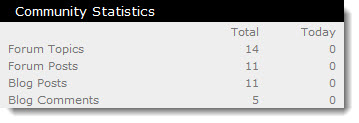 Community Central Home page statistics track participation across the entire community. Statistics displayed on the Community Central Home page include:
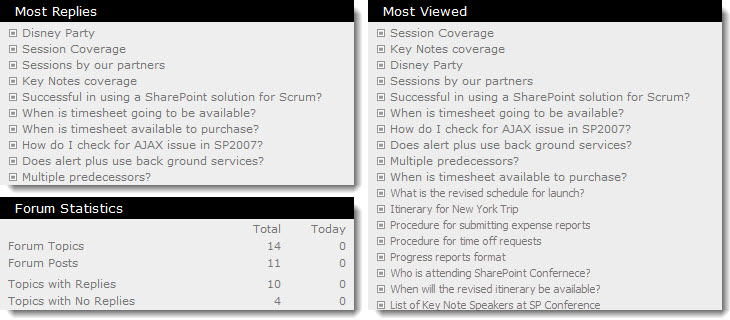 Forums Home page statistics track participation in all community forums. Statistics displayed on the Forums Home page include:
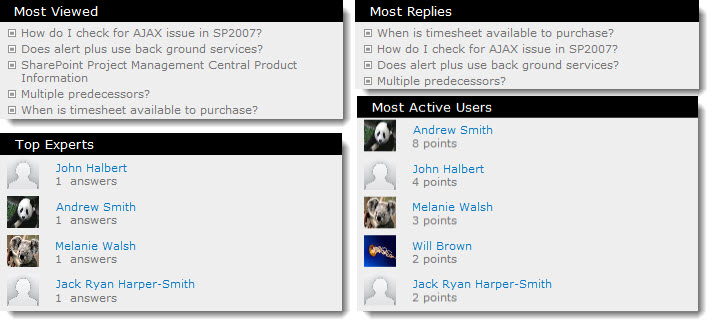 Forum site statistics provide a more in-depth view of forum participation and are specific to forums in that forum site. Statistics displayed on each forum site home page include:
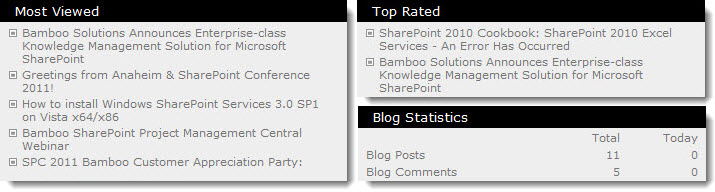 Blogs Home page statistics track participation in all community blogs. Statistics displayed on the Blogs Home page include:
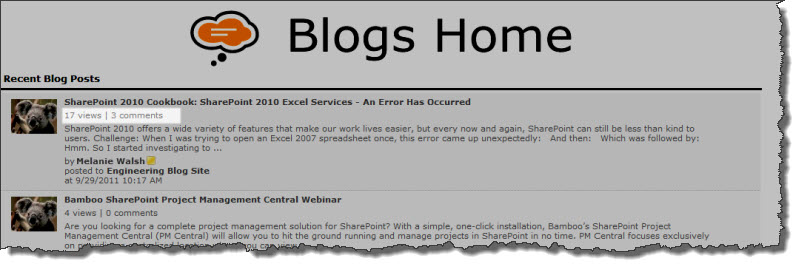 On the Blogs Home page and the blog site where a post was created, the number of views and comments is displayed for each blog post.
 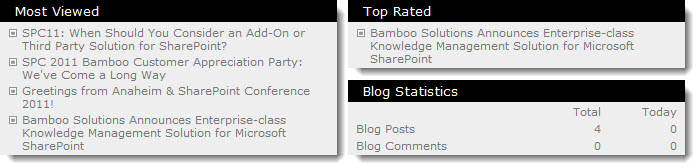 Blog site statistics provide a more in-depth view of forum participation and are specific to blogs posted to that blog site. Statistics displayed on each blog site home page include:
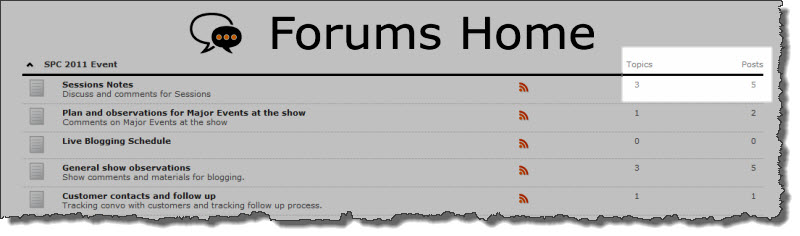
 On the Forums Home page, the total number of topics and posts for each forum.
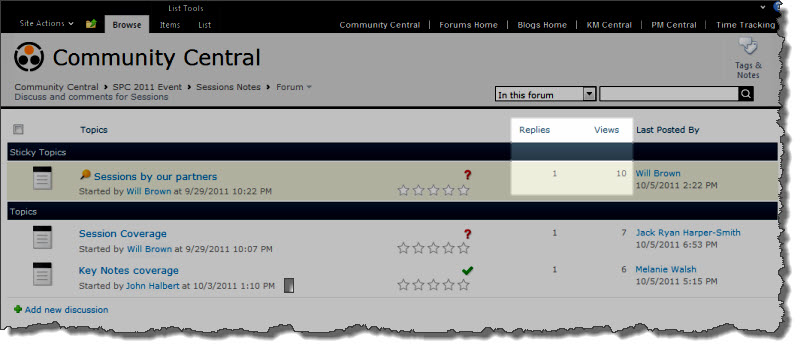 In the forum view, the number of replies for each post and the number of views for the topic.
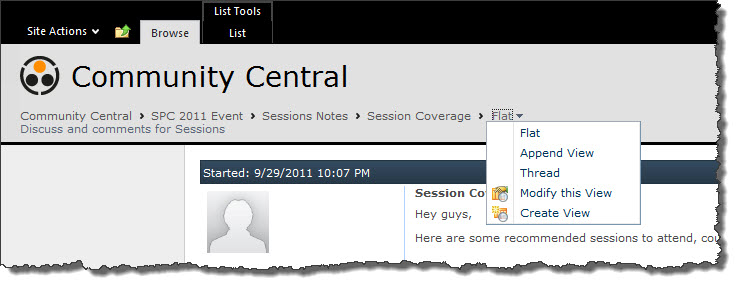
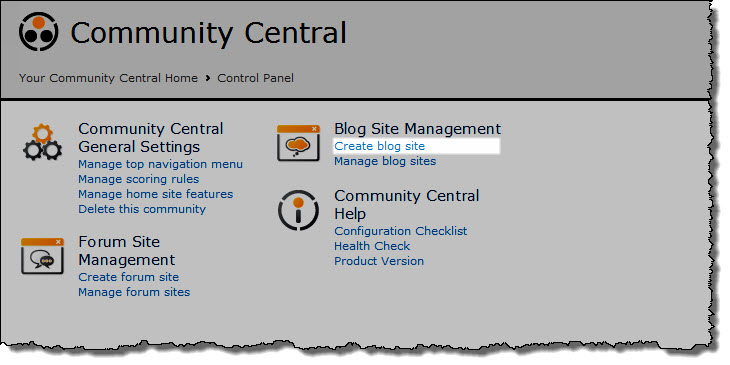
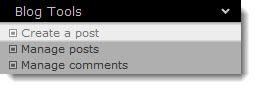 From the blog site page, click Create a post in the Blog Tools list.
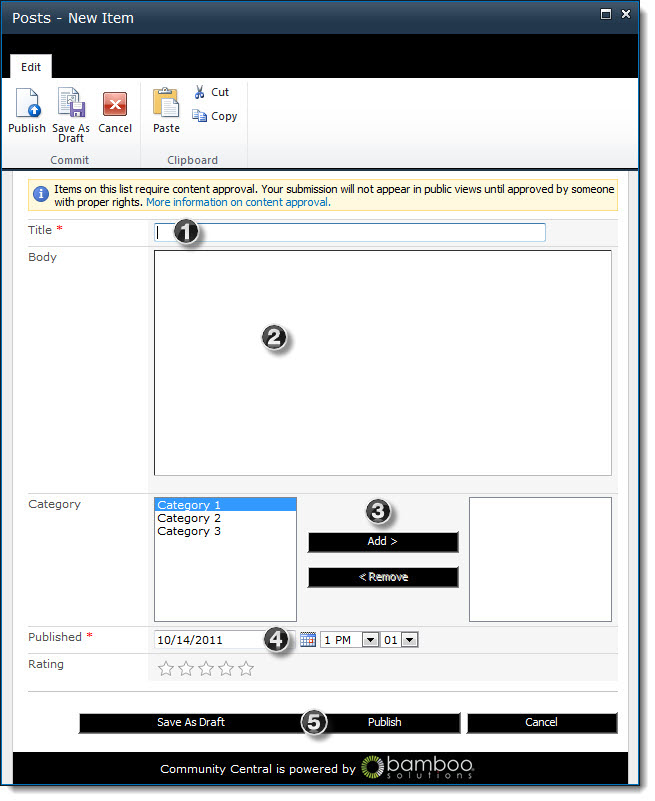
 To browse categories, go to a blog site page and click a link in the Categories Web Part.
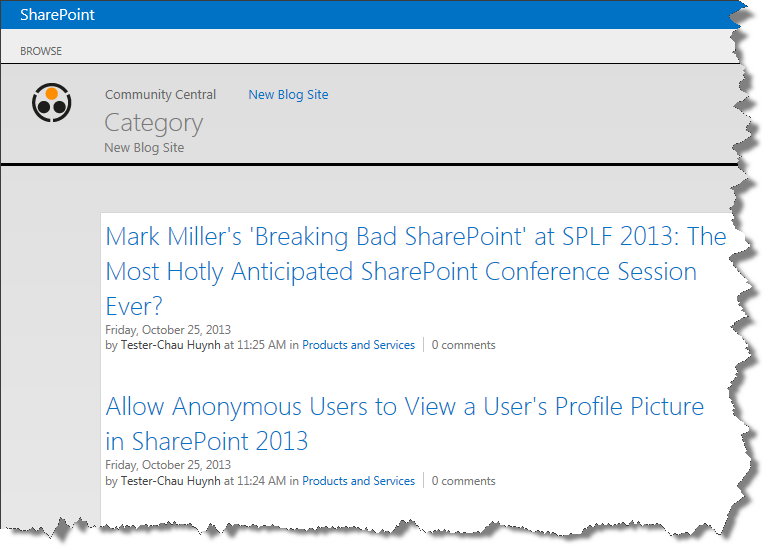

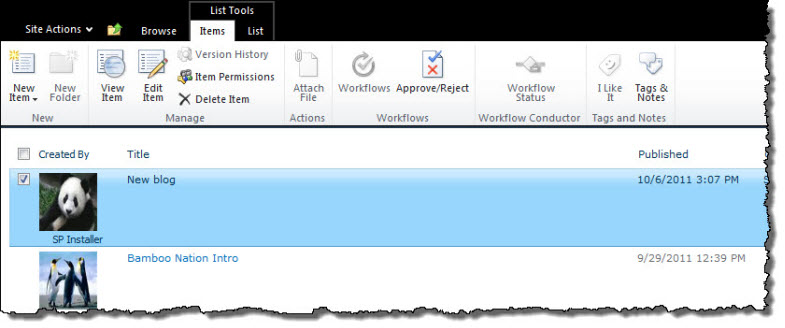
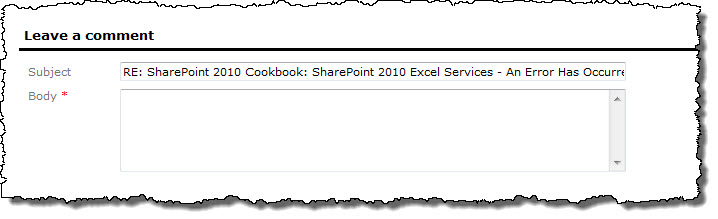
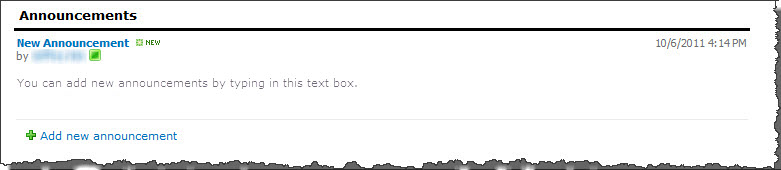 To add a new announcement, click the Add new announcement link in the Announcements section of the Community Central Home page. Enter the announcement Title and Body.
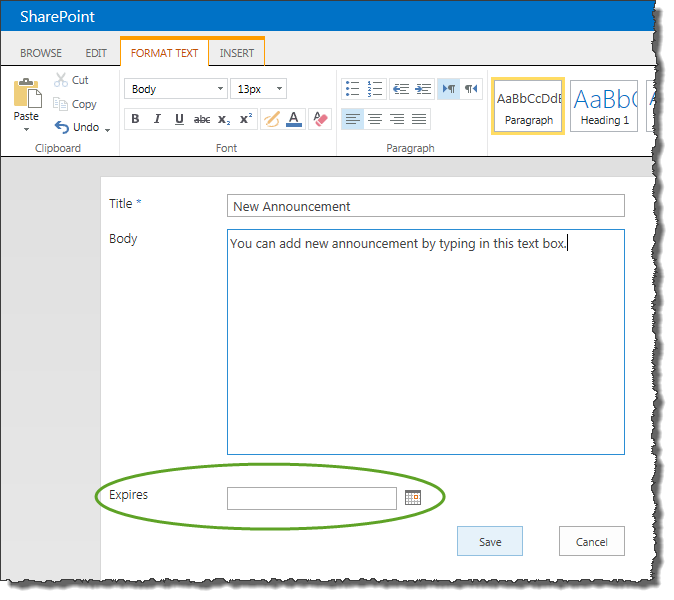 If you would like the announcement to expire on a certain date, select the date in the Expires field. When that date is reached, the announcement will no longer be displayed on the Community Central Home page.
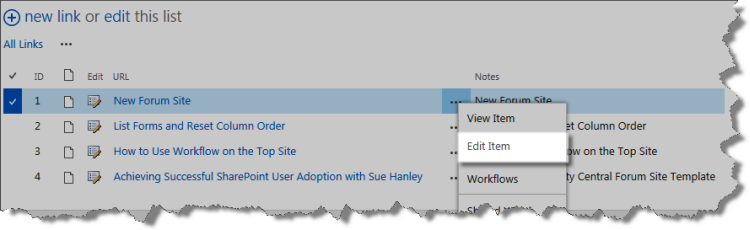
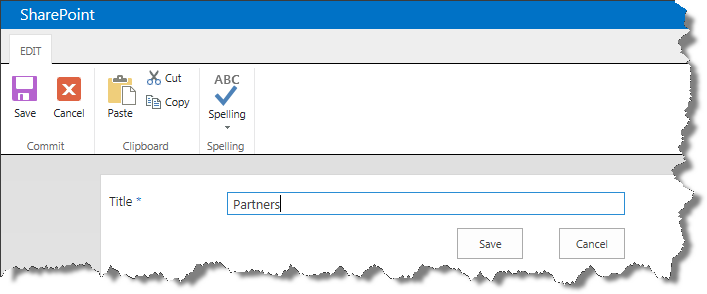
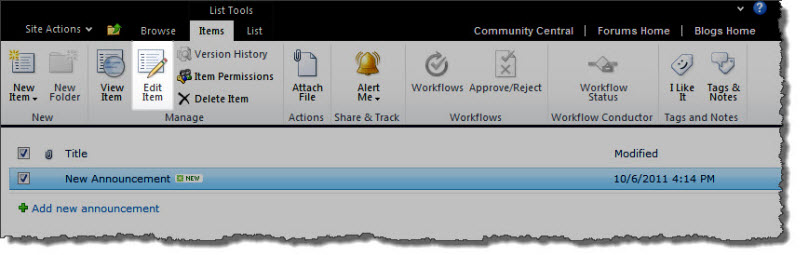 To edit an existing announcement, click on it in the Announcements list and click the Edit Item button in the View ribbon. Click Save when you have finished making changes.
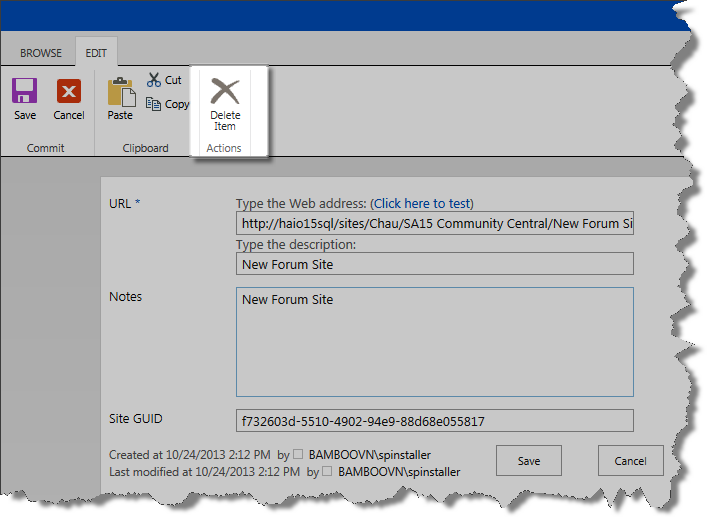
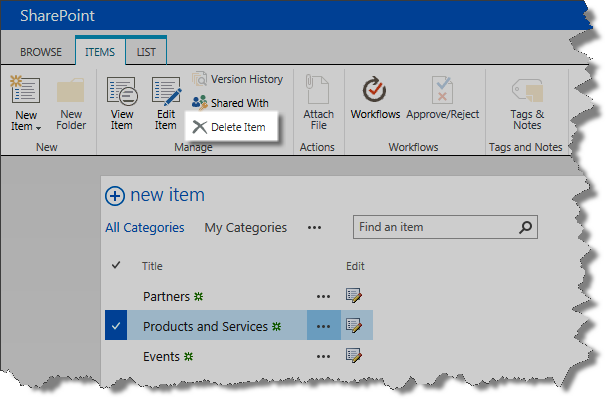
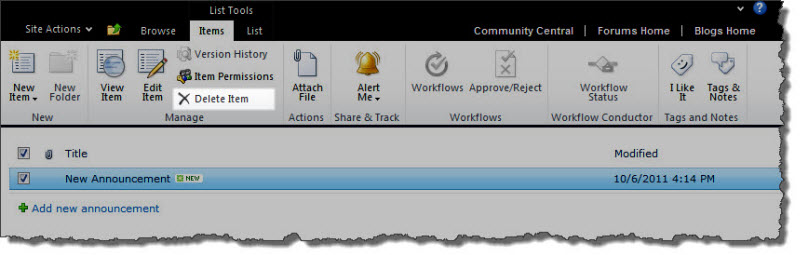 To delete an existing announcement, click on it in the Announcements list and click the Delete Item button in the View ribbon.