The Request Approval widget assigns one or more users or groups a task to review and approve an item in a list or library, and then branches the workflow based on whether the item is approved or rejected. Assigned approval tasks are completed using a Workflow Conductor task form.
| Column |
Description |
| Select Item (Required) |
Select the item on which the approval process will be run. This can be run on the item from which the workflow was started (default behavior), or on a different item in the same list or a different list.
-
Leave the default selection of Current Item to run the approval process against the item from which the workflow was started.
-
Change the item selection to External List Lookup to run the approval process on a different item in the same list or in a different list. When using this option, select the Site Collection, Site, and List where the item you want to run the approval on is stored. These can either be explicitly defined through dropdown selections, or the values for these can be dynamically pulled from a lookup. Next, provide a field and field value that will be used to find which item in the list will be used.
|
| Approvers (Required) |
Enter one or more users or groups who need to approve or reject the item. Each approver is assigned a task when the widget runs. Approver names can be entered using any of the following methods:
-
Type a SharePoint or Active Directory display name or account name for a user or group and click the Check User icon ( ). Separate multiple users with a semicolon (;). ). Separate multiple users with a semicolon (;).
-
Click the Lookup User icon ( ) to search for a SharePoint or Active Directory user or group in the User Lookup form. ) to search for a SharePoint or Active Directory user or group in the User Lookup form.
- Enter a lookup to user or group data using the Add Lookup button (
 ) in the User Lookup form. ) in the User Lookup form.
|
| Expand Groups |
If a SharePoint group is entered in the Approvers property, the Expand Groups setting determines whether a single task is assigned to the entire group or if a separate task is assigned to each member of the group:
|
| Approval Type |
Select the number of approvals required for an item to follow the Approved path:
- All Approvals Required: All users and groups who were assigned approval tasks must approve the item for the workflow to follow the Approved path. If any user or group rejects the item, the workflow follows the Rejected path. The widget is finished when all approvers approve the item or when one approver rejects it.
- One Approval Required: Only one user or group must approve the item for the workflow to follow the Approved path. Any rejections that occur before an approval are ignored. Any incomplete tasks will be marked Completed as soon as one user or group approves the item. If all assigned users and groups reject the item, the workflow will follow the Rejected path. The widget is finished as soon as one approver approves the item or when all approvers reject it.
- Multiple Approvals Required: Allows you to specify how many users or groups must approve an item for the workflow to follow the Approved path. If the specified number of approvers approves the item, the workflow follows the Approved path. Any incomplete tasks will be marked Completed as soon as the required number of approvals has been reached. If all approvers respond and the required number of approvals has not been reached, the workflow follows the Rejected path. The widget is finished as soon as the required number of approvers approves the item or when all approvers respond.
|
| Send Task Assignment Emails |
Select an option to determine if the widget will send notification e-mails to approvers:
- Select Yes to send an e-mail to approvers when a task is assigned.
- Select No to assign the task without sending task assignment e-mail.
|
| Send Status Emails to Initiator |
Select an option to determine if the widget will send notification e-mails to the workflow initiator:
- Select Yes to send an e-mail to workflow initiators when all tasks are completed.
Select No to allow tasks to be completed without notification email being sent to the workflow initiator.
|
| Task Name |
Enter a custom task name for the approver task (e.g., “Approve Expense Report”). This task name is how the task is displayed in SharePoint and Microsoft Office Workflow Task forms. If you do not enter a Task Name, a default name of “Please Approve ItemName” is assigned when the widget runs. The task name, and other task properties, can be referenced in notification e-mails using the Current Task Easy Reference. |
| Task Description |
Enter an optional task description for the approver task (e.g., “Please review and approve this expense report.”). This task description is displayed in task forms. To add a hyperlink in the task description that has a display name different from the URL (e.g., Bamboo instead of http://www.bamboosolutions.com), enter the hyperlink in the following format, including the surrounding brackets ([ ]): [_URL(http://url.com) ,_Text(Text to display)] (see Lookups and Variables for more information). The task description, and other task properties, can be referenced in notification e-mails using the Current Task Easy Reference. |
| Notification Subject/Body |
Customize the subject and body for the notification e-mail sent for the original Request Approval task. Default text can be specified in the Request Approval Task Notification sections of the Workflow Conductor Control Panel E-mail Settings. |
| Send Reminder: |
Send a reminder email to task assignees some number of days before a task’s due date is reached.
NOTE: This feature requires Workflow Conductor version 3.5 or later.
|
| Days Before Due Date (Required if Send Reminder=Yes) |
This parameter appears when Send Reminder is set to Yes. Enter the number of days prior to the Due Date that the reminder email should be sent. This can be set explicitly, or the value can be set dynamically at runtime using a lookup. |
| Reminder Subject/Body: |
Customize the subject and body for the reminder notification e-mail sent to task assignees prior to the task Due Date. Default text can be specified in the Request Approval sections of the Workflow Conductor Control Panel E-mail Settings. |
| Escalate Overdue: |
Reassign a task to a specified person if it passes the task Due Date without being completed.
NOTE: This feature requires Workflow Conductor version 3.5 or later.
|
| Escalate To (Required if Escalate Overdue=Yes): |
This parameter appears if Escalate Overdue is set to Yes. Enter a single SharePoint or Active Directory user to escalate the task to, using one of the following methods:
|
| Escalation Subject/Body: |
Customize the subject and body for the reminder notification e-mail sent to task assignees prior to the task Due Date. Default text can be specified in the Request Approval section of the Workflow Conductor Control Panel E-mail Settings. |
| Days Until Due |
Enter the number of days until the task is due. You can enter a specific number or use a lookup. The number of days is added to the current date at the time the widget is run to determine the Due Date for each approver task. The calculated task Due Date is included in the task notification e-mail. If you do not enter a Days Until Due value, the Due Date property will be used, if there is one, or the task Due Date will be empty. |
| Due Date |
Enter a Due Date for the task. You can enter a specific date using the calendar control or use a lookup. Unlike the Days Until Due property, this property sets a specific Due Date for the task. This is useful in situations where a particular deadline must be met. The task Due Date is included in the task notification e-mail. If you do not enter a Due Date, the value in the Days Until Due property will be used, if there is one, or the task Due Date will be empty.
NOTE: If both the Due Date and Days Until Due properties are defined, the task Due Date field will be set to the earlier of the two dates. If neither is defined, the task Due Date field will be blank.
|
| Allow Reassignment |
|
| Allow Request Change |
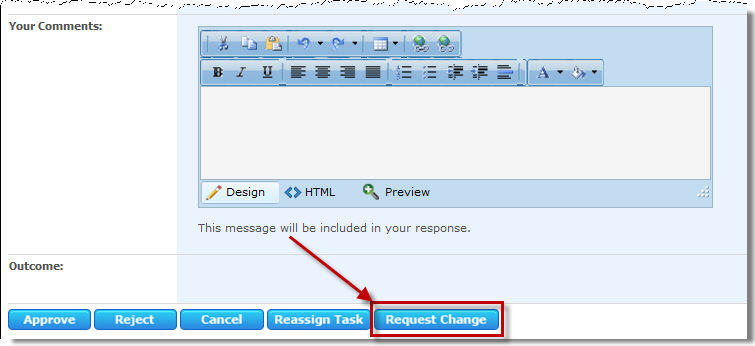
- Select Yes to allow approvers to create a new task for the item that must be completed before the approver task is completed. If change requests are allowed, a Request Change button is displayed at the bottom of the task form. See the Request Change topic for more details about this option.
- Select No if you do not want approvers to be able to create new tasks using the task form.
|
| Save Comments To |
Each approver has the opportunity to enter comments when completing an approval task. You can view task comments in the completed task. If the Send Email property is sent to Yes, a summary of all comments is e-mailed to the workflow initiator when the widget is finished running. You can also store the comments in a workflow variable for use later in the workflow. To assign a workflow variable, select a Text data type variable from the Save Comments To list. Create variables in the Workflow Settings tab in the settings pane, or click the Create new variable link next to the variable list. If multiple approvers enter comments, each comment is appended to the workflow variable. |
| Allow Attachment |
Allow an attachment to be included in the task notification email. The attached item can be the item on which the workflow was started (default behavior), or on a different item in the same list or in a different list. |
| Item to Attach (Required if Allow Attachment=Yes) |
Select which item will be attached to the email:
- Leave the default selection of Current Item to attach the item on which the workflow was started to the task notification email.
- Change the item selection to External List Lookup to a different item in the same document library or in a different document library. When using this option, select the Site Collection, Site, and Document Library where the item you want to attach is stored. These can either be explicitly defined through dropdown selections, or the values for these can be dynamically pulled from a lookup. Next, provide a field and field value that will be used to find which item in the list will be used.
|
| Click Apply to save the widget settings. |
|
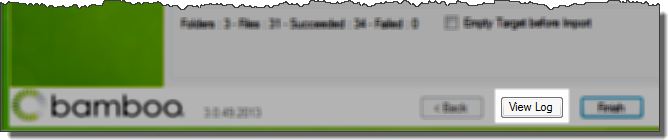
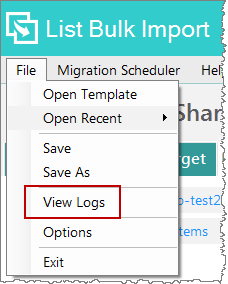 To view a log for a previous import, in the top menu bar, click File > View Logs to open the Log Viewer.
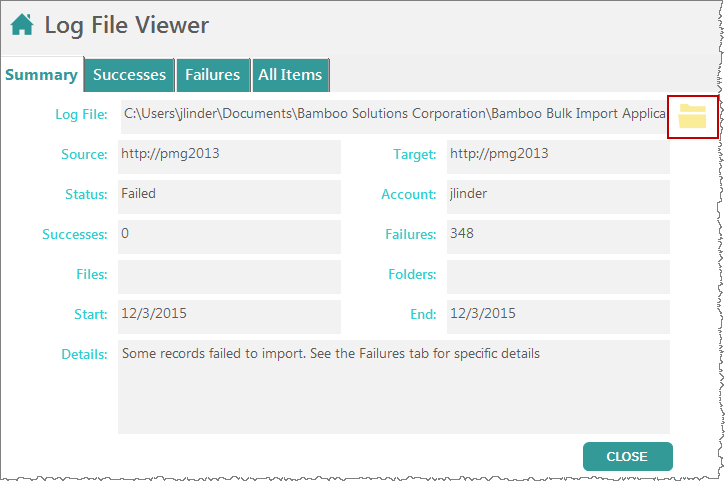 The log viewer by default shows logs for the last import conducted. The Successes, Failures, and All Items tabs provide line item detail on specific import items.
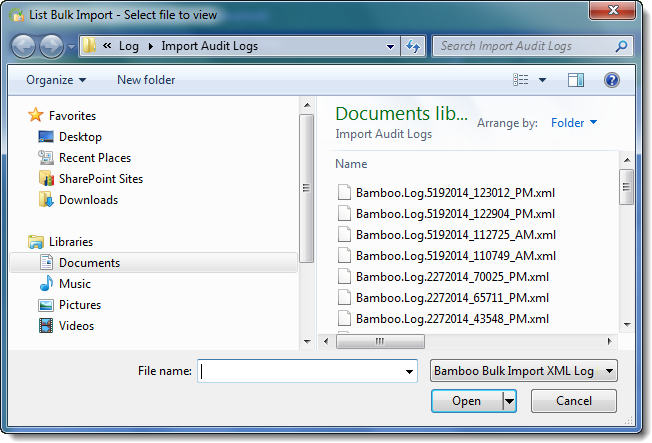 Log files have the same name as the import file, with date-time information added before the extension. For example, for an import file called test3.txt, an associated log file name is
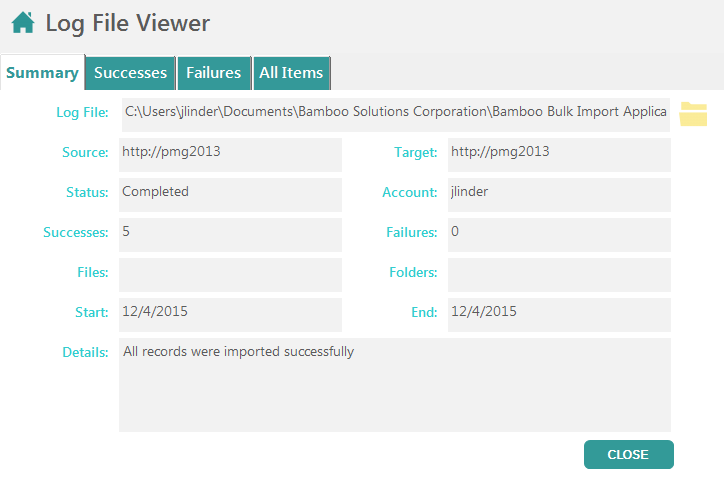


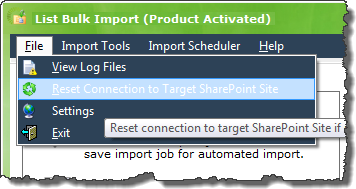 Select Reset Connection to Target SharePoint Site from the main File menu.
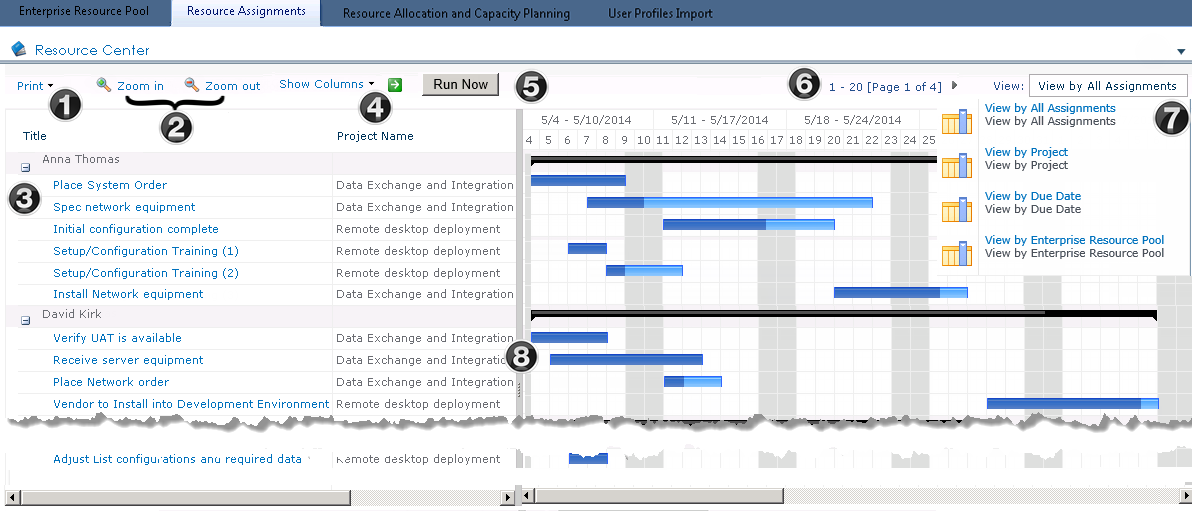

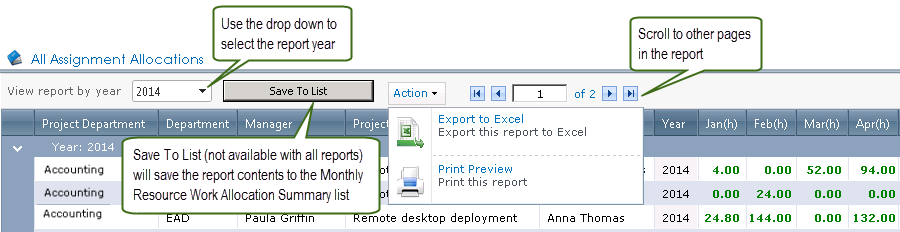
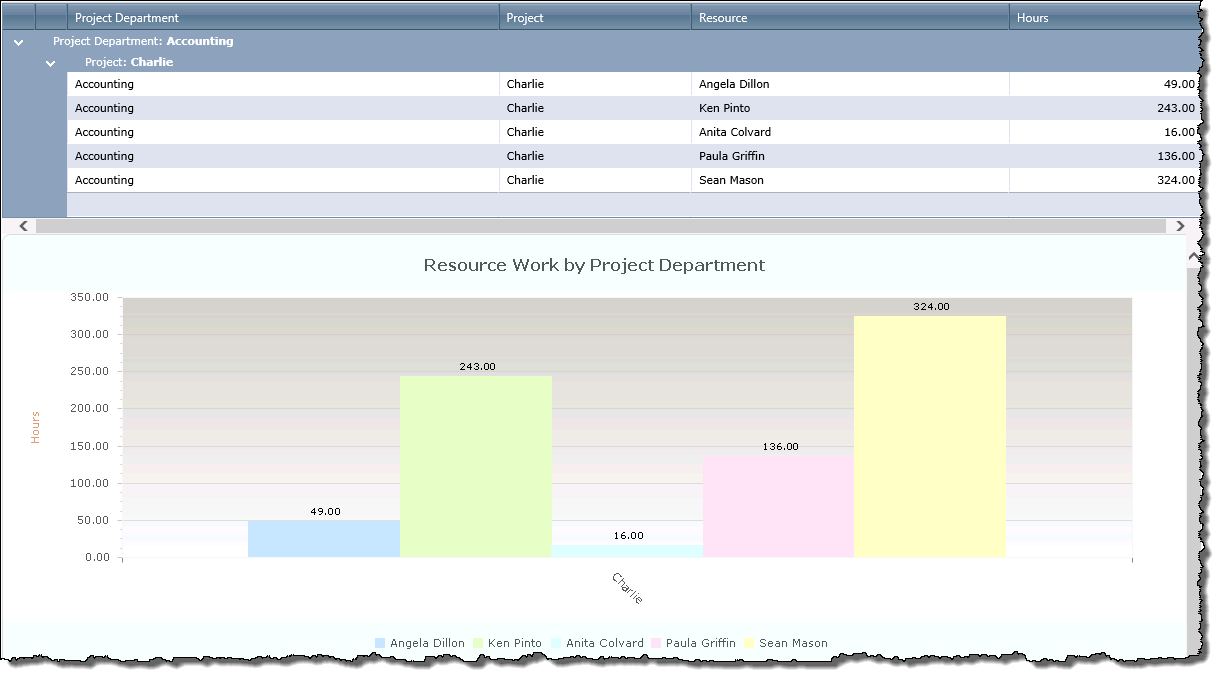
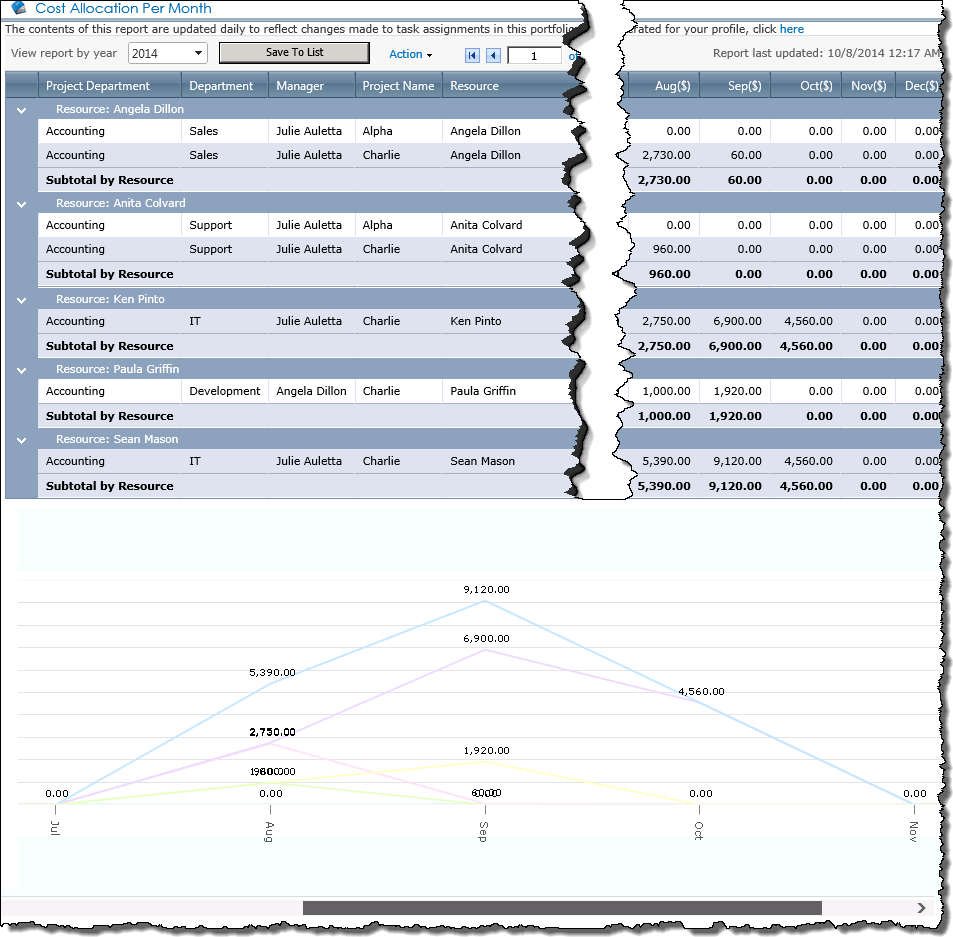
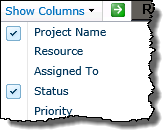 Choose which columns to display in the left-hand pane by selecting the desired columns from the Show Columns drop-down list, then click the green arrow to update the display.
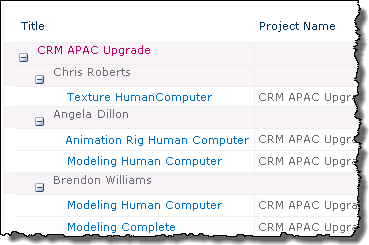
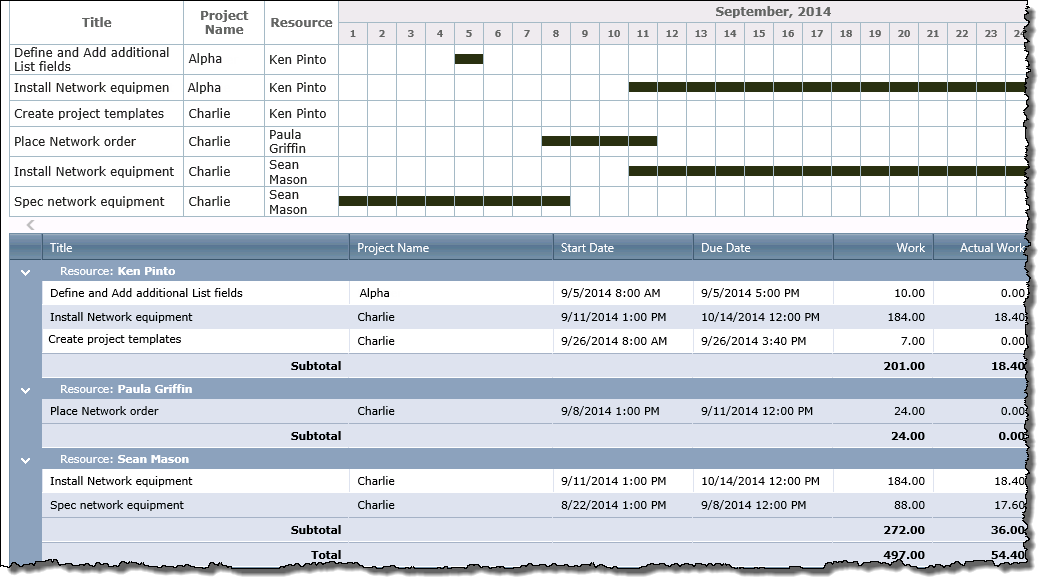
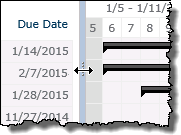 Place your cursor over the gray vertical bar between the assignment grid and the Gantt chart to show or hide either side.
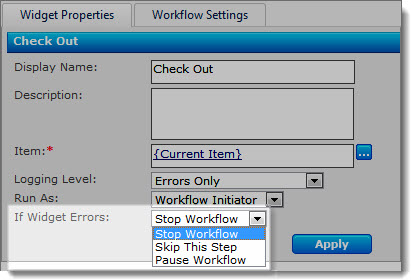 If there is an error in your workflow, Workflow Conductor provides several ways to handle it. You can define error handling options per widget when the workflow is designed using the If Widget Errors property.

 Specified users known as Rating Administrators can reset individual item ratings. This feature can be helpful when an item has changed or has been modified, for example: when a new version of a document has been uploaded. These users and this option are available when you add Rating Column to a list or library and check the Allow Individual Item Ratings to be Reset option. These users do not have to have elevated permissions; they just need to be added to the configuration. This icon will only show up when that option is configured.
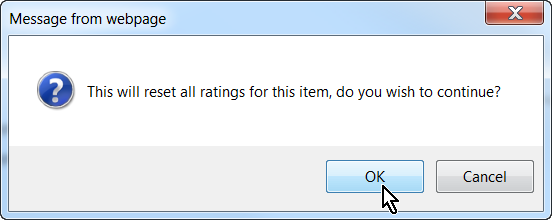 Click OK to reset all ratings for that item.
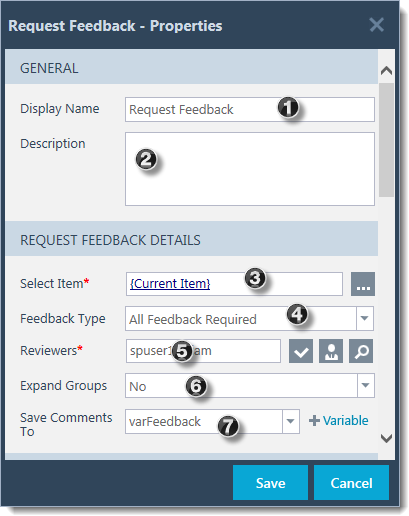 The Request Feedback widget assigns one or more users or groups a task to review an item in a list or library. Assigned feedback tasks are completed using a Workflow Conductor task form.
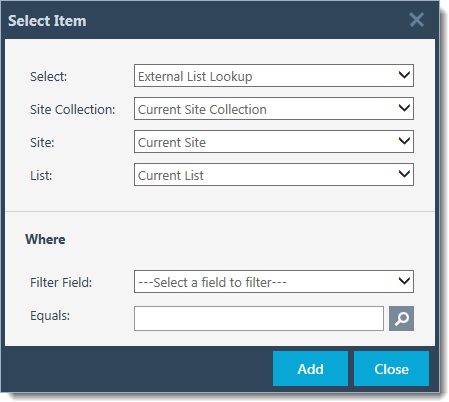 If you need to choose a different item, click the ellipsis icon (
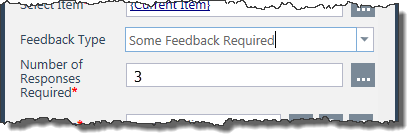
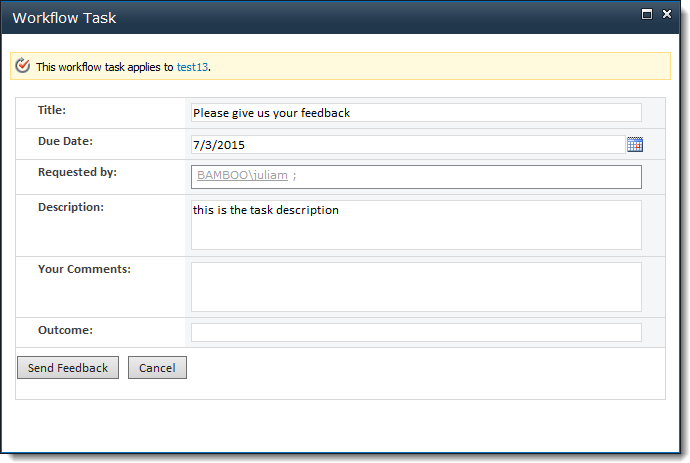 You can view task comments in the completed task.
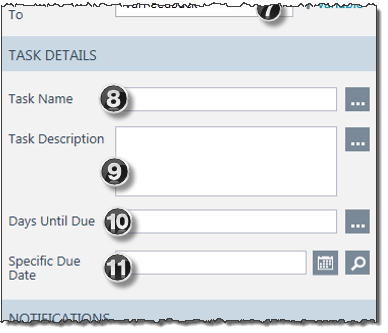 Continuing to look at more of the widget’s properties, the screenshot here shows the Task Details of the widget properties:
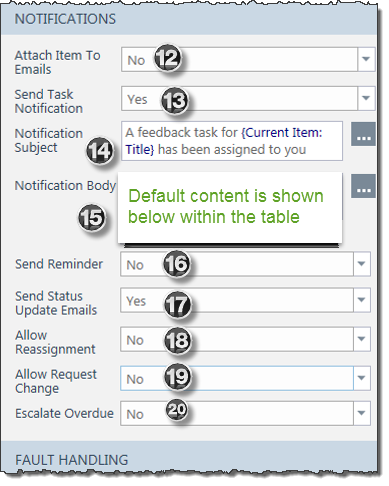 The next section of the widget properties covers the Notifications section:
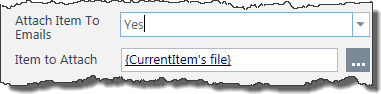 It is possible to attach an electronic file to the email notifications (this option was added in WFC R3.5). When this option is set to Yes, the Item to Attach property appears.
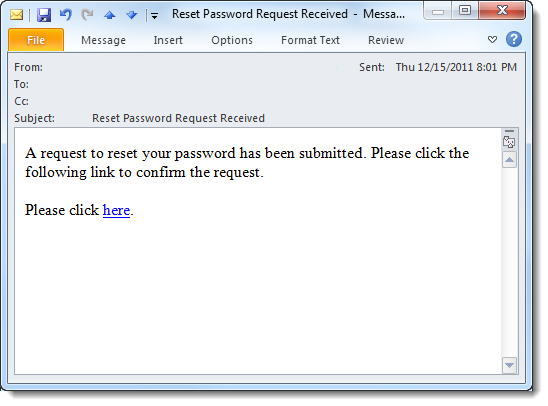
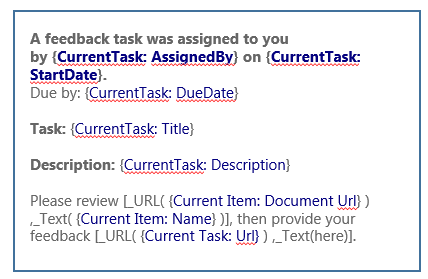 The default notification body contains a few tokens that may be of interest to you. Every item shown in blue is a lookup that looks up the actual data in the list.
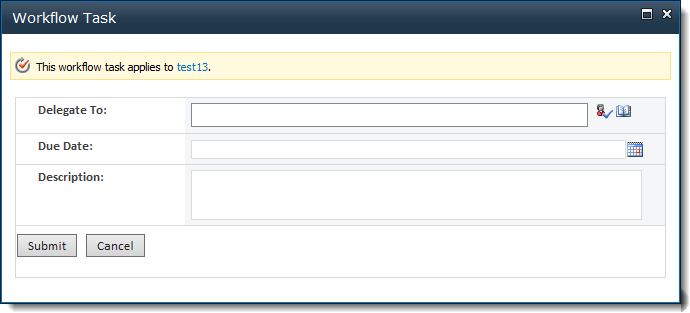 When a task assignee clicks Reassign Task, a new task form appears (See below). The original task assignee enters a person to delegate the task to (Delegate To), a Due Date for the delegated task, a Description, and then clicks Submit. Another task is created for the workflow instance and the status of the original task is set to Completed.
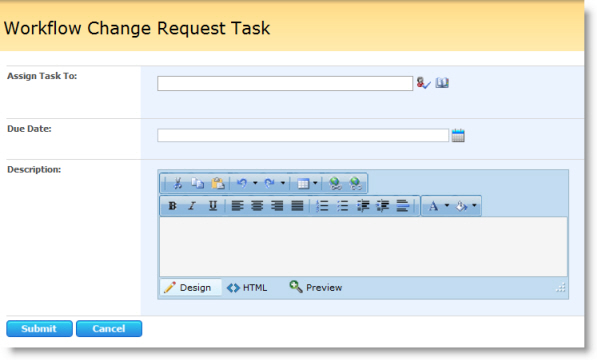
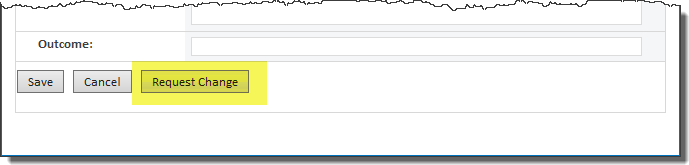 When a task assignee clicks the Request Change button on the task form, a form for a new task appears.
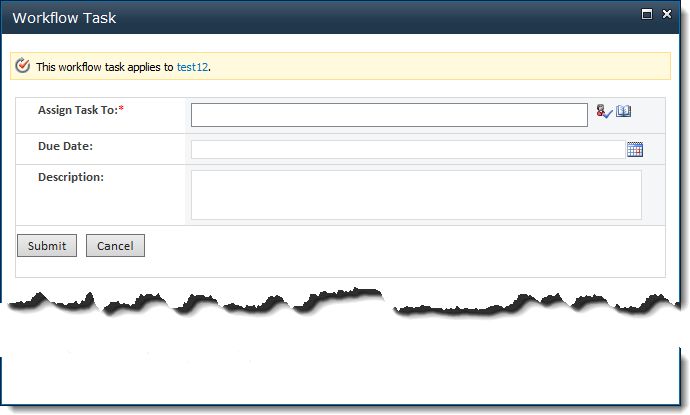
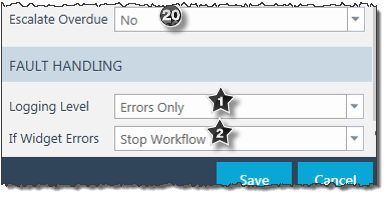 Workflow designers have the option to override the logging level configured for widgets and specify a new logging level for all widgets for that workflow instance as described below:
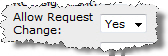


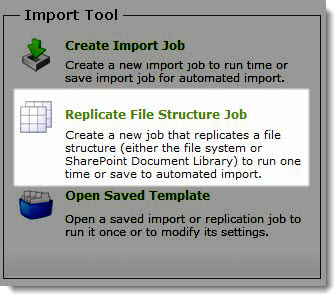
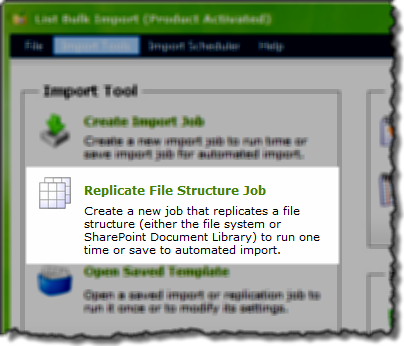 In the Import Tool section of the dashboard, click Replicate File Structure Job.
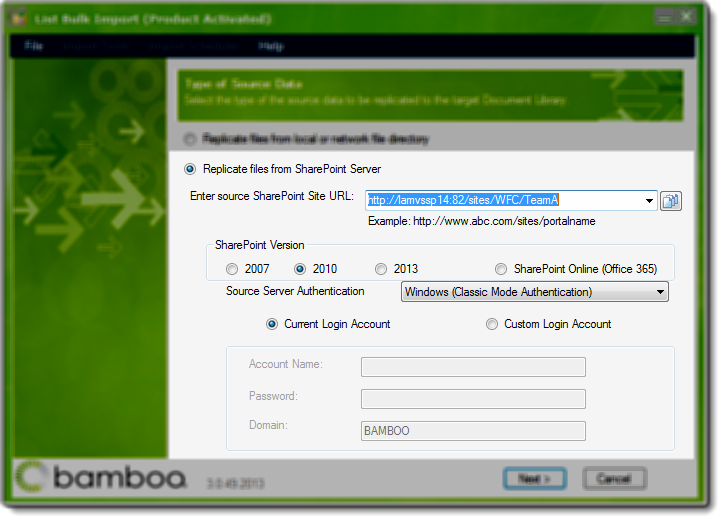
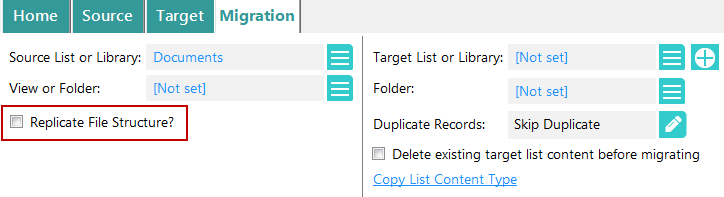
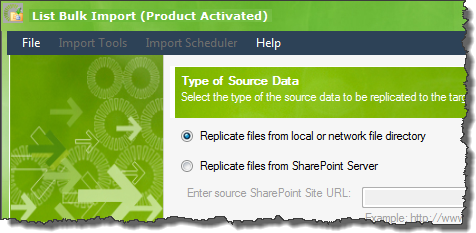 Choose to Replicate files from local or network file directory or Replicate file from SharePoint Server.
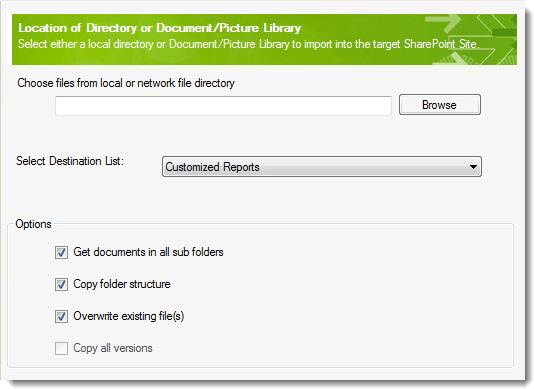
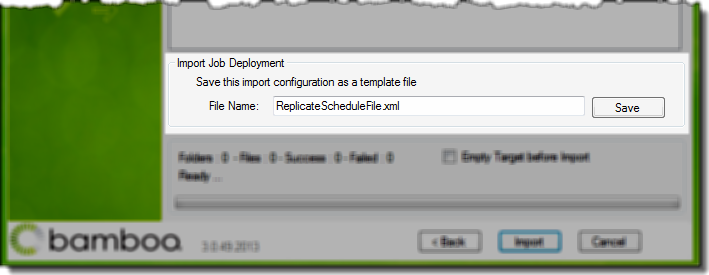
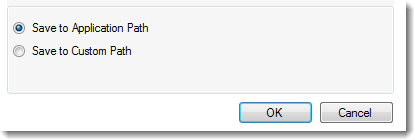 Next, choose if you want to save the import configuration file to the Application Path or a Custom Path. The Application path is the folder where the List Bulk Import application resides.
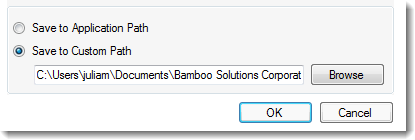 If you choose Save to Custom Path, enter or browse for the desired location.
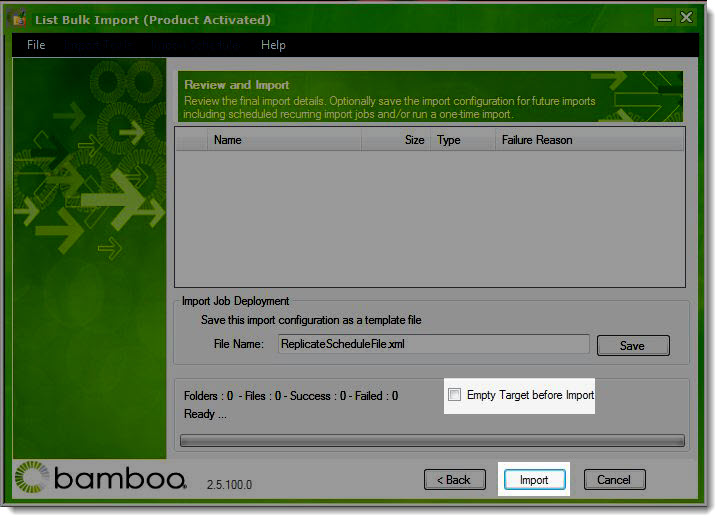
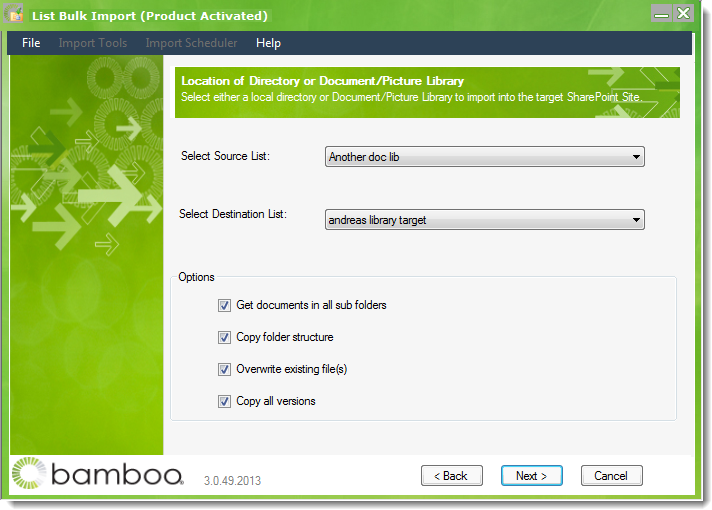
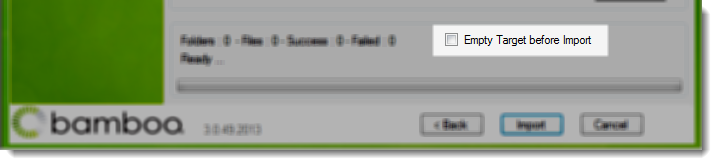
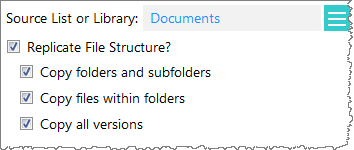 Configure the replication options:
 ), click the Lookup User icon (
 ) to search for a user in the User Lookup form, or enter a lookup to a user using the Add Lookup button (
 ) in the User Lookup form.
  Widget Limitations
 ).
).

 ).
).
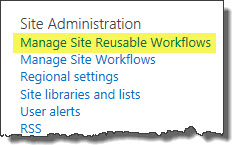 In the Site Administration section, click Manage Site Reusable Workflows.
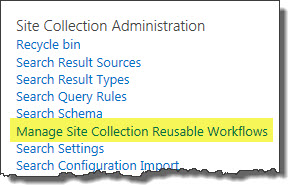 In the Site Collection Administration section, click Manage Site Collection Reusable Workflows.
 In the Site Administration section, click Manage Site Workflows.
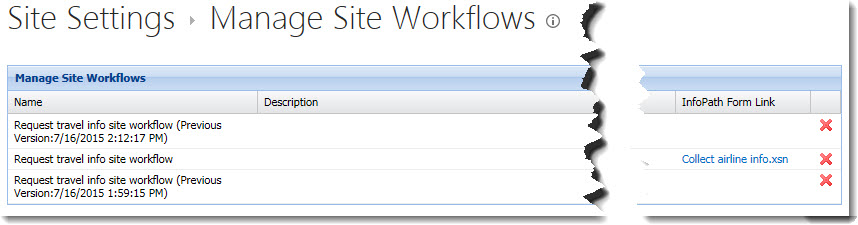
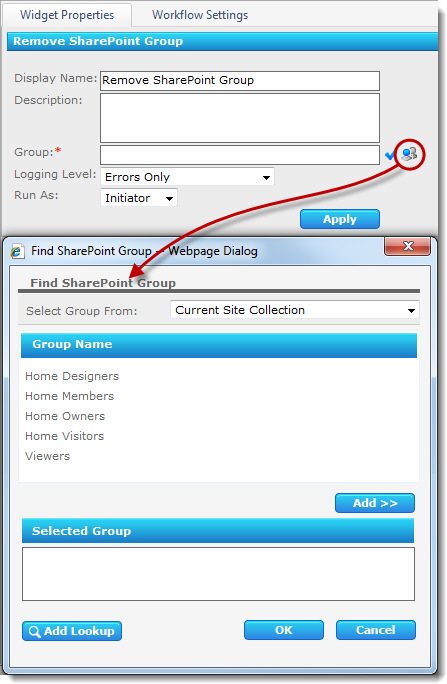 The widget has the following features and options:
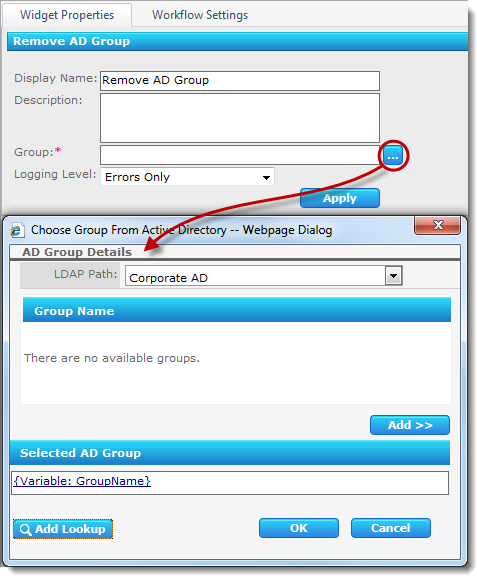 The Remove AD Group widget removes a group from a specified Active Directory location. The widget has the following features and options: